Docking Stations

Plugable Thunderbolt 5 Docking Station with Dual HDMI 2.1, 140W Laptop Charging
TBT-UDH2List Price :
Amazon Rating : (4 Reviews)

Plugable Thunderbolt 5 Dock with 3x Thunderbolt 5 Ports, 140W Laptop Charging
TBT-UDT3List Price :
Amazon Rating : (49 Reviews)

Plugable Thunderbolt 4 Docking Station for 4K Quad Monitors, 100W Laptop Charging
TBT-6950PDList Price :
Amazon Rating : (142 Reviews)

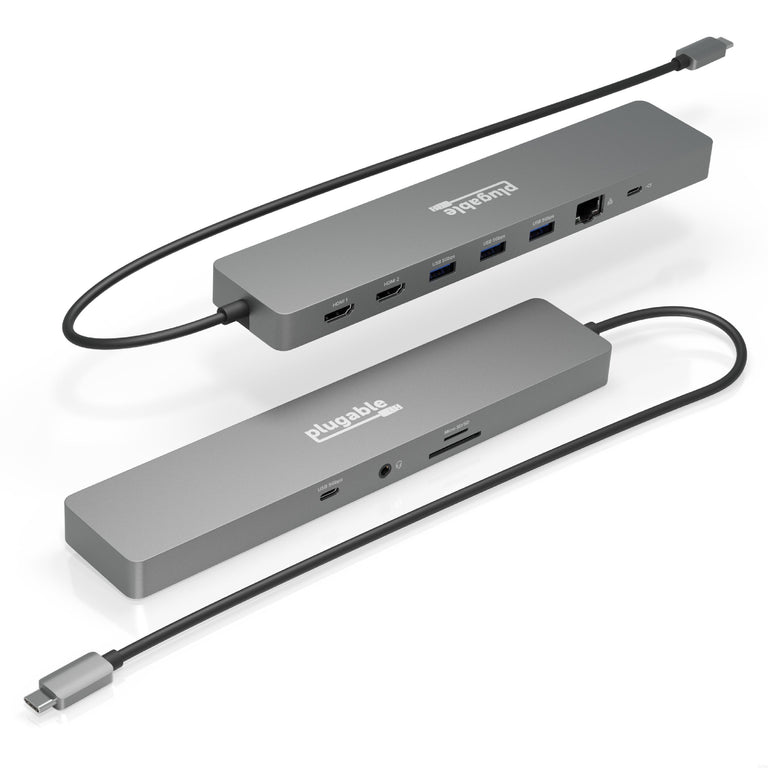
Plugable Thunderbolt™ 4 16-in-1 Docking Station for MacBook Air/Pro
TBT4-UDZList Price :
Amazon Rating : (488 Reviews)

Plugable Thunderbolt 4 Dock for M4 MacBook Air & Pro, 100W Laptop Charging
TBT-UDMList Price :
Amazon Rating : (124 Reviews)

Plugable Thunderbolt 4 Dock for 4K Dual Monitors or Single 8K, 100W Laptop Charging
TBT4-UD5List Price :
Amazon Rating : (482 Reviews)

Plugable Thunderbolt 4 & USB4 HDMI Docking Station with 96W Charging
TBT4-UDX1List Price :
Amazon Rating : (151 Reviews)

Plugable Thunderbolt™ and USB-C Dual Monitor Docking Station, 96W Laptop Charging
TBT3-UDZList Price :
Amazon Rating : (912 Reviews)

Plugable Thunderbolt™ Docking Station, Dual HDMI with DisplayPort, 96W Charging
TBT3-UDC3List Price :
Amazon Rating : (214 Reviews)

Plugable USB-C 5-Display Docking Station with HDMI 2.1 and 140W charging
UD-7400PDList Price :
Amazon Rating : (106 Reviews)

Plugable USB4 Dual Monitor Docking Station with 4K 120Hz HDMI, 100W Charging
UD-4VPDList Price :
Amazon Rating : (144 Reviews)

Plugable USB-C Docking Station for 4 Monitor Setup, 96W Laptop Charging
UD-3900C4List Price :
Amazon Rating : (240 Reviews)

Plugable USB-C Triple Monitor Docking Station with 3x HDMI Ports, 100W Laptop Charging
UD-3900PDHList Price :
Amazon Rating : (168 Reviews)

Plugable USB-C Docking Station for Mac, Dual 4K Monitors, 100W Laptop Charging
UD-6950PDHList Price :
Amazon Rating : (314 Reviews)

Plugable Triple Monitor USB-C Docking Station for Windows and Mac, with 100W Laptop Charging
UD-768PDZList Price :
Amazon Rating : (134 Reviews)

Plugable USB-C Triple Monitor Docking Station, 100W Laptop Charging
UD-3900PDZList Price :
Amazon Rating : (1116 Reviews)

Plugable USB-C Triple Monitor Docking Station with 100W Laptop Charging
UD-ULTCDLList Price :
Amazon Rating : (1576 Reviews)

Plugable USB-C Triple 4K Monitor Docking Station with 100W Laptop Charging
UD-ULTC4KList Price :
Amazon Rating : (1803 Reviews)

Plugable USB-C Docking Station, 4K Triple Monitors, 100W Laptop Charging
UD-6950PDZList Price :
Amazon Rating : (654 Reviews)

Plugable USB-C Docking Station Dual 4K 60Hz HDMI, 65W Charging, Gigabit Ethernet, 1x USB-C 5Gbps, 3X USB-A, Audio, Windows/ChromeOS, USB-C/USB4/Thunderbolt, Driverless (UD-MSTH2)
UD-MSTH2List Price :
Amazon Rating : (217 Reviews)

Plugable USB-C Dual Monitor Docking Station, Certified Works with Chromebook, 60W Charging
UD-MSTHDCList Price :
Amazon Rating : (82 Reviews)

Plugable USB-C Docking Station with HDMI, 60W Laptop Charging
UD-CA1AList Price :
Amazon Rating : (427 Reviews)

Plugable USB-C Docking Station with VESA Mount, 85W Laptop Charging
UD-CAMList Price :
Amazon Rating : (345 Reviews)

Plugable USB-C Laptop Dock for Portable Work Stations
UD-CUBEList Price :
Amazon Rating : (81 Reviews)

Plugable USB 3.0 and USB-C Docking Station with Displaylink Technology
UD-3900CList Price :
Amazon Rating : (443 Reviews)

Plugable Universal Dual Monitor Docking Station - UD-3900
UD-3900List Price :
Amazon Rating : (11816 Reviews)

Plugable Dual Monitor Universal Docking Station
UD-3900ZList Price :
Amazon Rating : (1979 Reviews)

Plugable Universal Dual HDMI Monitor Docking Station for Dell, HP, Lenovo, Macbook
UD-3900HList Price :
Amazon Rating : (1915 Reviews)

Plugable USB 3.0 and USB-C 4K Dual Monitor Docking Station
UD-6950HList Price :
Amazon Rating : (1979 Reviews)

Plugable Universal Docking Station for Dual 4K Monitors
UD-6950ZList Price :
Amazon Rating : (1682 Reviews)

Plugable USB-C Tablet / Phone / iPad Stand with Docking Station, 100W Charging
UDS-7IN1List Price :
Amazon Rating : (275 Reviews)

Plugable USB-C Dual HDMI Docking Station, 100W Pass Through Charging
USBC-6950PDZList Price :
Amazon Rating : (317 Reviews)


Thunderbolt
Plugable Thunderbolt 4 Docking Station for 4K Quad Monitors, 100W Laptop Charging
TBT-6950PDList Price :
Amazon Rating : (142 Reviews)

Plugable Thunderbolt 4 Cable with Right Angle Connection (2.6ft / 80cm)
TBT4-240W-80CMRList Price :
Amazon Rating : (103 Reviews)
Plugable Thunderbolt 4 Dock for 4K Dual Monitors or Single 8K, 100W Laptop Charging
TBT4-UD5List Price :
Amazon Rating : (482 Reviews)

Plugable Thunderbolt 4 240W EPR Cable (3.3ft/1m)
TBT4-240W-1MList Price :
Amazon Rating : (230 Reviews)

Plugable USB4 240W EPR Cable (3.3ft/1m)
USB4-240W-1MList Price :
Amazon Rating : (194 Reviews)

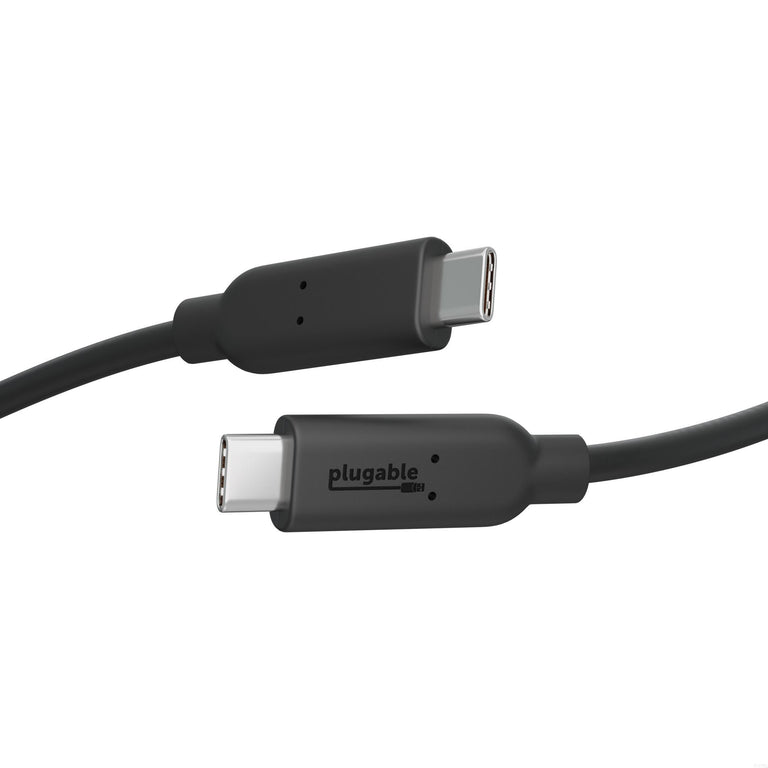
Thunderbolt™ 3 / 4 and USB4 Easy Transfer Cable
TBT-TRANList Price :
Amazon Rating : (75 Reviews)
Plugable Thunderbolt 4 & USB4 HDMI Docking Station with 96W Charging
TBT4-UDX1List Price :
Amazon Rating : (151 Reviews)
Plugable Thunderbolt™ 4 16-in-1 Docking Station for MacBook Air/Pro
TBT4-UDZList Price :
Amazon Rating : (488 Reviews)

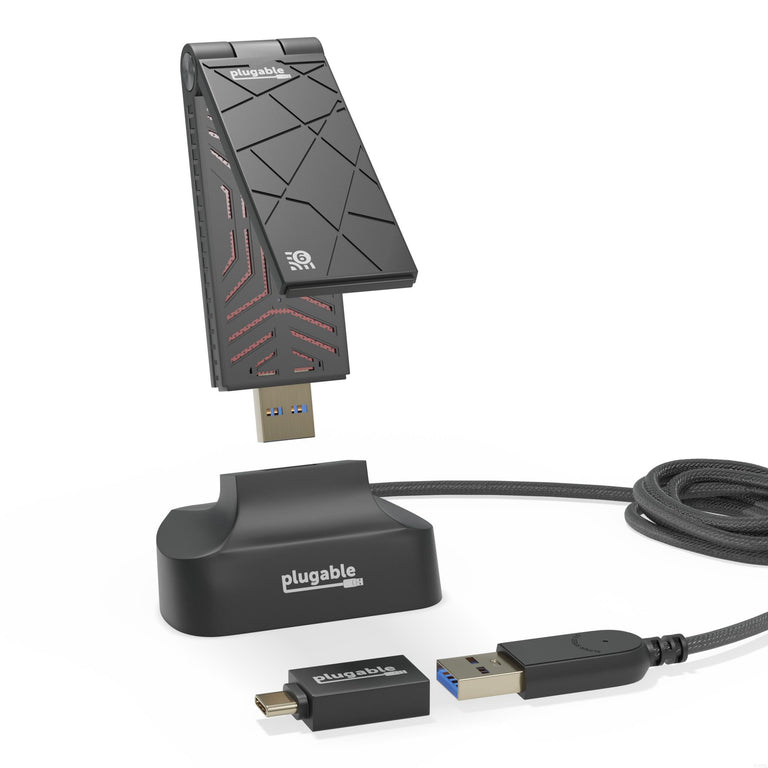
Plugable 5-in-1 Thunderbolt 4 and USB4 Hub
USB4-HUB3AList Price :
Amazon Rating : (391 Reviews)

Plugable Thunderbolt 4 Cable (6.6ft/2m)
TBT4-40G2MList Price :
Amazon Rating : (440 Reviews)

Plugable Thunderbolt 4 Cable (3.3ft/1m)
TBT4-40G1MList Price :
Amazon Rating : (482 Reviews)

Plugable Thunderbolt 4 and USB4 Hub
TBT4-HUB3CList Price :
Amazon Rating : (304 Reviews)
Plugable Thunderbolt™ Docking Station, Dual HDMI with DisplayPort, 96W Charging
TBT3-UDC3List Price :
Amazon Rating : (214 Reviews)
Plugable Thunderbolt™ and USB-C Dual Monitor Docking Station, 96W Laptop Charging
TBT3-UDZList Price :
Amazon Rating : (912 Reviews)

Plugable Thunderbolt 3 Cable (40Gbps, 2.6ft/0.8m)
TBT3-40G80CMList Price :
Amazon Rating : (1930 Reviews)

Plugable Thunderbolt 3 Cable (20Gbps, 3.3ft/1m)
TBT3-20G1MList Price :
Amazon Rating : (8 Reviews)
Plugable Thunderbolt 4 Dock for M4 MacBook Air & Pro, 100W Laptop Charging
TBT-UDMList Price :
Amazon Rating : (124 Reviews)
Audio

Bluetooth

Plugable Bluetooth® Full-Size Folding Keyboard and Case
BT-KEY3XLList Price :
Amazon Rating : (422 Reviews)

Plugable USB 2.0 Bluetooth® Adapter
USB-BT4LEList Price :
Amazon Rating : (11508 Reviews)
Plugable Compact Bluetooth® Folding Keyboard and Case
BT-KEY3List Price :
Amazon Rating : (189 Reviews)
Portable Monitors

Plugable USB-C Portable Monitor with Protective Case/Stand, 100W Pass-Through Charging
USBC-PDMONList Price :
Amazon Rating : (95 Reviews)
Chargers and Power Devices

Plugable 6 Port USB-C Charging Station, 100W Priority Charging
PS-6CCList Price :
Amazon Rating : (64 Reviews)

Plugable 10 Port USB-C Charging Station, 100W Priority Charging
PS-10CCList Price :
Amazon Rating : (39 Reviews)

Plugable Power Strip and USB C Charging Station with Power Meter, 67W
PS3-METERC3List Price :
Amazon Rating : (33 Reviews)

Plugable Dual USB-C Fast Charger, 40W - Black
PS-40C2BList Price :
Amazon Rating : (54 Reviews)

Plugable Dual USB-C Fast Charger, 40W - White
PS-40C2WList Price :
Amazon Rating : (54 Reviews)
Plugable USB Data Blocker, Protects Against Juice Jacking - 5 Pack
USB-MC1-5XList Price :
Amazon Rating : (13 Reviews)
Plugable USB-C Extension Cable with Built-In Multimeter Tester, Fast Charging, 3.3 ft
USBC-METER3-1MFList Price :
Amazon Rating : (143 Reviews)

Plugable Outlet Extender with USB and USB-C Charger
PS1-CA1List Price :
Amazon Rating : (82 Reviews)

Plugable GaN USB-C Charger Block, 30W - Black
PS-30C1BList Price :
Amazon Rating : (72 Reviews)

Plugable GaN USB-C Charger Block, 30W - White
PS-30C1WList Price :
Amazon Rating : (68 Reviews)
Plugable 140W USB-C GaN Power Adapter
PS-EPR-140C1List Price :
Amazon Rating : (64 Reviews)
Plugable USB-C Voltage & Amperage Meter for High Power Devices (240W EPR)
USBC-VAMETER3List Price :
Amazon Rating : (402 Reviews)
Plugable USB Data Blocker, Protects Against Juice Jacking
USB-MC1List Price :
Amazon Rating : (289 Reviews)
Plugable 6-Outlet Clamping Desk Mountable Power Strip With 2-Port USB Charger
PS6-USB2DCList Price :
Amazon Rating : (162 Reviews)
Plugable USB-C Voltage and Amperage Meter
USBC-VAMETERList Price :
Amazon Rating : (734 Reviews)

Plugable USB Type-C Power Delivery 60W Power Supply
USBC-PS-60WList Price :
Amazon Rating : (45 Reviews)

Plugable 12-Outlet Power Strip with 2-Port USB Charger (25ft/7.6m Cable)
PS12-USB25List Price :
Amazon Rating : (1052 Reviews)

Plugable 12-Outlet Power Strip with 2-Port USB Charger
PS12-USB2BList Price :
Amazon Rating : (1052 Reviews)
Data Storage

Plugable USB 3.1 Gen 2 Tool-free NVMe Enclosure
USBC-NVMEList Price :
Amazon Rating : (2361 Reviews)
Plugable USB 3.1 Gen 2 SATA Vertical Hard Drive Dock
USBC-SATA-VList Price :
Amazon Rating : (476 Reviews)
Plugable USB Type-C Flash Memory Card Reader
USBC-FLASH3List Price :
Amazon Rating : (120 Reviews)

Plugable USB 3.1 Gen 2 USB-C to SATA Adapter Cable
USBC-SATA24List Price :
Amazon Rating : (81 Reviews)

Plugable USB 3.0 Flash Memory Card Reader
USB3-FLASH3List Price :
Amazon Rating : (708 Reviews)
USB Graphics Adapters

Plugable USB-C Quad 4K HDMI Graphics Adapter With up to 100W USB-C PD Pass-through Charging
USBC-7400H4List Price :
Amazon Rating : (110 Reviews)

Plugable USB 3.0 and USB-C 4K DisplayPort and HDMI Dual Monitor Adapter with Ethernet
USBC-6950UEList Price :
Amazon Rating : (822 Reviews)

Plugable 4K DisplayPort and HDMI Dual Monitor Adapter for USB 3.0 and USB-C, Compatible with Windows and ChromeOS
USBC-6950UList Price :
Amazon Rating : (1172 Reviews)

Plugable USB 3.0 4K HDMI Adapter for Multiple Monitors
UGA-4KHDMIList Price :
Amazon Rating : (462 Reviews)

Plugable USB-C or USB 3.0 to Dual HDMI Adapter
UGA-HDMI-2SList Price :
Amazon Rating : (901 Reviews)

Plugable USB-C or USB 3.0 to HDMI Adapter
UGA-HDMI-SList Price :
Amazon Rating : (136 Reviews)

Plugable USB-C or USB 3.0 Quad HDMI Adapter
USBC-768H4List Price :
Amazon Rating : (262 Reviews)

Plugable USB-C Dual 4K HDMI MST Display Adapter
USBC-MSTH2List Price :
Amazon Rating : (194 Reviews)

Plugable USB-C or USB 3.0 to DisplayPort Adapter
UGA-DP-SList Price :
Amazon Rating : (51 Reviews)

Plugable USB 3.0 Dual Display Adapter for Multiple Monitors with Gigabit Ethernet
USB3-3900DHEList Price :
Amazon Rating : (380 Reviews)

Plugable USB 2.0 VGA Adapter for Multiple Monitors
USB-VGA-165List Price :
Amazon Rating : (1503 Reviews)

Plugable USB 3.0 4K DisplayPort Adapter for Multiple Monitors
UGA-4KDPList Price :
Amazon Rating : (370 Reviews)

Plugable USB 3.0 to 2K HDMI Video Graphics Adapter with Audio for Multiple Monitors
UGA-2KHDMIList Price :
Amazon Rating : (1414 Reviews)

Plugable USB 2.0 HDMI/DVI/VGA Adapter for Multiple Monitors up to 1920x1080
UGA-165List Price :
Amazon Rating : (1648 Reviews)

Plugable USB-C to HDMI Adapter for Triple Monitors (Windows Only)
USBC-MSTH3List Price :
Amazon Rating : (113 Reviews)

Plugable USB 3.0 Dual 4K HDMI 2.0 and Gigabit Ethernet Adapter
USB3-6950-HDMIList Price :
Amazon Rating : (103 Reviews)

Plugable USB 3.0 HDMI/DVI/VGA Adapter for Multiple Monitors
UGA-3000List Price :
Amazon Rating : (1518 Reviews)

Plugable USB C to HDMI Adapter, Dual Monitor 4K 60Hz for Apple Mac M1/M2/M3, DisplayLink Multiple Displays for Thunderbolt MacBook or iMac, Driver Required (USBC-6950M)
USBC-6950MList Price :
Amazon Rating : (566 Reviews)
Hardware Development Tools
Microsoft Azure Certified IoT DevKit (IOT-AZ3166)
IOT-AZ3166List Price :
Amazon Rating : (96 Reviews)
Mobile Device Stands
Plugable USB-C Tablet / Phone / iPad Stand with Docking Station, 100W Charging
UDS-7IN1List Price :
Amazon Rating : (275 Reviews)

Plugable Universal Tablet Stand, 360° Rotating Base
PT-STAND1List Price :
Amazon Rating : (103 Reviews)
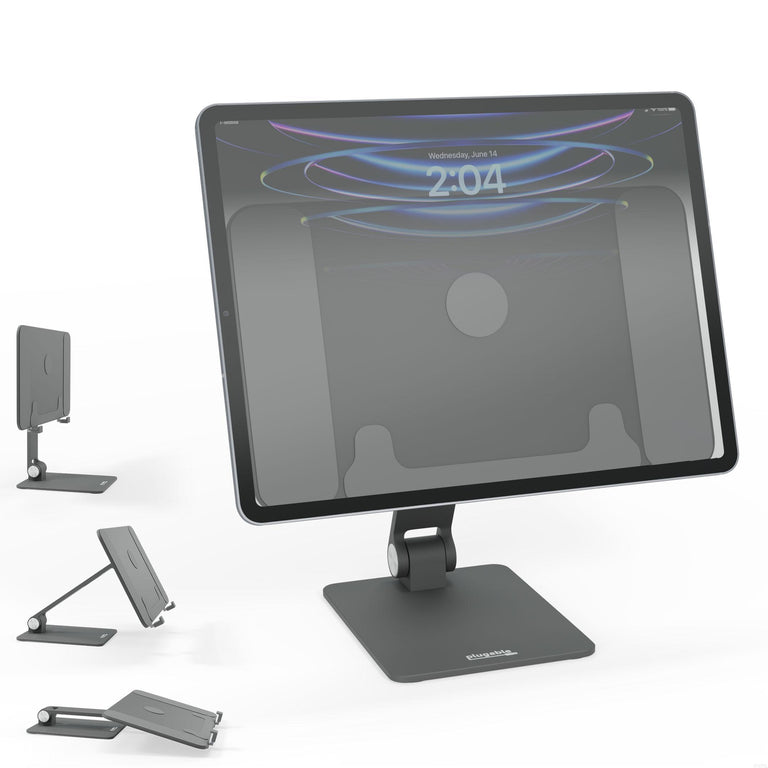
Plugable Magnetic iPad Tablet Stand for iPad Pro 12.9”
AMS-STAND13List Price :
Amazon Rating : (109 Reviews)

Plugable Magnetic iPad Stand for iPad Air & iPad Pro 11"
AMS-STAND11List Price :
Amazon Rating : (127 Reviews)

Plugable Portable Foldable iPad Tablet and Laptop Stand
PT-STANDXList Price :
Amazon Rating : (68 Reviews)
USB Hubs, Cables, and Switches

Plugable USB-C Hub 10-in-1 with 4K 144Hz HDMI, 2.5Gbps Ethernet, 140W Pass-Through Charging
USBC-10IN1EList Price :
Amazon Rating : (38 Reviews)

Plugable Thunderbolt 5 240W Cable with Right Angle Connector (80cm / 2.6ft)
TBT5-240W80RList Price :
Amazon Rating : (27 Reviews)

Plugable USB-C Cables, Data Blocker Charge Only, 240W (6 inch, Pack of 5)
USBC-CCS5XList Price :
Amazon Rating : (59 Reviews)

Plugable USB-C Cable, Data Blocker Charge Only, 240W (6.5 ft / 2m)
USBC-CC2MList Price :
Amazon Rating : (67 Reviews)

Plugable USB-C Cable, Data Blocker Charge Only, 240W (3.3 ft / 1m)
USBC-CC1MList Price :
Amazon Rating : (42 Reviews)


Plugable Thunderbolt 5 Cable 80Gbps (3.3ft/1m)
TBT5-240W1MList Price :
Amazon Rating : (71 Reviews)

Plugable 9-in-1 USB-C Hub with 4K HDMI, 140W Pass-Through Charging
USBC-9IN1EList Price :
Amazon Rating : (25 Reviews)

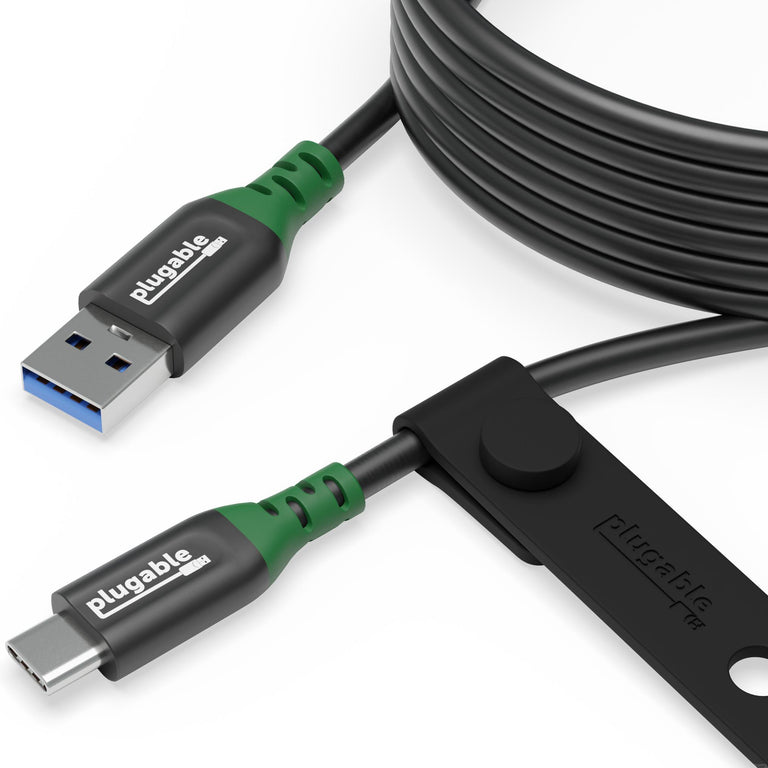
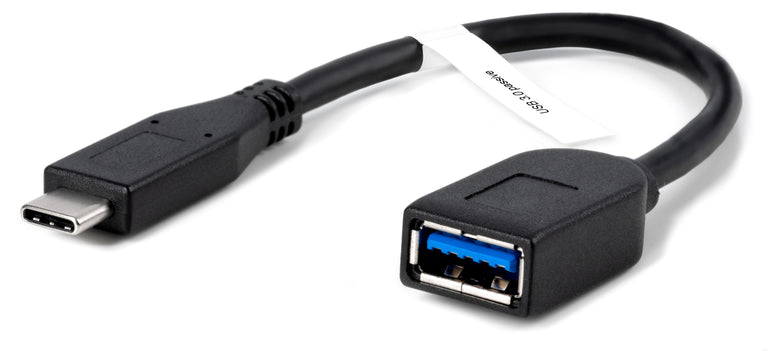
Plugable USB Data Transfer Cable with USB-C Adapters, 6.6ft
USBC-TRANList Price :
Amazon Rating : (206 Reviews)
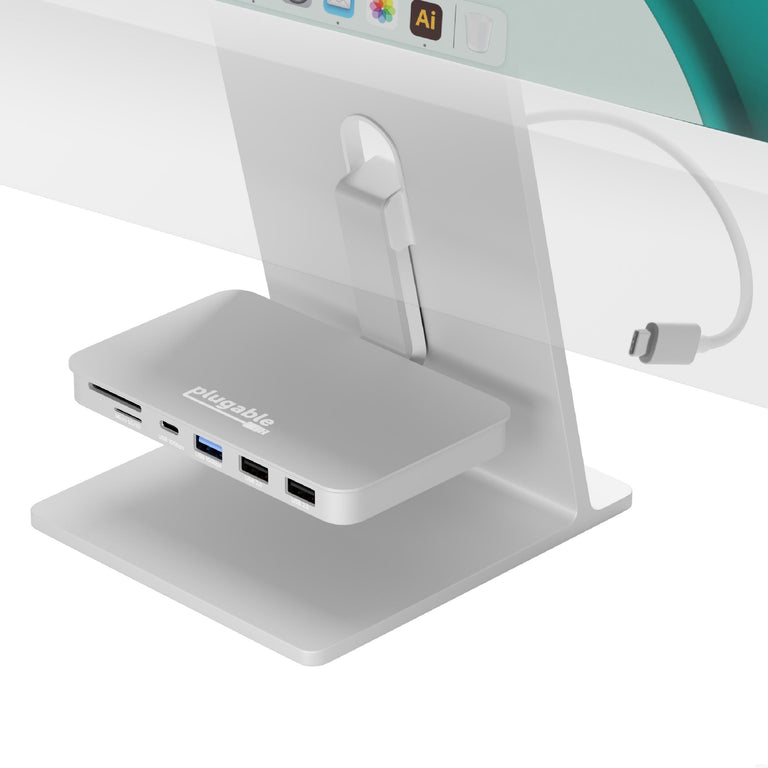
Plugable 6-in-1 USB-C Hub for iMac 24 Inch
AD-6IN1List Price :
Amazon Rating : (85 Reviews)
Plugable Thunderbolt 4 Cable with Right Angle Connection (2.6ft / 80cm)
TBT4-240W-80CMRList Price :
Amazon Rating : (103 Reviews)

Plugable USB C to USB C Cable for Video, Data and Charging (3.3ft / 1m)
USBC-240W-1MList Price :
Amazon Rating : (60 Reviews)
Plugable USB C to USB A Cable for Data and Charging (6.6ft / 2m)
USBC-A2MList Price :
Amazon Rating : (64 Reviews)
Plugable USB C to USB A Cable for Data and Charging (3.3ft / 1m)
USBC-A1MList Price :
Amazon Rating : (66 Reviews)

Plugable 4-in-1 USB-C Hub with 4K HDMI, 100W Charging
USBC-4IN1List Price :
Amazon Rating : (98 Reviews)


Plugable USB-C 5-in-1 Hub Designed for Apple MagSafe
AMS-5IN1EList Price :
Amazon Rating : (181 Reviews)
Plugable 11-in-1 USB-C Hub, 100W USB-C Pass-through, Laptop Docking Station Dual Monitor, 4K 60Hz HDMI, Compatible with Thunderbolt, Windows, Chromebooks, Displays Mirrored on Mac
USBC-11IN1EList Price :
Amazon Rating : (218 Reviews)
Plugable USB4 240W EPR Cable (3.3ft/1m)
USB4-240W-1MList Price :
Amazon Rating : (194 Reviews)
Plugable Thunderbolt 4 240W EPR Cable (3.3ft/1m)
TBT4-240W-1MList Price :
Amazon Rating : (230 Reviews)
Thunderbolt™ 3 / 4 and USB4 Easy Transfer Cable
TBT-TRANList Price :
Amazon Rating : (75 Reviews)
Plugable 5-in-1 Thunderbolt 4 and USB4 Hub
USB4-HUB3AList Price :
Amazon Rating : (391 Reviews)
Plugable Thunderbolt 4 Cable (3.3ft/1m)
TBT4-40G1MList Price :
Amazon Rating : (482 Reviews)
Plugable Thunderbolt 4 Cable (6.6ft/2m)
TBT4-40G2MList Price :
Amazon Rating : (440 Reviews)
Plugable Thunderbolt 4 and USB4 Hub
TBT4-HUB3CList Price :
Amazon Rating : (304 Reviews)
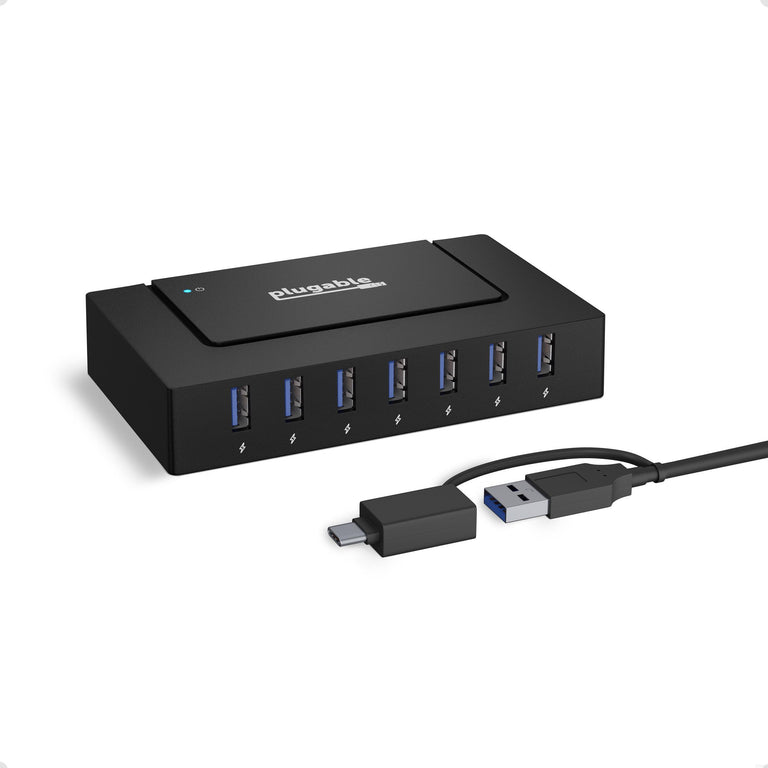
Plugable USB 3.0 and USB-C 7-Port Charging Hub
USBC-HUB7BCList Price :
Amazon Rating : (239 Reviews)

Plugable USB-C 7-in-1 Hub with Ethernet
USBC-7IN1EList Price :
Amazon Rating : (495 Reviews)
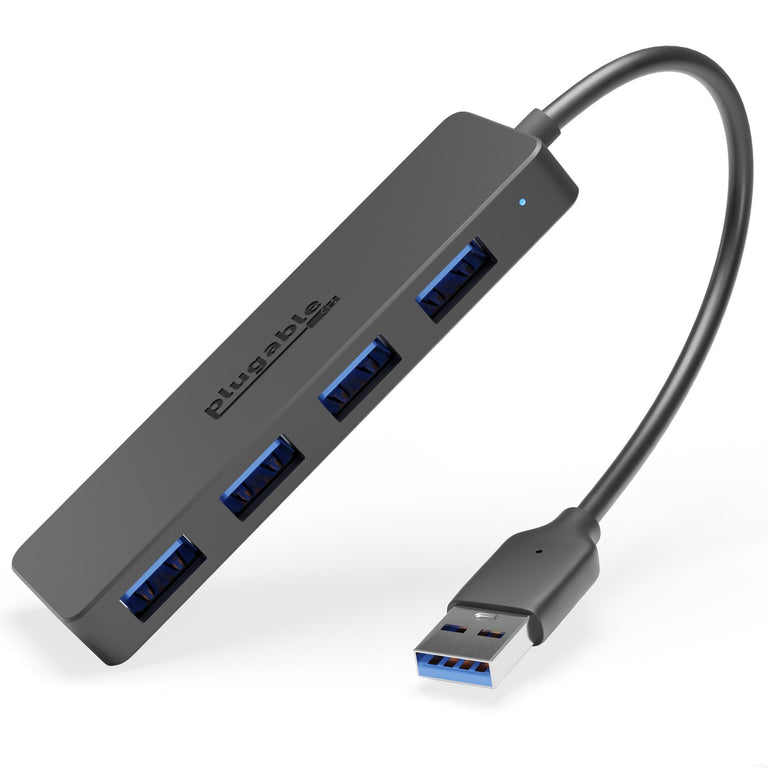
Plugable Rotating 4-Port USB 3.0 Portable Bus Powered Hub
USB3-HUB4RList Price :
Amazon Rating : (423 Reviews)

Plugable USB-C Hub 7-in-1 with 4K 60Hz HDMI, 100W Pass-Through Charging
USBC-7IN1List Price :
Amazon Rating : (1508 Reviews)

Plugable 10Gbps USB C to USB C Cable, 3.3 feet (1 Meter), 5A, USB-IF Certified, USB 3.1 Gen 2 Type-C - Driverless
USBC-C100List Price :
Amazon Rating : (75 Reviews)
Plugable USB 3.0 Passive Type-A to Type-C Cable (6in/15cm)
USBC-AF3List Price :
Amazon Rating : (433 Reviews)

Plugable USB 3.0 Windows SuperSpeed Transfer Cable
USB3-TRANList Price :
Amazon Rating : (1376 Reviews)

Plugable USB 3.0 Sharing Switch
USB3-SWITCH2List Price :
Amazon Rating : (1416 Reviews)

USB 3.0 7-Port Hub with 2 BC 1.2 Charging Ports and 36W Power Adapter
USB3-HUB7CList Price :
Amazon Rating : (1343 Reviews)

Plugable USB 3.0 3-Port Bus Powered Hub with Gigabit Ethernet
USB3-HUB3MEList Price :
Amazon Rating : (511 Reviews)
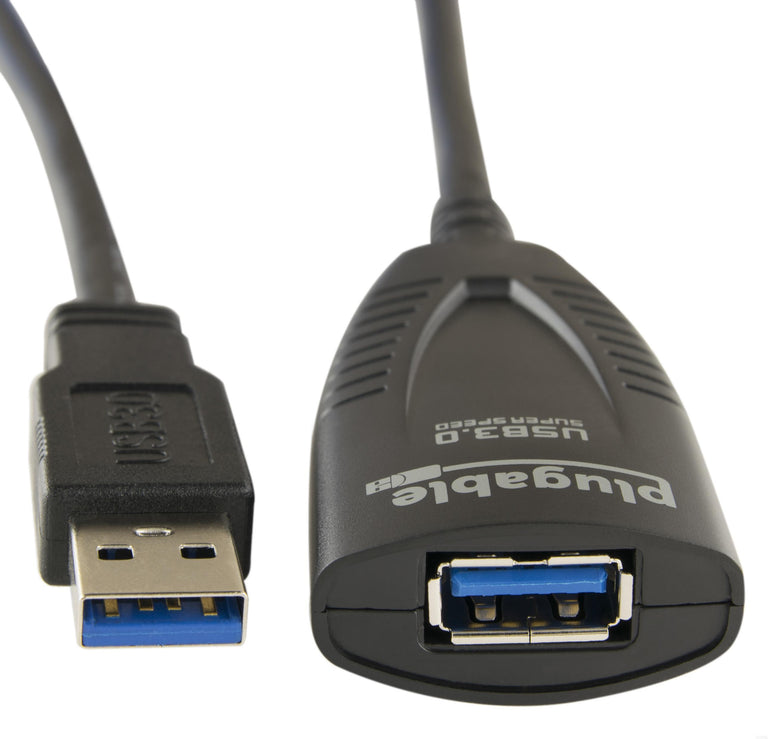
Plugable USB 3.0 5M (16ft) Extension Cable with Power Adapter and Back-Voltage Protection
USB3-5M-DList Price :
Amazon Rating : (120 Reviews)
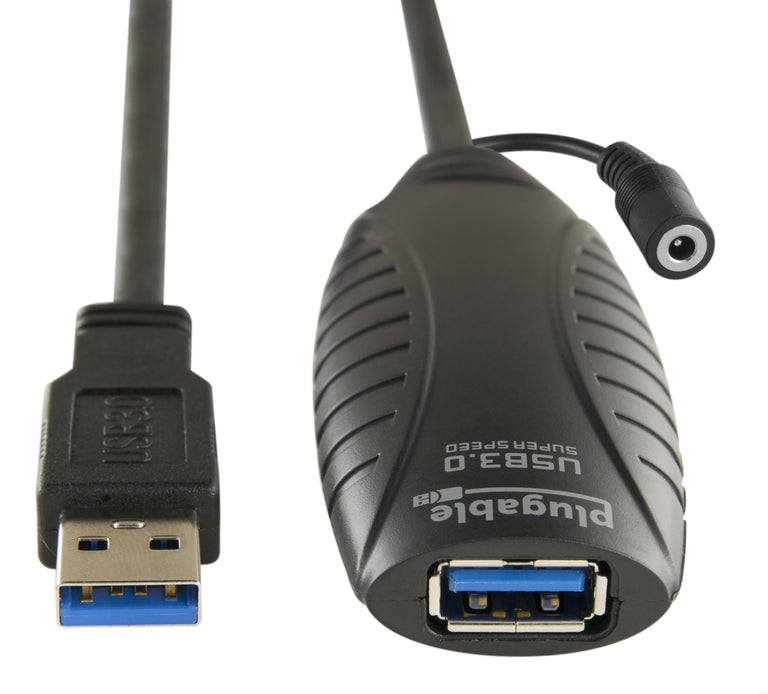
Plugable USB 3.0 10M (32ft) Extension Cable with Power Adapter and Back-Voltage Protection
USB3-10M-DList Price :
Amazon Rating : (350 Reviews)

Plugable USB 2.0 Sharing Switch
USB2-SWITCH2List Price :
Amazon Rating : (1761 Reviews)
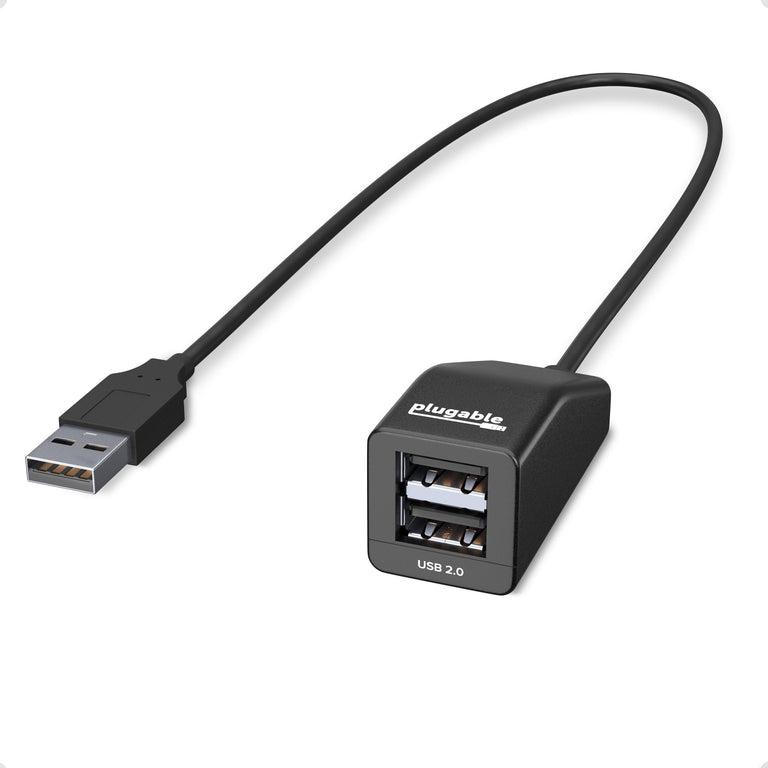
Plugable USB 2.0 2-Port Hub/Splitter
USB2-2PORTList Price :
Amazon Rating : (1306 Reviews)

Plugable USB 2.0 Active Extension Cable (5m/16′)
USB2-5MList Price :
Amazon Rating : (1784 Reviews)

Plugable USB 2.0 Active Extension Cable (10m/32′)
USB2-10MList Price :
Amazon Rating : (1787 Reviews)
USB Peripherals

Plugable Gigabit USB-C to Ethernet Cable, 2m 6.6ft
USBC-E1000-2MList Price :
Amazon Rating : (62 Reviews)

Plugable USB-C to 5GbE Ethernet Adapter
USBC-E5000List Price :
Amazon Rating : (149 Reviews)

Plugable USB-C to 2.5 Gbps Ethernet Adapter with 100W USB-C Charging
USBC-E2500PDList Price :
Amazon Rating : (81 Reviews)
Plugable USB 3.0 Wi-Fi 6 AX1800 Wireless Adapter
USB-WIFIAXList Price :
Amazon Rating : (44 Reviews)

Plugable 2.5G USB-C and USB to Ethernet Adapter
USBC-E2500List Price :
Amazon Rating : (1587 Reviews)
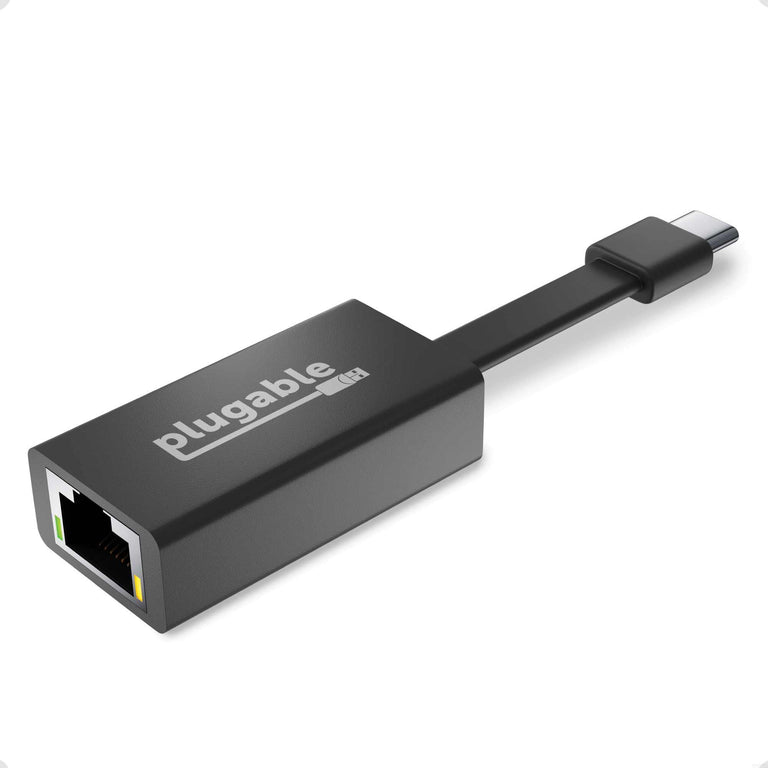
Plugable USB-C to Gigabit Ethernet Adapter
USBC-TE1000List Price :
Amazon Rating : (280 Reviews)

Plugable Performance NIX USB 3.0/USB-C HDMI Streaming and Capture Card
USBC-CAP60List Price :
Amazon Rating : (304 Reviews)

Plugable Performance Mouse for Gaming and Precision
USB-PM3360List Price :
Amazon Rating : (75 Reviews)
Plugable Bluetooth® Full-Size Folding Keyboard and Case
BT-KEY3XLList Price :
Amazon Rating : (422 Reviews)
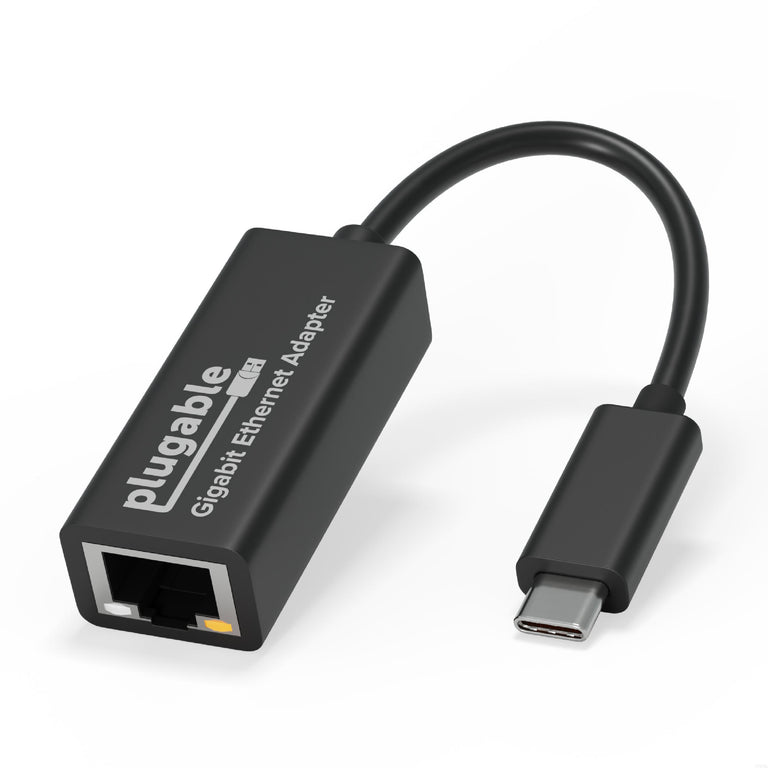
Plugable USB-C Gigabit Ethernet Adapter
USBC-E1000List Price :
Amazon Rating : (454 Reviews)

Plugable 250x Digital USB Microscope with Observation Stand
USB2-MICRO-250XList Price :
Amazon Rating : (6556 Reviews)

Plugable USB 2.0 Wi-Fi 6 Wireless Adapter
USB-WIFINTList Price :
Amazon Rating : (1138 Reviews)

Plugable USB 3.0 Gigabit Ethernet Adapter
USB3-E1000List Price :
Amazon Rating : (4868 Reviews)

Plugable USB 2.0 10/100 Ethernet Adapter
USB2-E100List Price :
Amazon Rating : (3941 Reviews)
Video Port Adapters and Cables
Plugable DisplayPort to HDMI Active Adapter
DP-HDMIList Price :
Amazon Rating : (3046 Reviews)
Plugable USB 3.1 Type-C to HDMI 2.0 Adapter
USBC-HDMIList Price :
Amazon Rating : (437 Reviews)

Plugable USB 3.1 Type-C to HDMI 2.0 Cable
USBC-HDMI-CABLEList Price :
Amazon Rating : (289 Reviews)

Plugable HDMI 2.1 USB-C to HDMI Adapter, Supports 4K 144Hz or 8K 60Hz
USBC-HDMI8KList Price :
Amazon Rating : (105 Reviews)

Plugable DisplayPort to VGA Adapter (Active)
DPM-VGAFList Price :
Amazon Rating : (44 Reviews)
Plugable HDMI to VGA Active Adapter Cable
HDMI-VGAList Price :
Amazon Rating : (580 Reviews)

Plugable USB-C to DisplayPort Bidirectional Adapter Cable
USBC-DPList Price :
Amazon Rating : (895 Reviews)
Plugable Mini DisplayPort to VGA Adapter (Active)
MDPM-VGAFList Price :
Amazon Rating : (53 Reviews)
Plugable USB-C to DisplayPort Adapter
USBC-TDPList Price :
Amazon Rating : (177 Reviews)
Plugable Mini DisplayPort/Thunderbolt™ 2 to HDMI 2.0 Active Adapter
MDP-HDMIList Price :
Amazon Rating : (1049 Reviews)


Plugable Mini DisplayPort to DVI Adapter (Passive)
MDPM-DVIFList Price :
Amazon Rating : (19 Reviews)

Plugable DisplayPort to HDMI Adapter (Passive)
DPM-HDMIFList Price :
Amazon Rating : (288 Reviews)
Plugable Mini DisplayPort to HDMI Adapter (Passive)
MDPM-HDMIFList Price :
Amazon Rating : (49 Reviews)
Plugable DisplayPort to DVI Adapter (Passive)
DPM-DVIFList Price :
Amazon Rating : (49 Reviews)

