
Hassle free, 2-Year Warranty
Fast, Free Shipping on Orders $35+
Lifetime Technical Support
30-Day Money Back Guarantee
Plugable USB 2.0 2-Port Hub/Splitter
$13.95 USD
SKU: USB2-2PORTAmazon Rating : (1277 Reviews)
Features
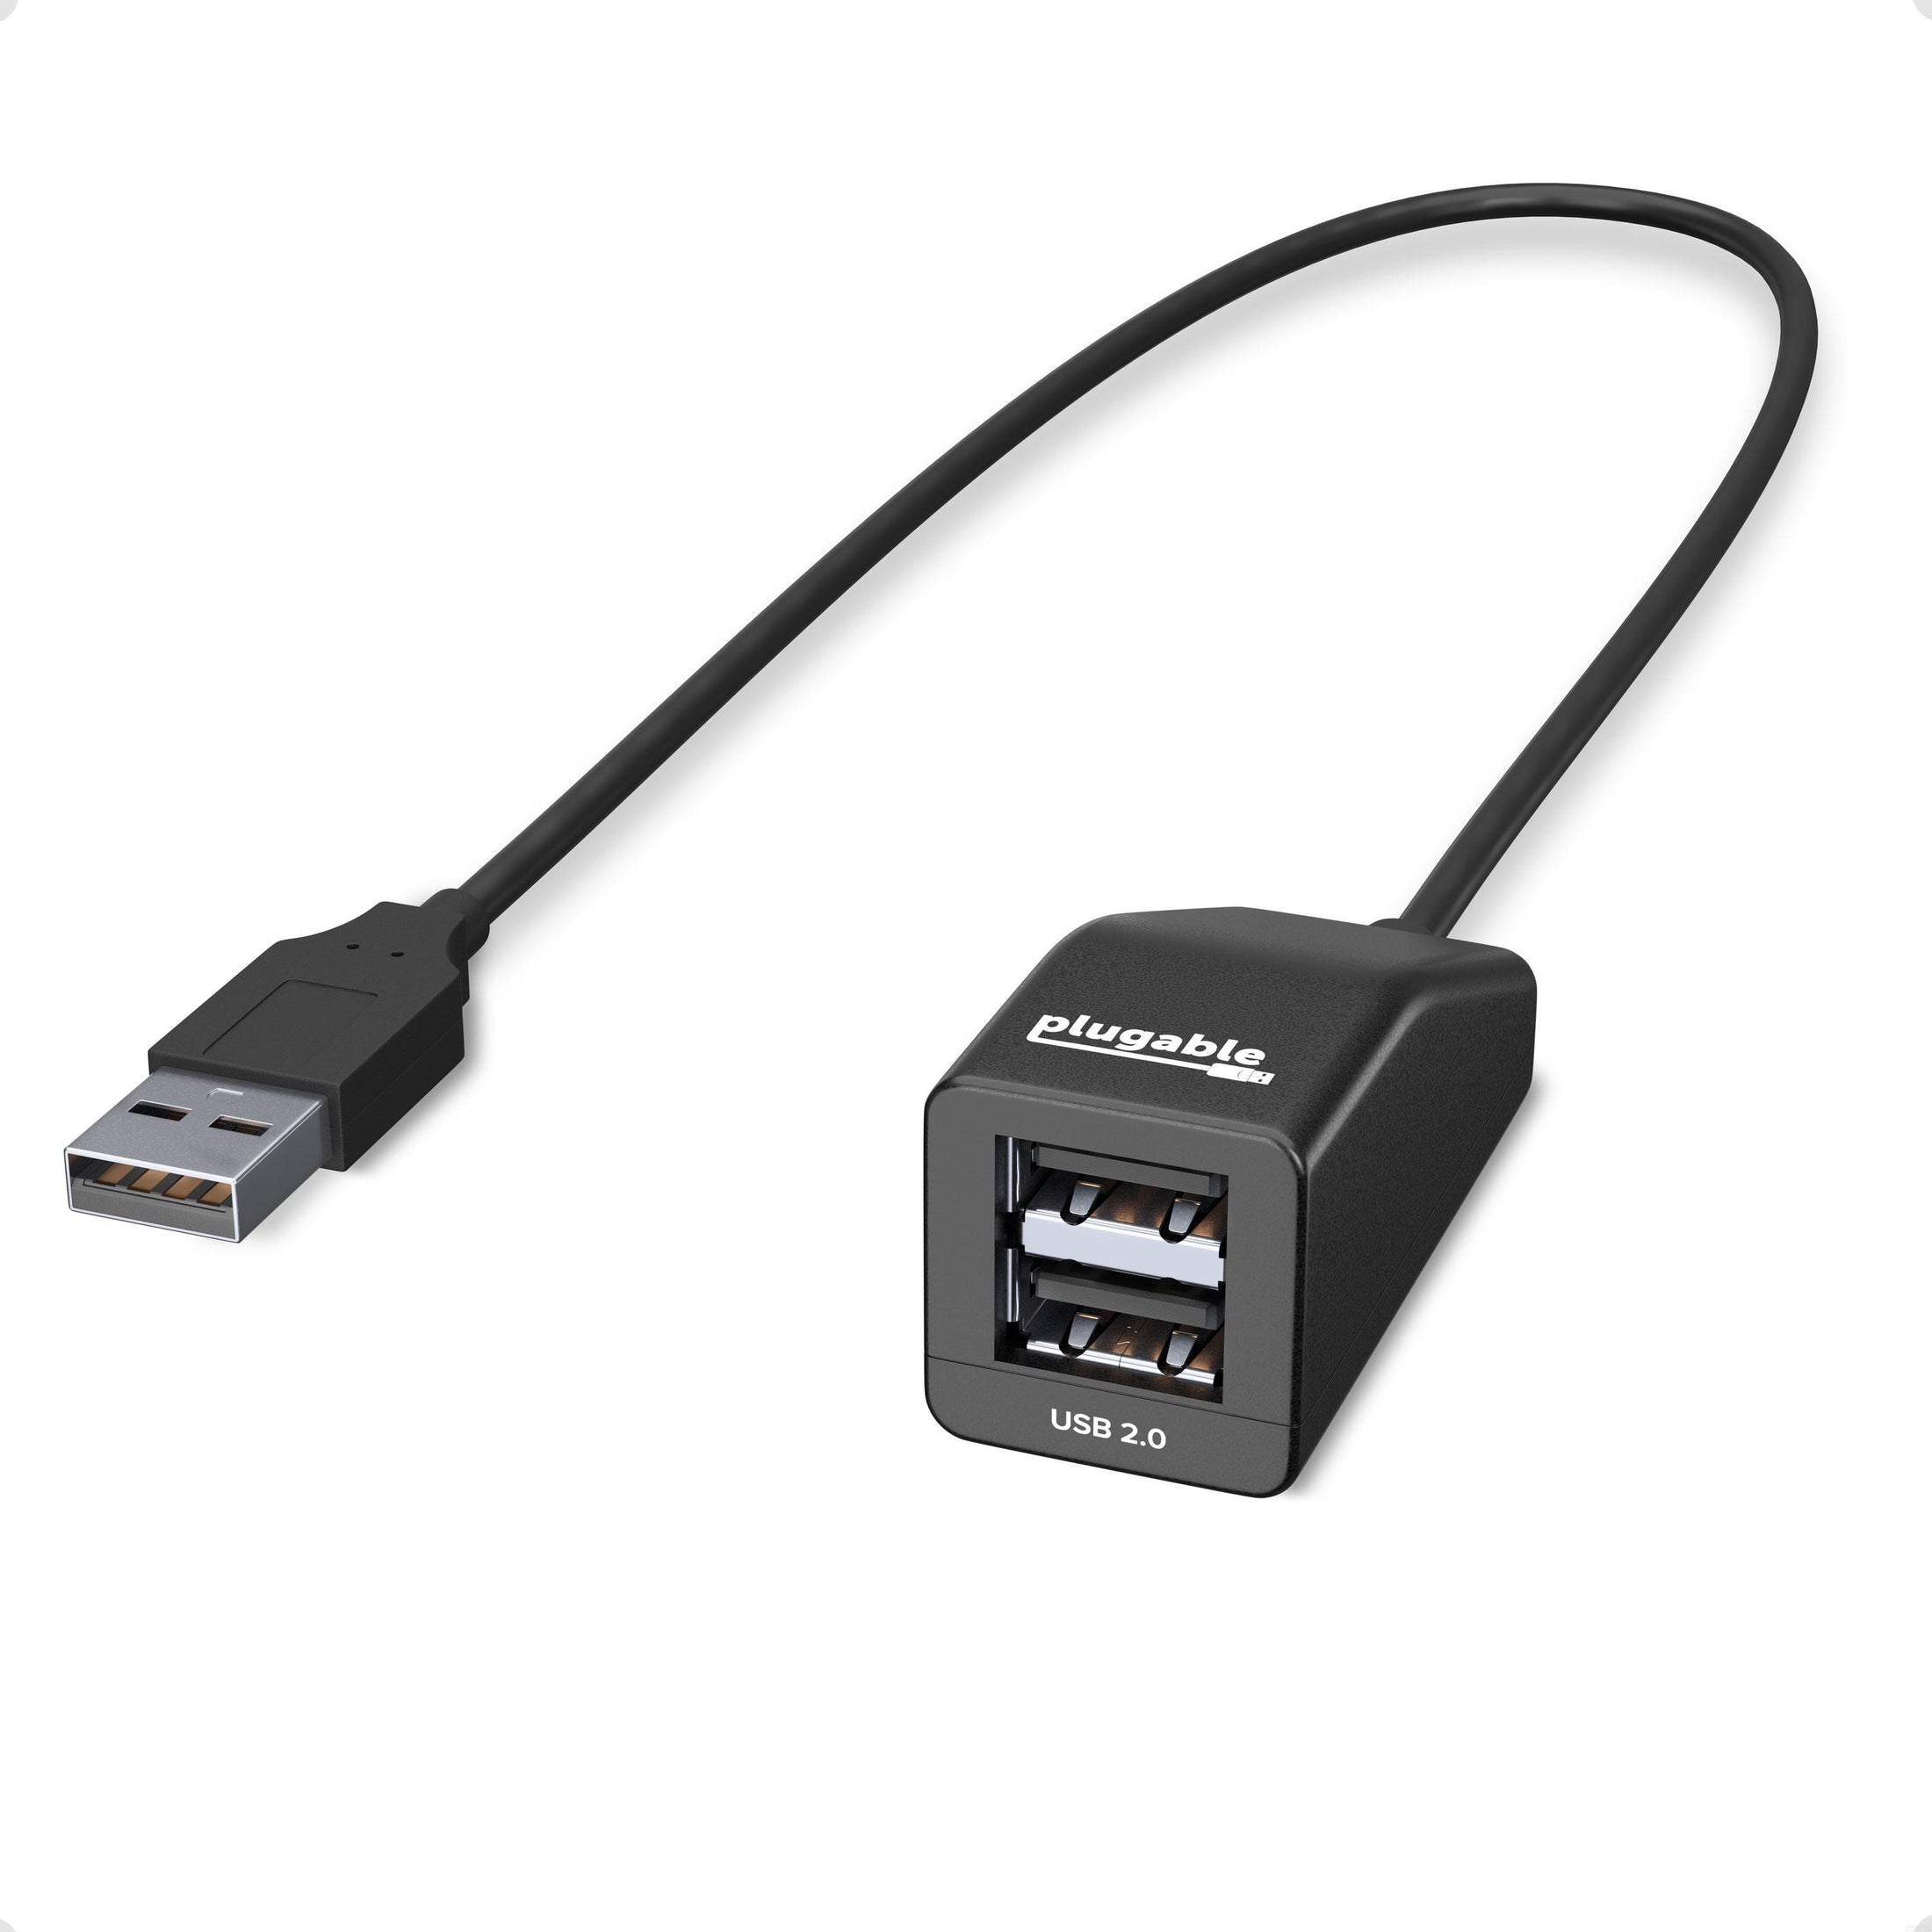
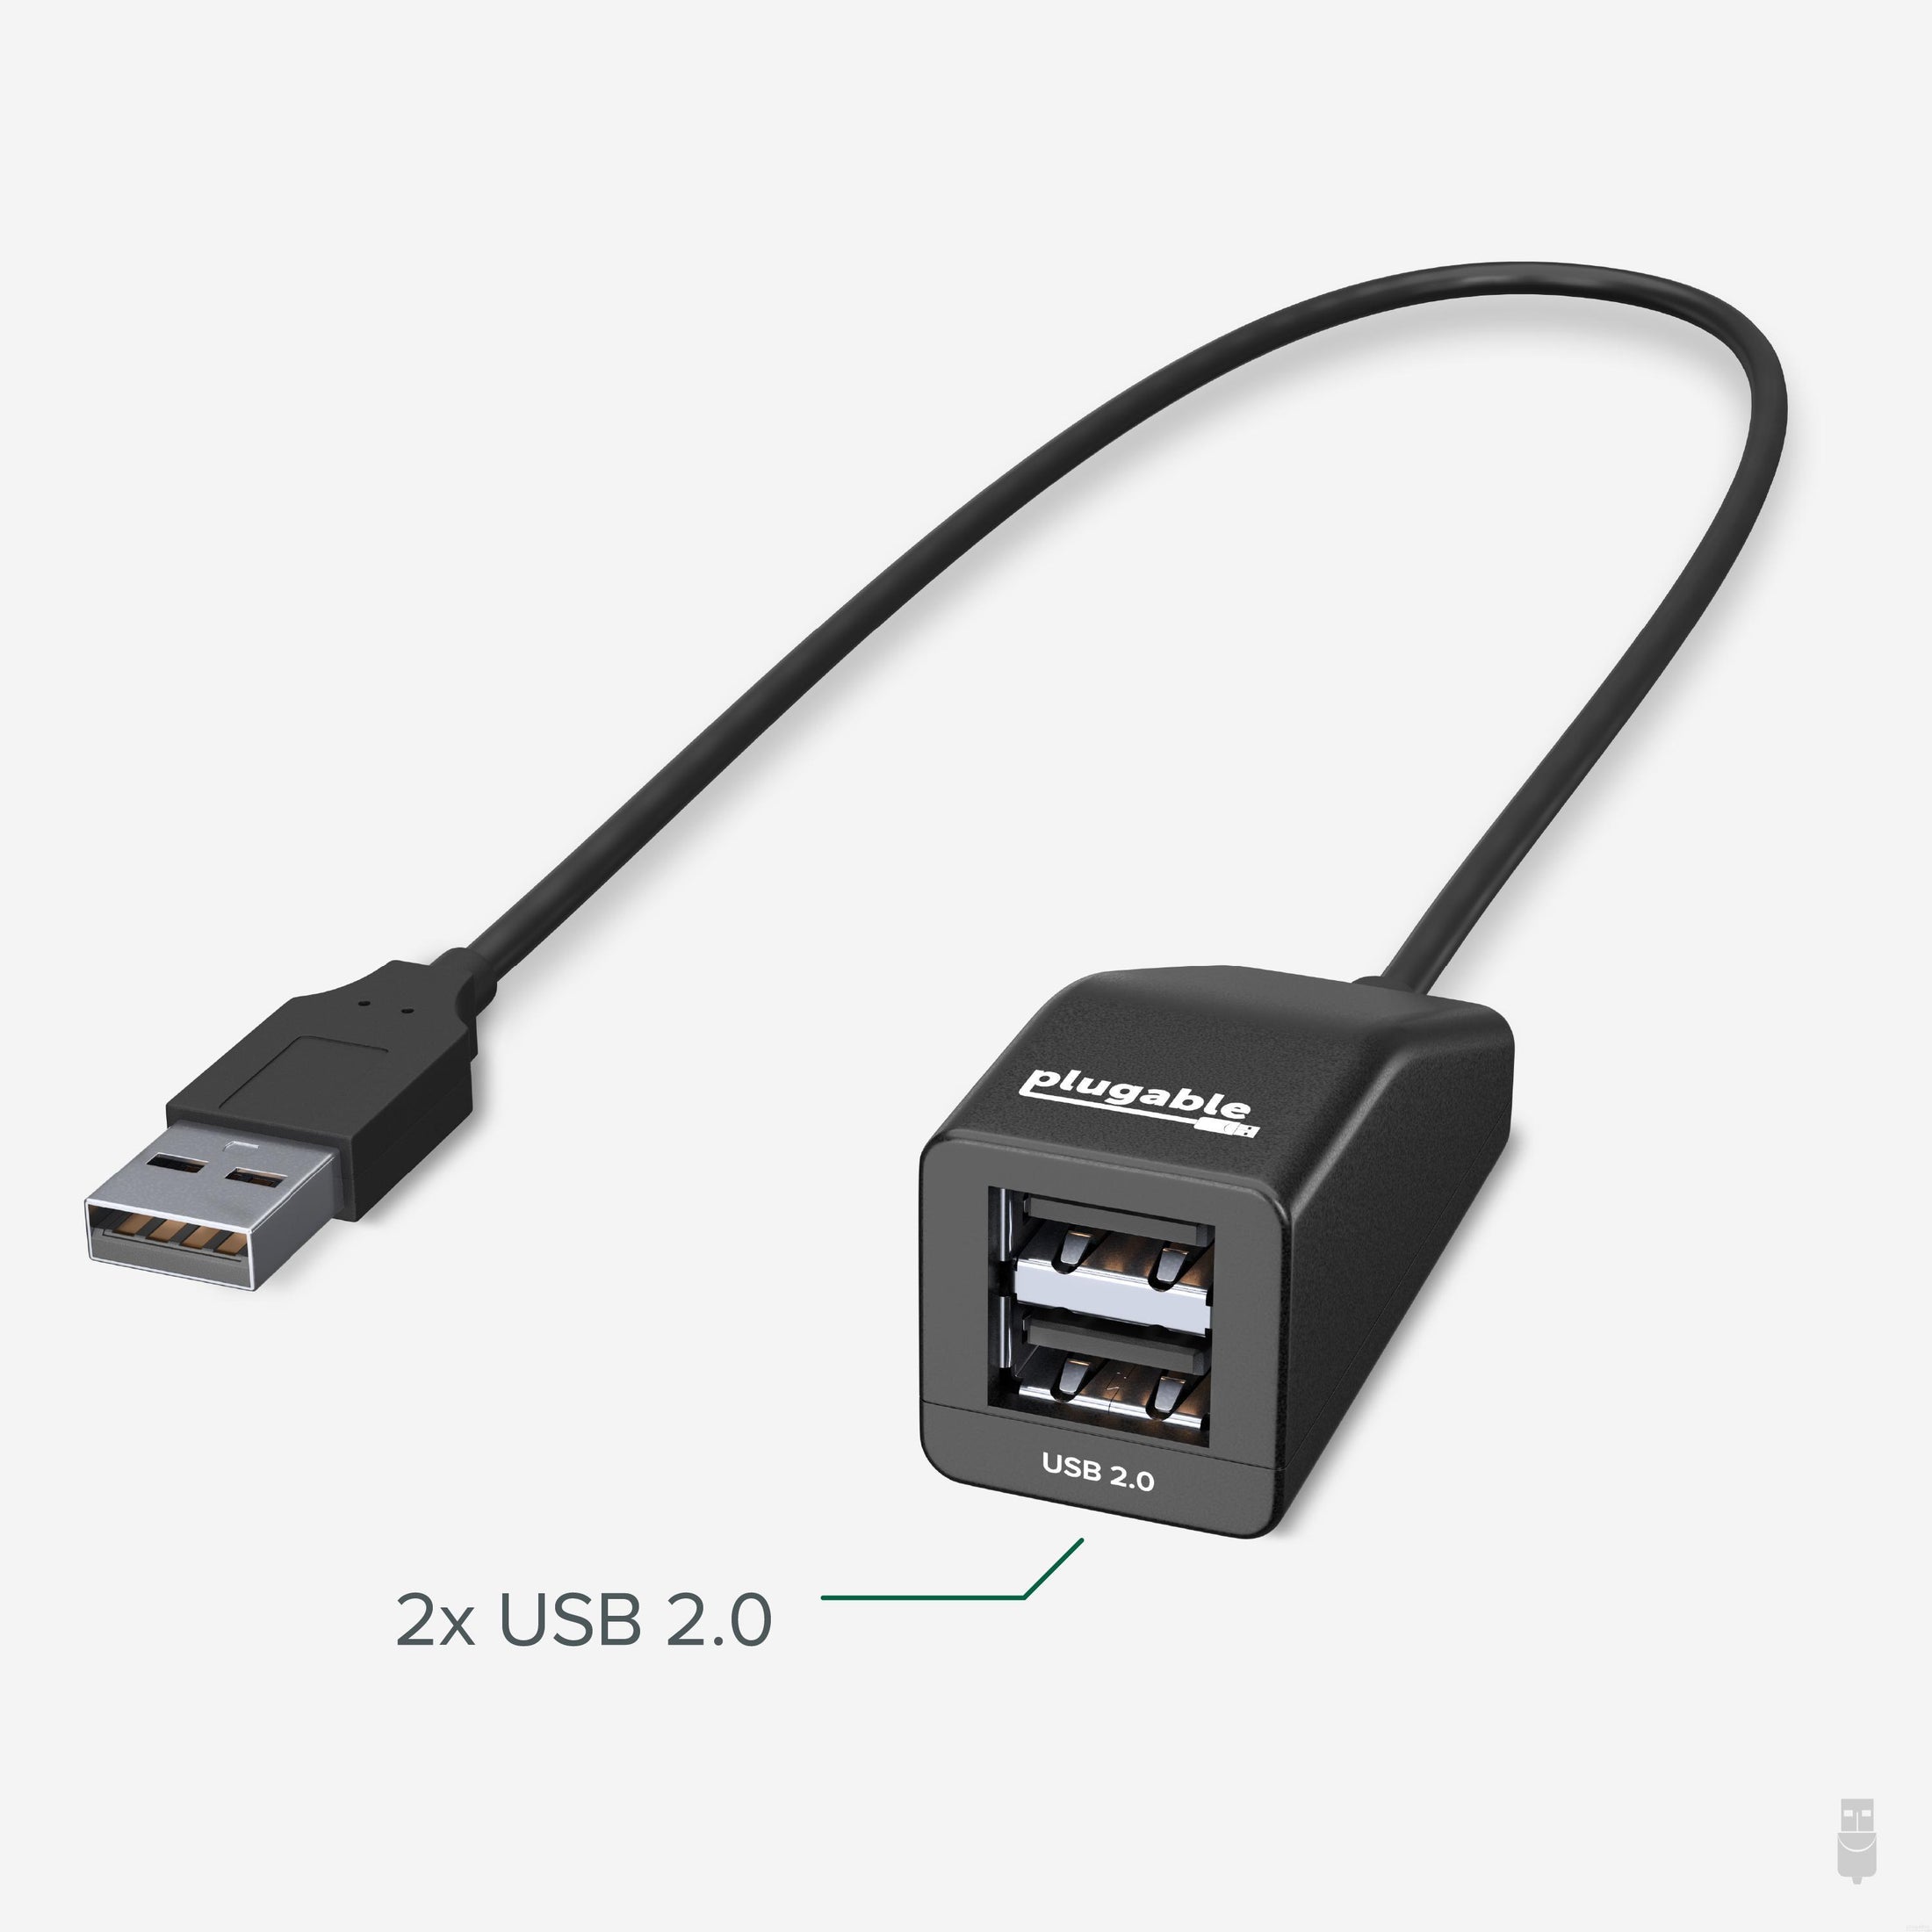
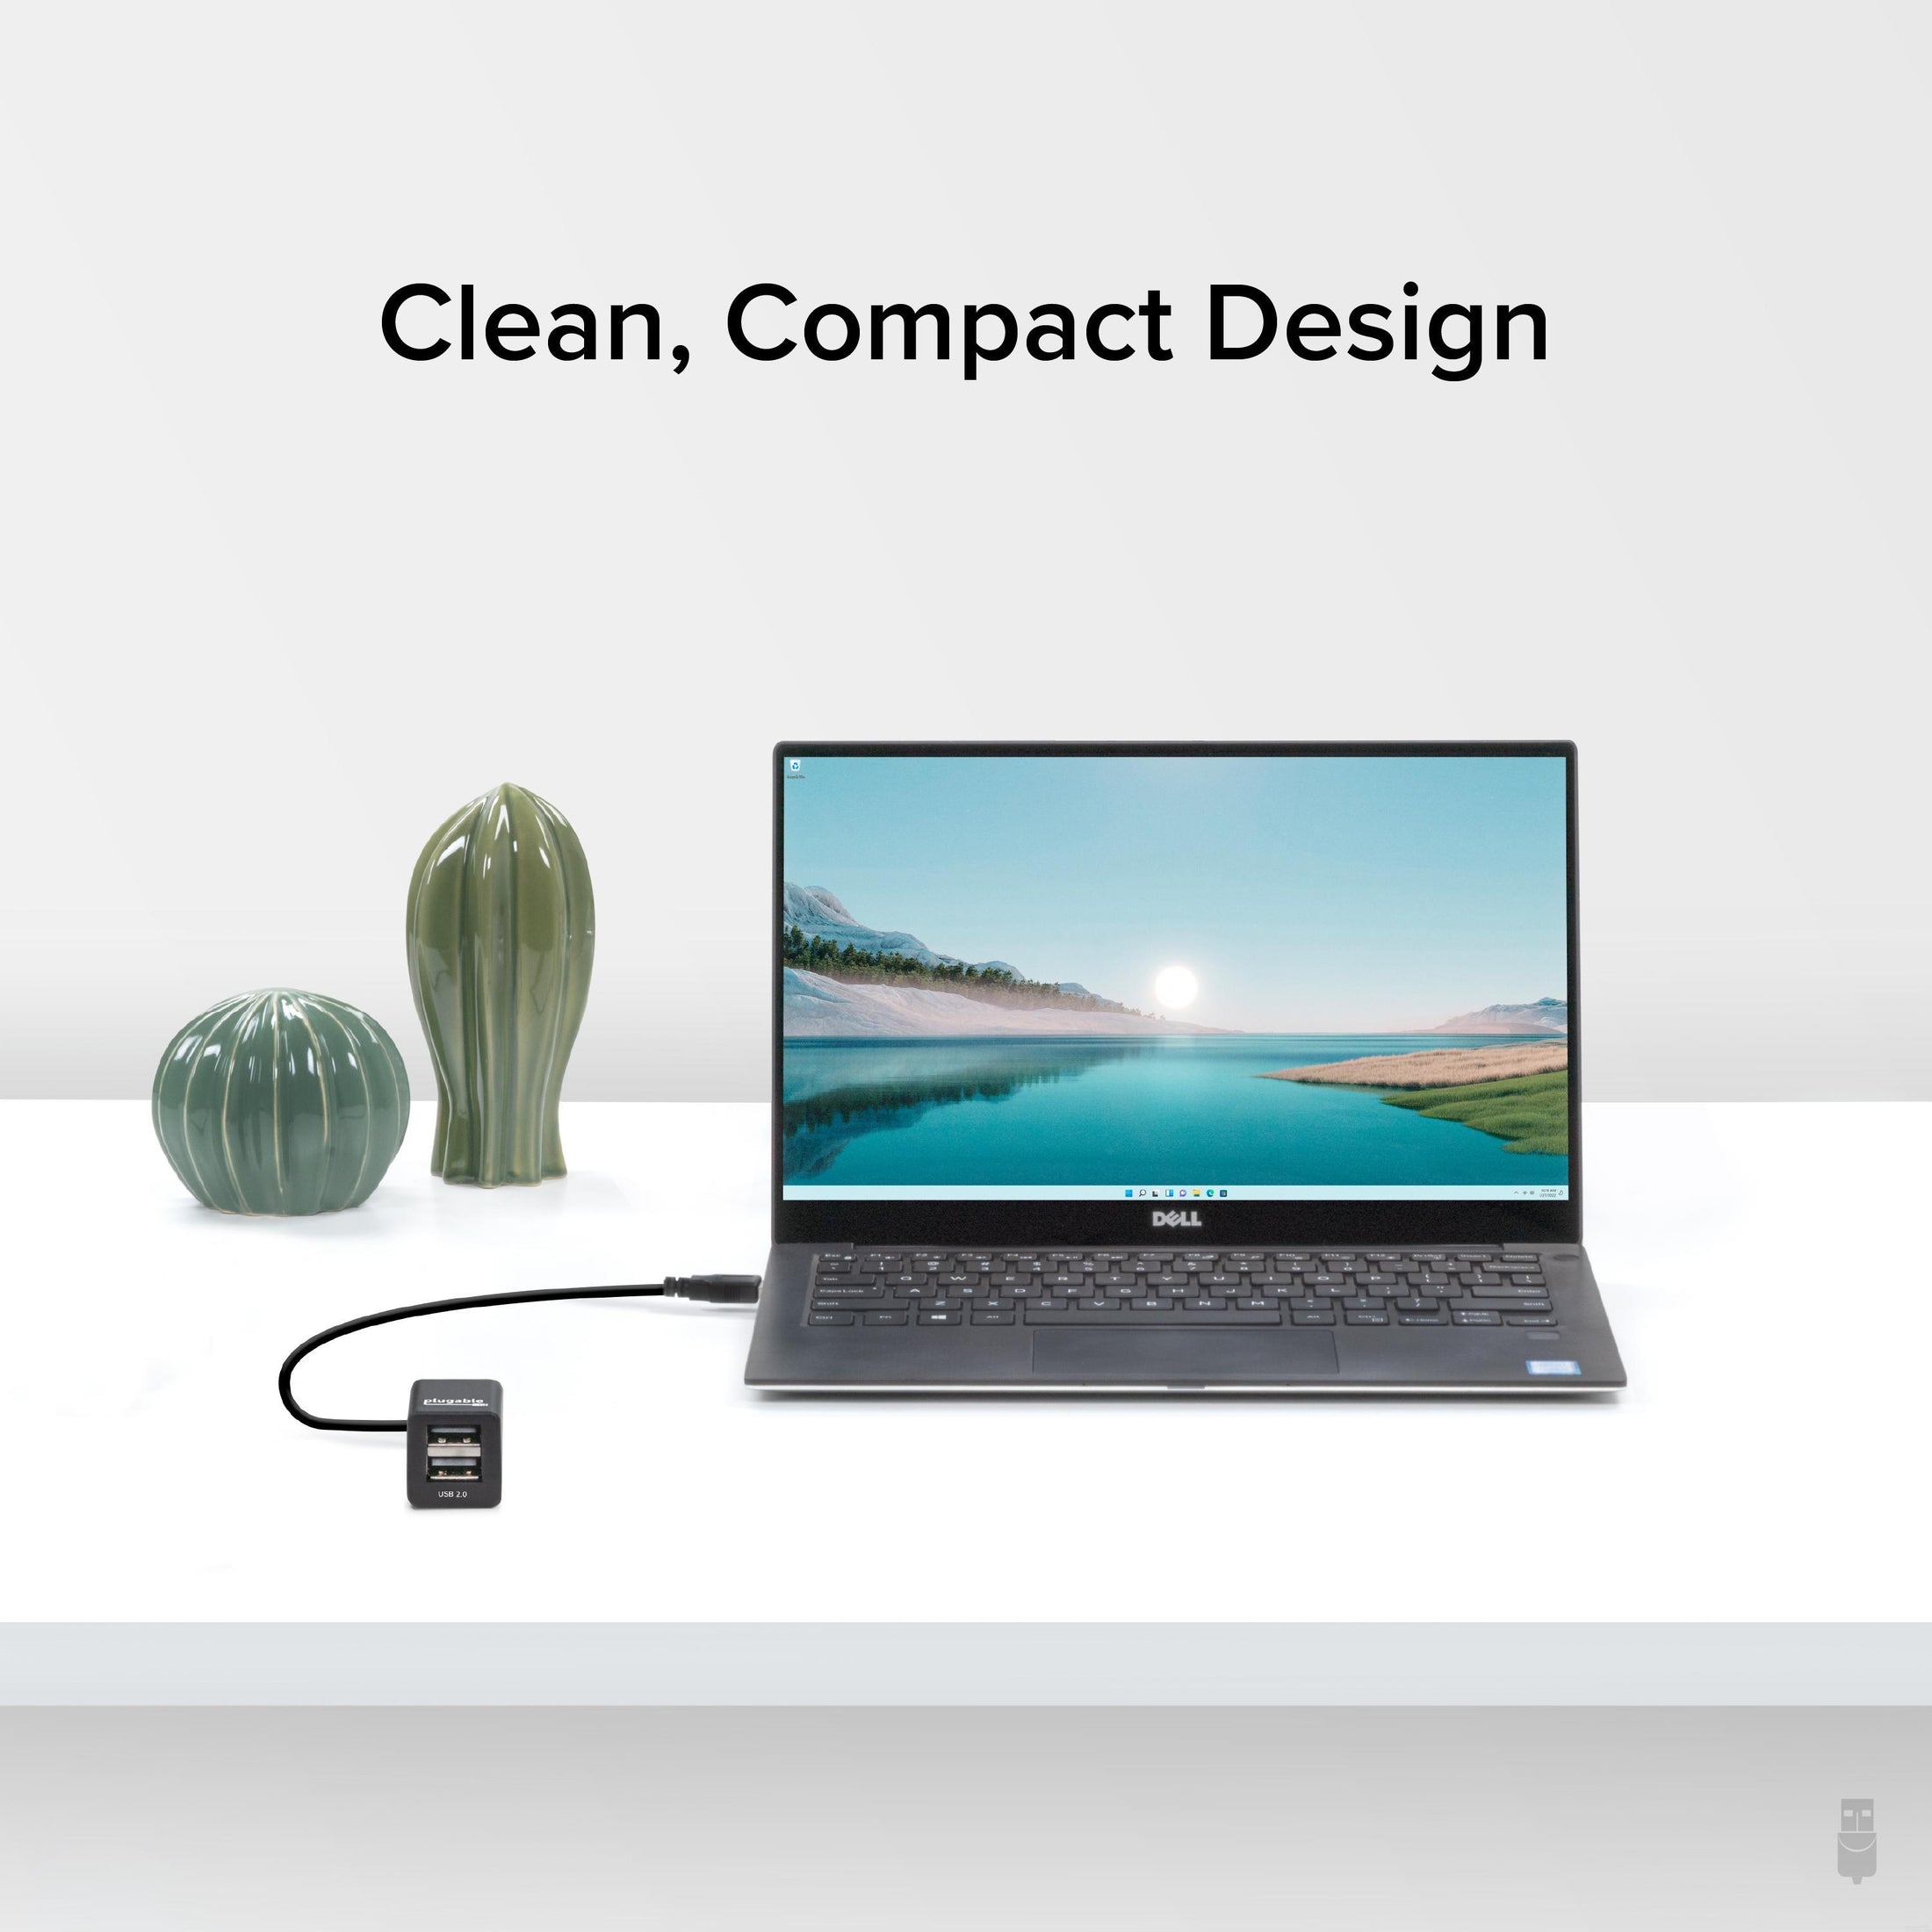
- Two Ports in One—This USB adapter has a clean and compact design. Standard USB hub splitter enables two devices to share a single available USB port with full USB 2.0 compatibility and performance
- Compatibility—2 port USB hub works with USB 3.0, 2.0 host controllers and devices on Windows, Mac, and Linux/Unix computers at USB 2.0 speeds. Transfer rates are device and USB host controller dependent. Fully plug and play, devices can be hot-plugged
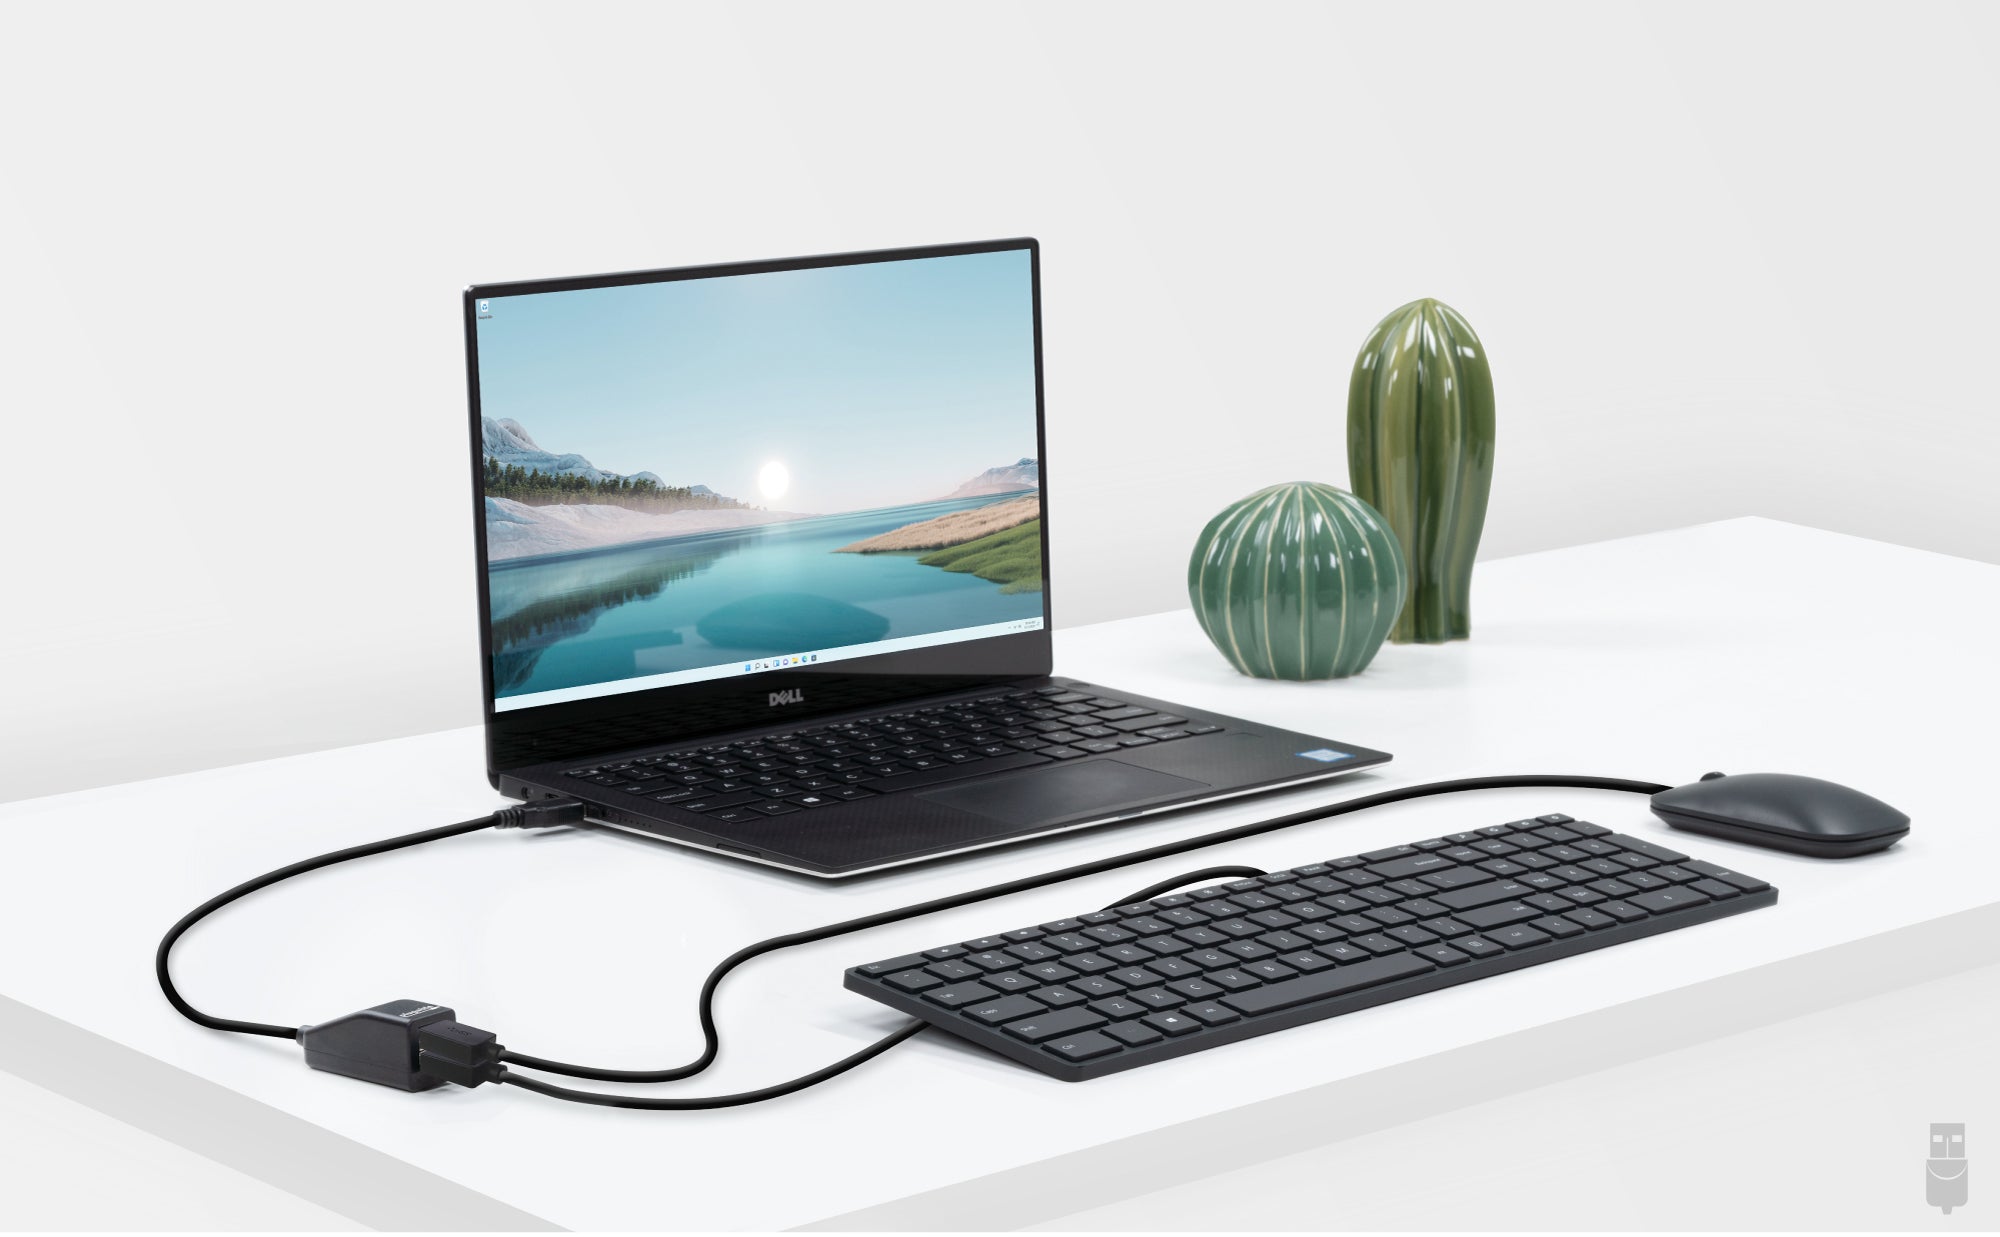
- Portable—USB splitter for laptops is ultra compact and travel friendly featuring a built-in 12-inch USB extender cable. Multi usb port perfect for adding more devices (like a keyboard and mouse) to your limited ports
- Note—USB splitter is bus powered, requires no additional AC power. This hub is intended for low or self powered devices. Not compatible with automotive USB ports
- 2-Year Coverage, Lifetime Support—Every Plugable product, including this 2-in-1 USB splitter, is covered against defects for 2 years and comes with lifetime support. If you ever have questions, contact our North American-based team - even before purchase
Free 3-Day Shipping on Orders Over $35!
Plugable USB 2.0 2-Port Hub
Featuring a clean, compact design, the Plugable USB 2.0 2-Port Hub (USB2-2PORT) enables two devices to share a single available USB port with full USB 2.0 compatibility and performance. The hub uses a high-quality NEC chipset.
Common Uses for the USB 2.0 Hub
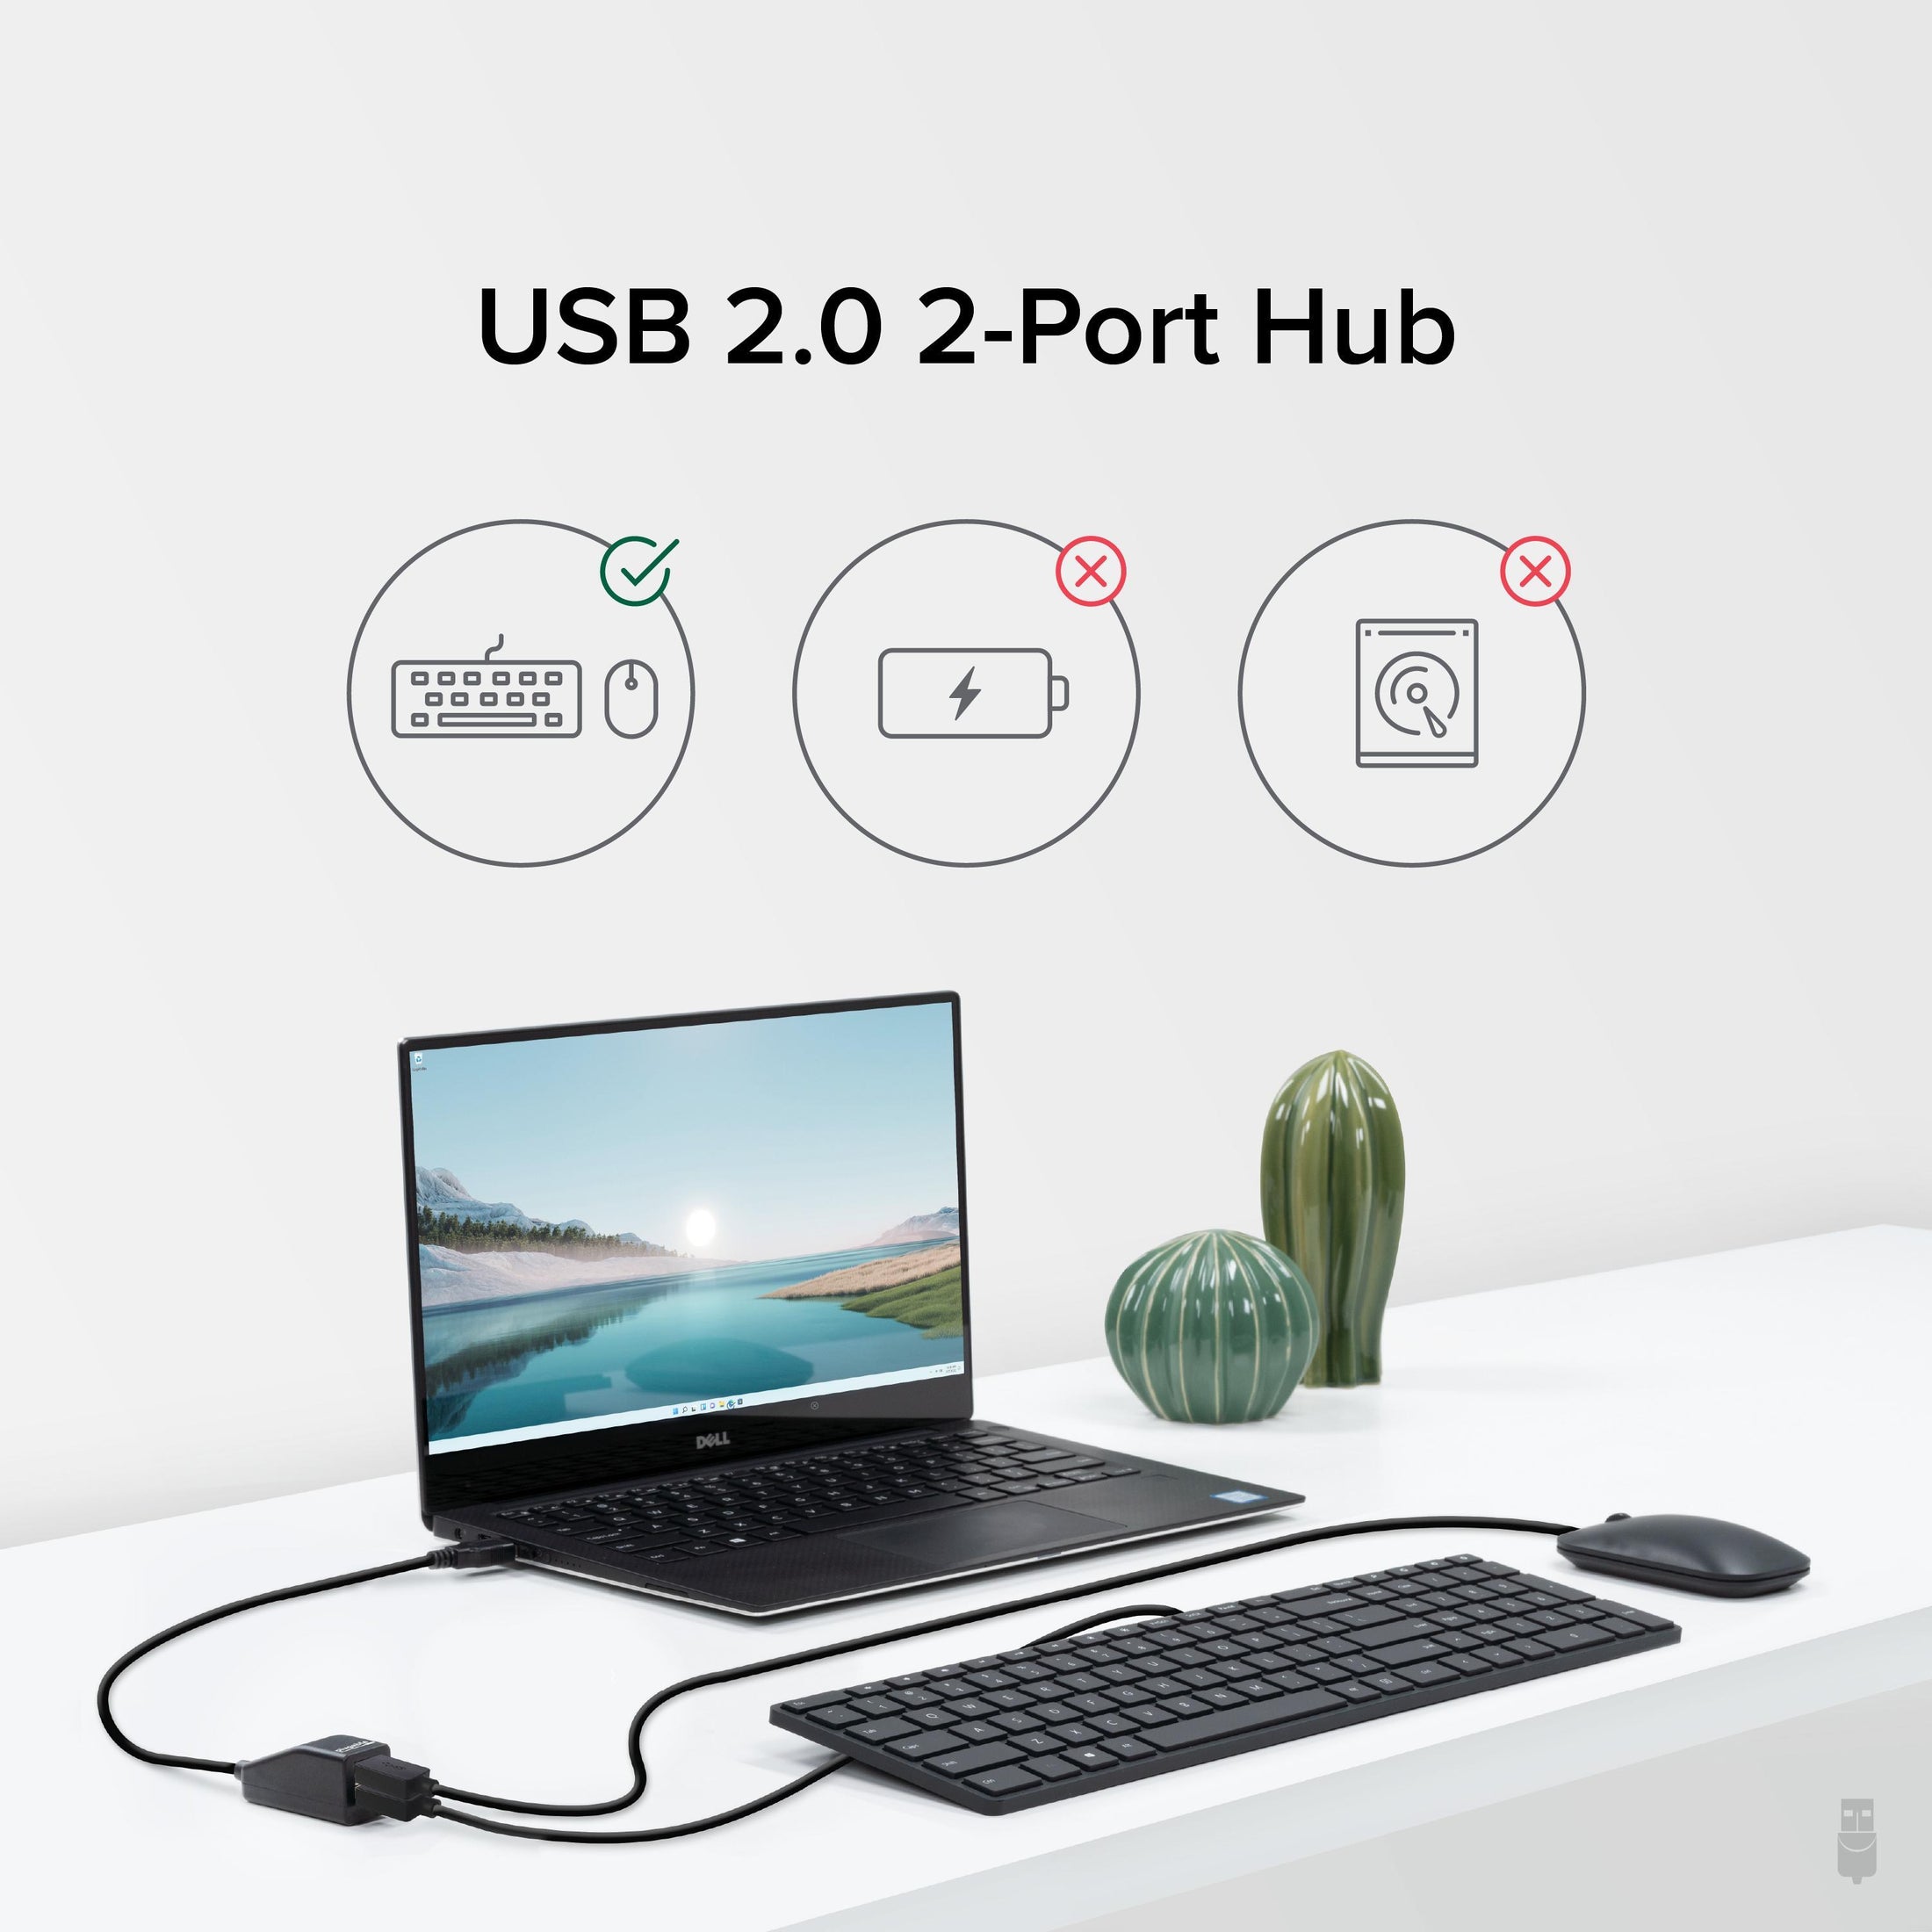
Common uses include connecting both keyboard and mouse via a single USB cable, industrial environments where space is a premium, and for any situation where a simple USB 2-port splitter is required. Great for travel due to the ultra-compact design and built-in 12in USB cable.
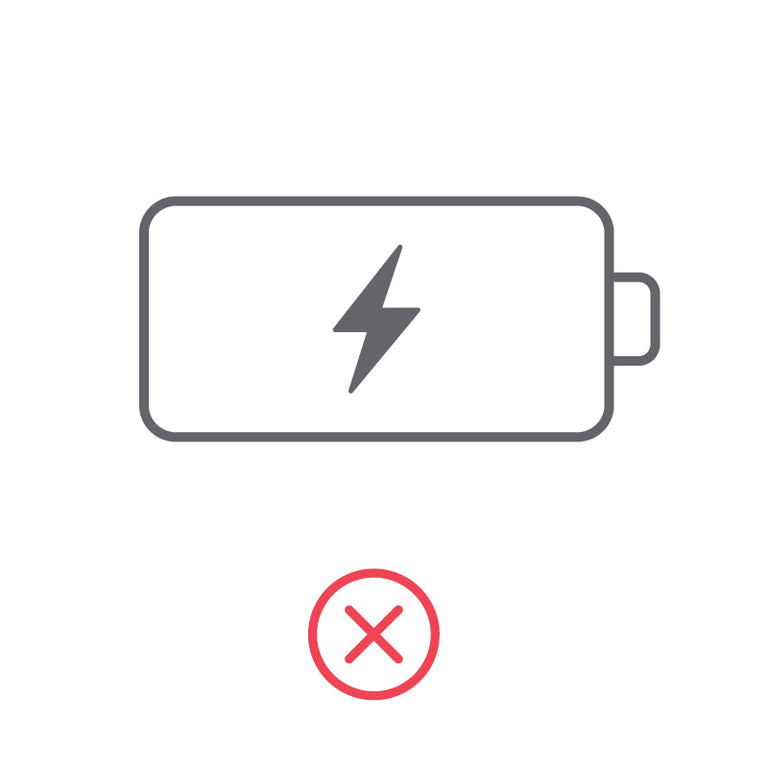
No Charging Capabilities
The Plugable hub is for data only and does not support charging of the connected devices. Functions as a USB hub only and will not charge phones, tablets, iPads, iPhones, or other tablet and smartphone devices with or without a PC connected. Not BC 1.1 / 1.2 compatible.
Does It Need Power?
This bus-powered hub shares available power (500mA) from the single upstream USB port to each of the two downstream USB ports. Because power is shared, devices connected via the hub should be low powered (keyboards, mice, etc), or self-powered (printers, powered hubs, externally powered hard drives).
In The Box
Item and Quantity | Item Notes |
---|---|
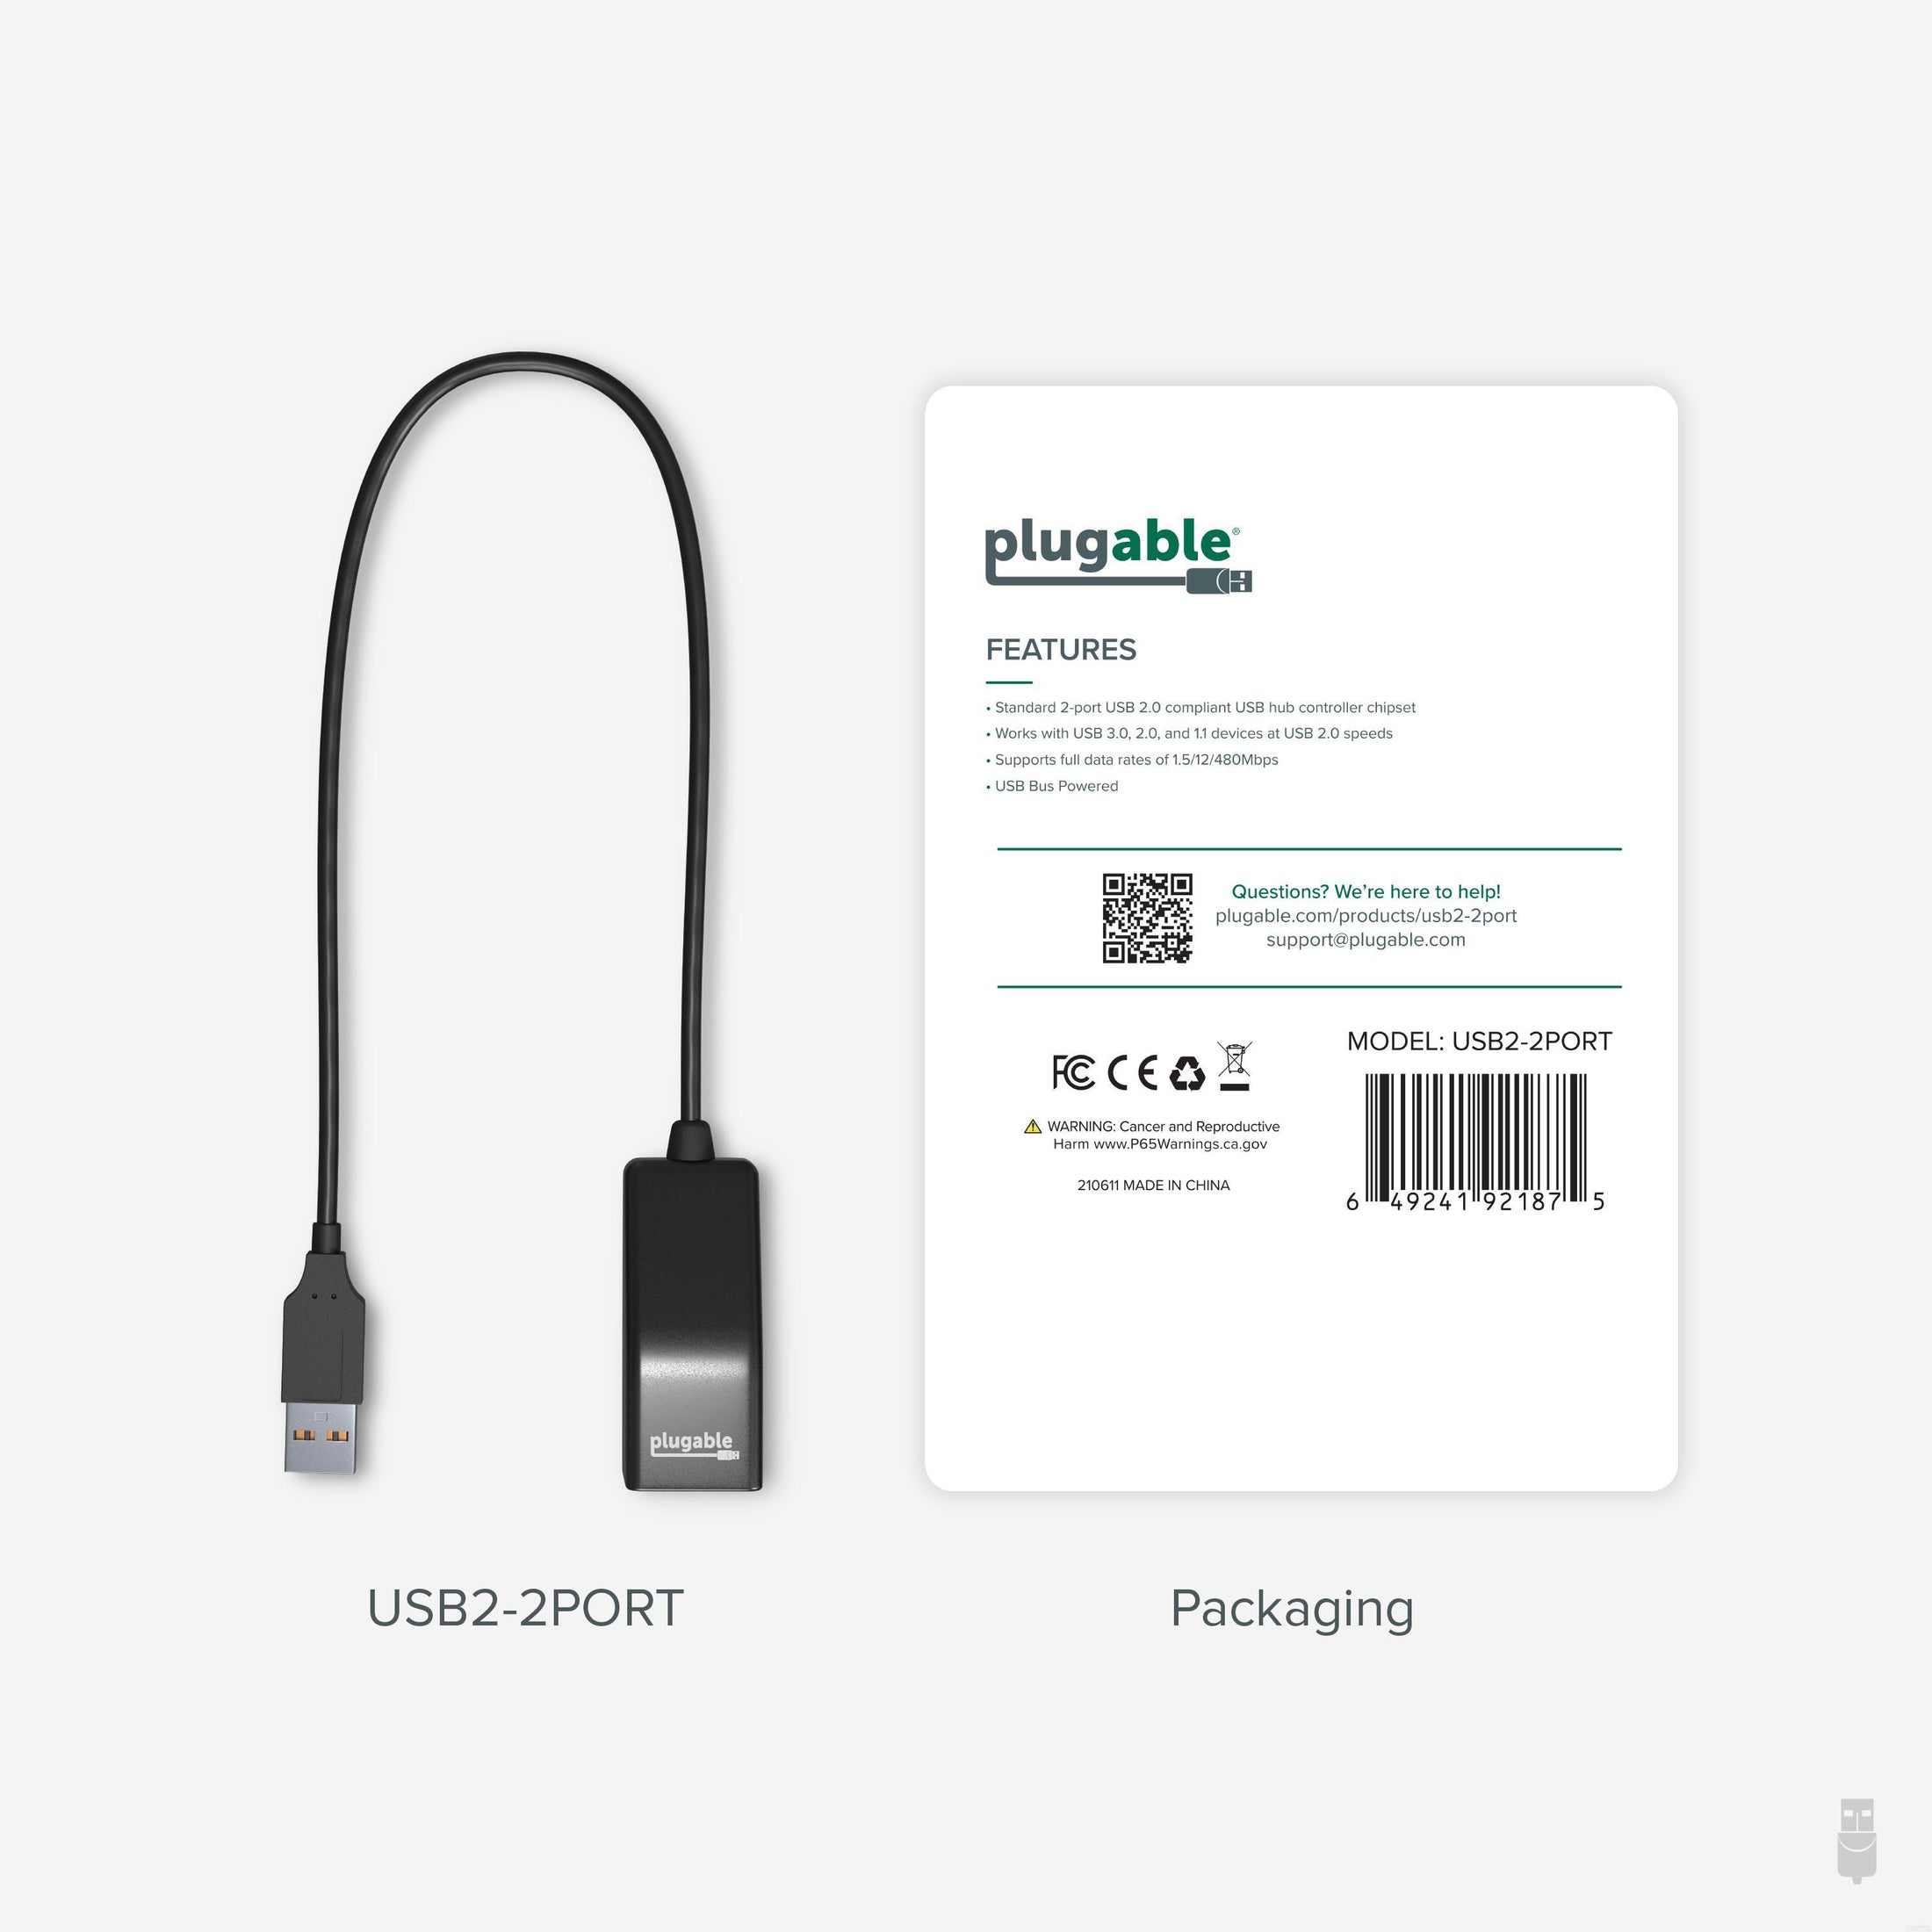
1x Plugable USB 2.0 2-Port Hub Splitter (USB2-2PORT) |
Included Cables
Port Type (Side 1) | Cable Specification | Port Type (Side 2) | Cable Length | External Power for Cable |
---|---|---|---|---|
Male USB-A | USB 2.0 (480Mbps) | USB-A | 0.39m/1.28ft | No |
Power
Port | Placement | Power Host / Device | Connection Type | Notes | Voltage | Amperage | Wattage |
---|---|---|---|---|---|---|---|
USB-A to Host | Rear | Bus Powered (No Power Adapter) | 0.0W |
USB To Devices
Port | Placement | Version and Link Rate | Features | Voltage | Amperage | Wattage |
---|---|---|---|---|---|---|
2x USB-A | Front | USB 2.0 (480Mbps) | 5V | 500mA | 2.5W |
Connection To Host
Port | Placement | Version and Link Rate | Features |
---|---|---|---|
1x USB-A | Rear | USB 2.0 (480Mbps) |
Physical Stats
Item | Size (H x W x D) or Length | Weight | SKU or Part Number |
---|---|---|---|
USB 2.0 2-Port Hub Splitter | 2.5 x 5.43 x 2.3 centimeters 1 x 2.1 x 0.9 inches |
9 grams 0.3 ounces |
USB2-2PORT |
Compatible With:
- Mice and Keyboards>
- Self-powered or low-powered devices
Not Compatible:
- Built-in car stereo systems
- Aftermarket systems such as Android Auto and Apple CarPlay do not support USB Hubs
Get Started
- This device needs no driver. Simply plug it into a USB 2.0 port on the host system to use
- Attach your low-power or self-powered USB peripherals to the two available ports on the hub
Questions? We're here to help! Please reach out to us at support@plugable.com.
Filter Help Articles and Frequent Questions by Category
Choose one or more filters within each category to narrow down the articles. Each selection will result in only displaying articles that include all of your choices.
Articles
Well how about that, it looks like we don't have any articles matching your filters! Try removing one of your choices or clear the filters to show all articles.
You can always contact support if you need help too!
USB Port Types
USB-A
pietz, CC BY-SA 3.0 , via Wikimedia Commons
This is the standard USB connection that most computers offered prior to the introduction of USB Type-C (USB-C). Even after the introduction of USB Type-C, this is still quite common.
It can provide data transfer rates up to the USB 3.1 Gen 2 (10 gbps) specification depending on the host and device, but does not directly support video in the way that USB-C Alternate Mode does. This limitation makes DisplayLink USB graphics adapters and docking stations ideal on systems that do not have USB-C, or in instances where more displays are needed beyond available video outputs of a PC.
USB-B
Fred the Oyster, CC BY-SA 4.0 , via Wikimedia Commons
IngenieroLoco, CC BY-SA 4.0, via Wikimedia Commons
This type of connection comes in a couple different styles depending on whether USB 3.0 and higher transfer rates are supported (bottom graphic). Usually this type of connection is used to plug into USB devices that do not have a fixed cable connected, such as USB docking stations, USB hubs, printers, and others.
USB Mini-B
Fred the Oyster, CC BY-SA 4.0 , via Wikimedia Commons
One of the first connectors for charging a smartphone, wireless game controller (such as the Sixaxis and DualShock 3), and other small devices such as external hard drives. Not commonly used today, but is still used in some cases. Most devices using USB Mini B are using USB 2.0, though a USB 3.0 variant does exist. This specification also added USB On-The-Go (OTG) functionality, though it is more commonly implemented with Micro USB.
USB Micro-B
Fred the Oyster, CC BY-SA 4.0, via Wikimedia Commons
IngenieroLoco, CC BY-SA 4.0 , via Wikimedia Commons
A smaller connector that serves many of the same uses as the Mini B connector, with added optional features such as Mobile High-Definition Link (MHL) to allow devices like smartphones to output video to larger displays without requiring a dedicated port for video output.
The larger variant of USB-B is most commonly used for external hard drives for higher 5Gbps transfer rates.
USB-C, Thunderbolt™ 3, and Thunderbolt™ 4
Niridya , CC0, via Wikimedia Commons
The most recent USB connection, USB Type-C (USB-C), represents a major change in what USB can do. The connector is smaller, can be connected in two orientations, is able to carry substantially more power and data, and can directly carry video signals of multiple types (HDMI, DisplayPort, etc.) Intel has also adapted the USB-C connector for use with Thunderbolt 3 and Thunderbolt 4.
It is important to note that while all Thunderbolt 3 and Thunderbolt 4 connections are USB-C, not all USB-C connections can be used with Thunderbolt 3 or Thunderbolt 4 devices.
More details regarding physical USB connections can be found on Wikipedia . The graphics depicted here are adapted from Wikimedia Commons by various artists under the Creative Commons Attribution-Share Alike 3.0 Unported license.
Self-Powered vs Bus-Powered USB Devices
While all USB ports provide some amount of power for attached devices, the available power may not be enough for certain high-current devices such as USB hubs or external hard drives. High-current devices usually come with their own power adapter, making them self-powered, in contrast to a bus-powered device that draws all of its power from the host computer's USB interface. Bus-powered devices can cause issues if they need more power than is available from the host machine.
Many of our devices that include power adapters, especially USB hubs, will function in either self-powered or bus-powered mode. However, even though the device may function, each additional device attached to the host computer reduces the total available bus power. If the power runs out, any USB device attached to the computer may suddenly disconnect. If this were to happen to a USB storage device, such an event could result in permanent data loss.
If a device comes with a power adapter, we recommend that the adapter stay connected at all times, otherwise the device may not function as designed.
Self-powered USB device - A device that takes all of its power from an external power supply
Bus-powered USB device - A device that takes all of its power from the host computer's USB interface.
Do Plugable products support the Apple SuperDrive?
Unfortunately Plugable products do not support the Apple SuperDrive.
The Apple SuperDrive has stringent power requirements that can only be met by directly connecting the SuperDrive to your host laptop. As a result at this time Apple recommends only using their USB-C adapter cables. You can find more information on that here → How to connect the Apple USB SuperDrive
If you have purchased a Plugable product to use with your Apple SuperDrive, and would like some additional assistance please do not hesitate to reach out. You can do so by emailing support@plugable.com, or going to Plugable.com/Support.
Does the USB2-2PORT Hub charge connected devices?
No. The Plugable USB 2.0 2-Port Hub is not intended for charging any mobile or other devices. Both ports on the 2-port hub share the available power from the one upstream port (at maximum 500mA shared). It is intended for low or self-powered devices and is not suitable for charging.
Is the USB2-2PORT compatible with my car audio system?
No. The USB2-2PORT hub is not compatible as car audio systems do not support USB hubs.
Can I connect two USB bus-powered external hard drives to the USB2-2PORT?
No. One or both external hard drives will drop off the USB bus since this USB hub splits 500mA at best between both USB ports.
Understanding Heat Generation in Electronics
It's not uncommon for users to notice a certain level of heat generation from electronics and by extension, Plugable products during operation. In this knowledge base article, we'll explore the reasons behind this heat generation and why it is considered a normal experience within reasonable limits.
Electronics, by their nature, generate heat during operation. This is primarily a result of the electrical current flowing through various components, such as integrated circuits, transistors, and other electronic elements. As Plugable products are designed to efficiently process and transfer data (among other functionality), some level of heat generation is inherent.
Factors Influencing Heat Generation:
- Power Consumption: The power consumption of a device directly influences the amount of heat it generates. Higher power usage, especially during data transfer or charging processes, can lead to increased heat.
- Enclosure Design: The design of the product's enclosure and its ability to dissipate heat play a crucial role. Adequate ventilation and heat sinks are often incorporated to manage and disperse generated heat effectively. This is evident in our TBT3-UDZ and TBT4-UDZ designs. The metal case in these docks are designed to function as a heatsink with thermal pads placed throughout the enclosure. This allows heat dissipation from inside to the outside, but will also make it feel as if the device is “too hot”.
- Ambient Temperature: The external environment may also play a role. Higher ambient temperatures can contribute to increased perceived heat from the product. This means that summer temperatures may increase the heat generation of not just Plugable products, but many other electronic devices.
Normal Heat Levels: While it is normal for electronic devices to generate heat, Plugable products are engineered to operate within safe temperature ranges. We conduct rigorous testing to ensure that the heat generated during normal operation falls within industry-standard safety parameters. While not all products are or need to be UL certified, we try to go by UL guidelines for thermal readings. The UL threshold is 77C/170.6F, and we aim for around 71C/160F.
Tips for Users:
- Ventilation: Ensure that Plugable products have sufficient ventilation around them. Avoid placing them in enclosed spaces where heat dissipation may be impeded.
- Usage Patterns: Intensive tasks such as high-speed data transfer or charging multiple devices simultaneously may result in increased heat generation. This is generally normal but may be more noticeable in such scenarios.
- Accessories: A number of our devices will allow for the connection of USB accessories and as such, these will require power. If too many “power-hungry” devices are connected, this will cause the device to run much hotter than expected. Be sure to keep in mind the power limits of your dock/device.
In conclusion, experiencing heat from Plugable products is a normal aspect of their operation. Users can rest assured that we prioritize the safety and efficiency of our devices. By understanding the factors influencing heat generation and following simple usage guidelines, users can make the most of their Plugable products while ensuring a reliable and efficient user experience.
How to Use Two External Displays with the Lid Closed on MacBook Air and MacBook Pro M3
Overview
With the release of Apple’s M3 CPU chips and the Sonoma 14.6 update your base MacBook Air and MacBook Pro systems with M3 chips can now host two external displays natively in clamshell mode. This guide will walk you through the process of setting up and using two external displays with the lid closed on your MacBook Air or MacBook Pro equipped with an Apple M3 chip.
Requirements
Before getting started, ensure you have the following:
- MacBook Air or MacBook Pro with an Apple M3 chip.
- macOS Sonoma 14.3 or later for an M3 MacBook Air or macOS Sonoma 14.6 or later for an M3 MacBook Pro.
- Two external displays with compatible video inputs (e.g., HDMI, DisplayPort, USB-C).
- A dock or graphics adapter can be used as well.
- External keyboard and mouse (wired or wireless).
- Power adapter or power source for your MacBook
- A docking station that provides adequate charge can be used in place of the native power adapter, be sure to check the wattage your dock provides.
Steps to Set Up Dual External Displays with the Lid Closed
1. Set Up Your External Keyboard and Mouse
- If you’re using a wired keyboard and mouse, connect them directly to your MacBook or Plugable dock.
- For wireless peripherals, ensure they are paired with your MacBook and functioning properly.
- An AC adapter/power cable of some kind will also need to be connected for clamshell mode to function properly. This adapter can be one from a docking station or the included Apple adapter.
2. Connect Your Displays
- Connect the first external display to your MacBook using the appropriate cable (e.g., HDMI, DisplayPort, USB-C)
- Close your laptop’s lid.
- Connect the second external display using a similar method.
- Ensure both displays are powered on and set to the correct input source.
3. Configure Display Settings
- Open System Settings on your MacBook.
- Go to Displays.
- You should see both external displays listed. Arrange them according to your preference by dragging the display icons.
- Adjust the resolution, refresh rate, and other settings as needed.
4. Enable "Clamshell Mode" (Lid Closed Mode)
- With your external displays connected and set up, close the lid of your MacBook.
- Your MacBook will automatically switch to "Clamshell Mode," where the internal display turns off, and the external displays become your primary screens.
- Ensure your MacBook is connected to a power source to prevent it from entering sleep mode.
5. Check the Display Arrangement
- With the lid closed, check that the external displays are functioning as expected.
- If necessary, re-open the Displays settings to adjust the arrangement, resolution, or other preferences.
Troubleshooting Tips
- No Display on External Monitors: If the external displays are not showing anything, open the lid of your MacBook and check the connections.
- MacBook Sleeps When Lid Is Closed: Make sure your MacBook is connected to a power adapter. Clamshell Mode requires the MacBook to be plugged into an external power source.
- Performance Issues: If you experience lag or performance drops, try lowering the resolution or refresh rate of the external displays.
Thunderbolt Dock Users
With these steps, one can use Plugable Thunderbolt docks to enjoy a dual-display setup without the need for additional software installation. The dock leverages the native capabilities of the MacBook Air M3 and MacBook Pro M3, providing a straightforward and efficient solution for expanding your workspace with additional USB ports, audio, and ethernet (as well as the dual displays).
Additional Resources
If you should need any assistance with your setup, please feel free to reach out to our support team at support@plugable.com.