Hassle free, 2-Year Warranty
Fast, Free Shipping on Orders $35+
Lifetime Technical Support
30-Day Money Back Guarantee
Plugable USB-C Voltage & Amperage Meter for High Power Devices (240W EPR)
$29.95 USD
SKU: USBC-VAMETER3Amazon Rating : (330 Reviews)
Features
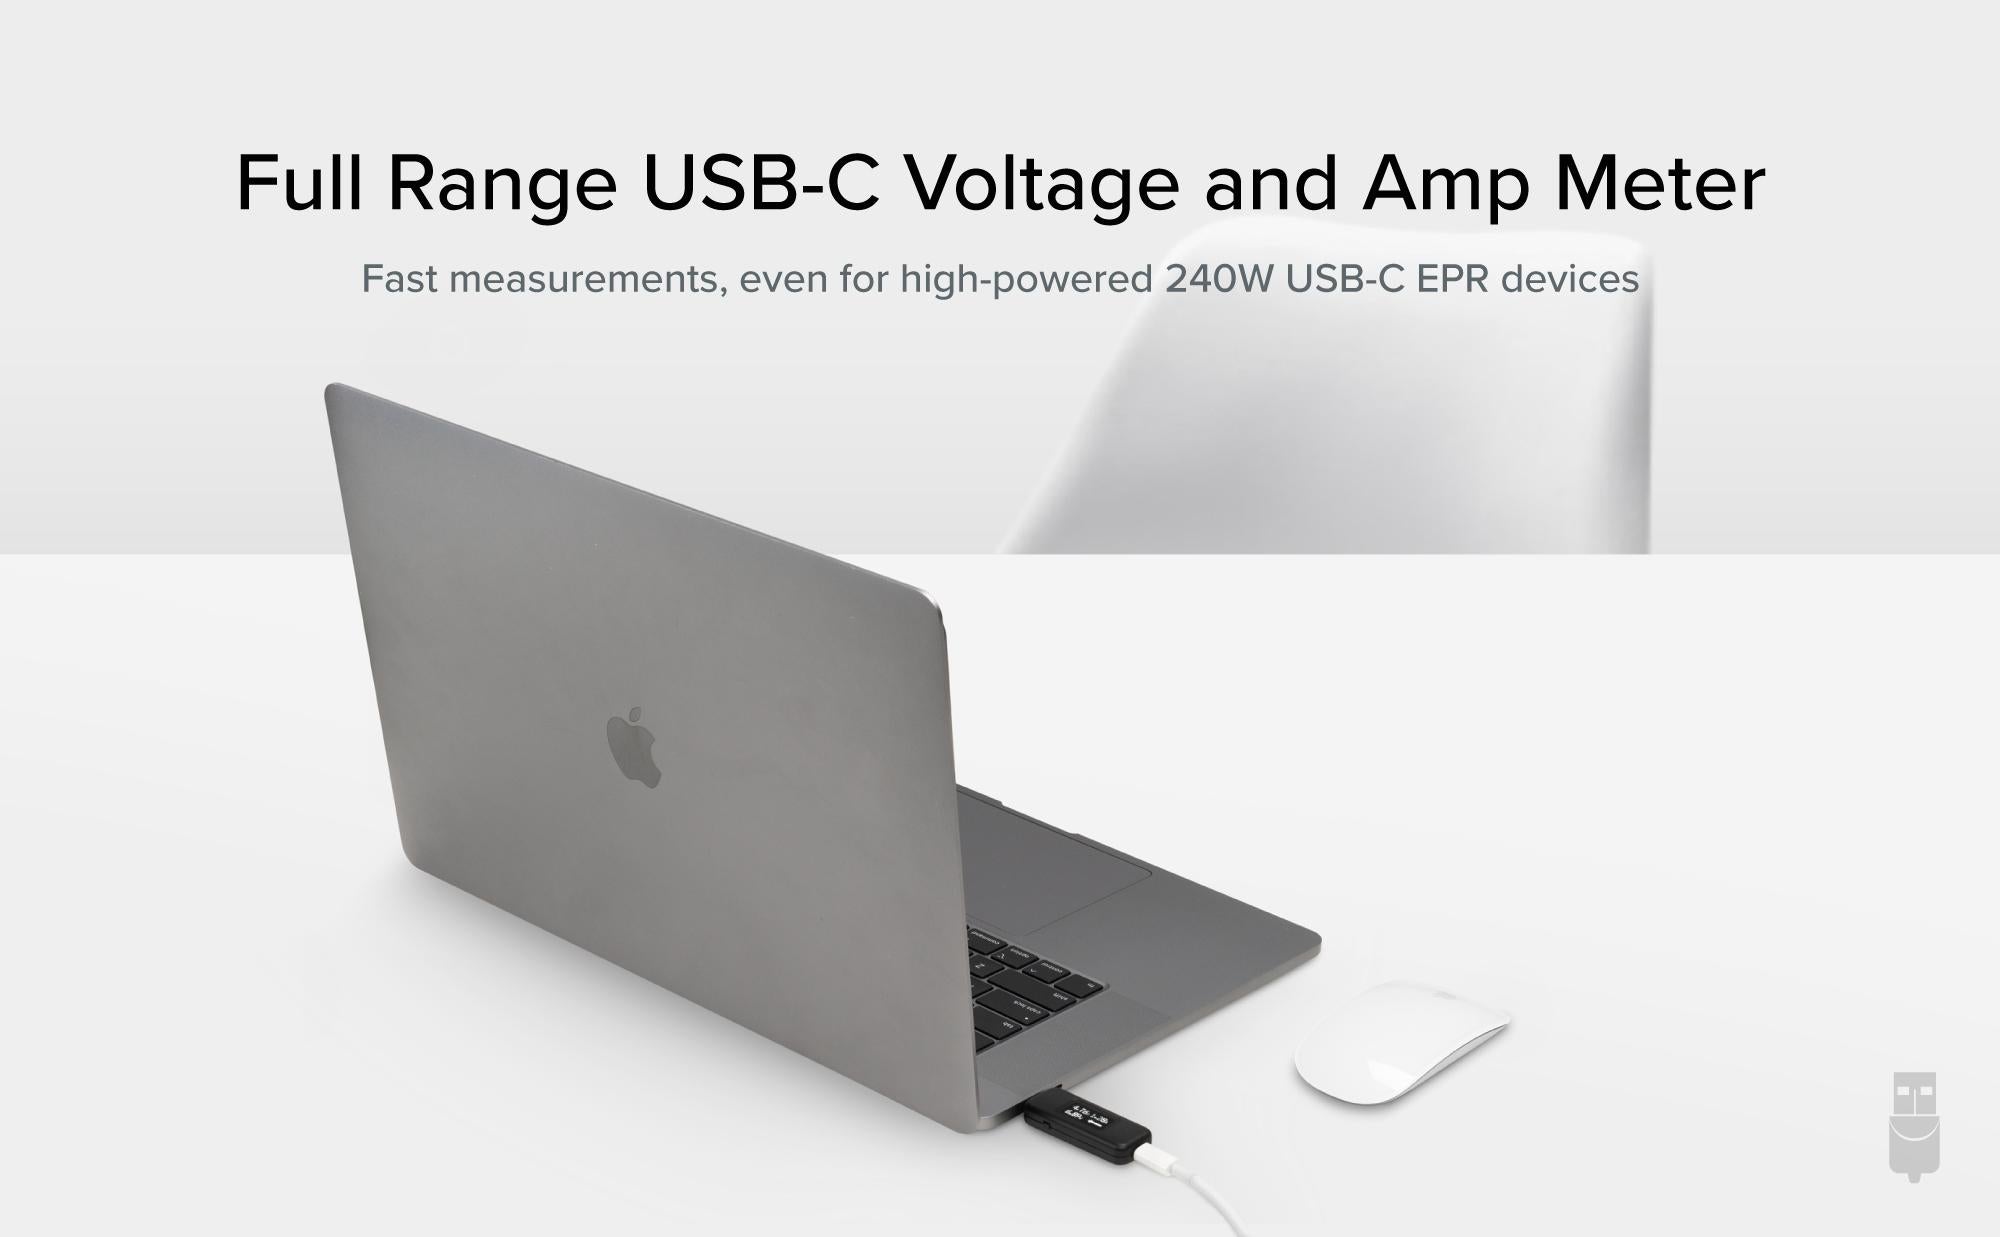
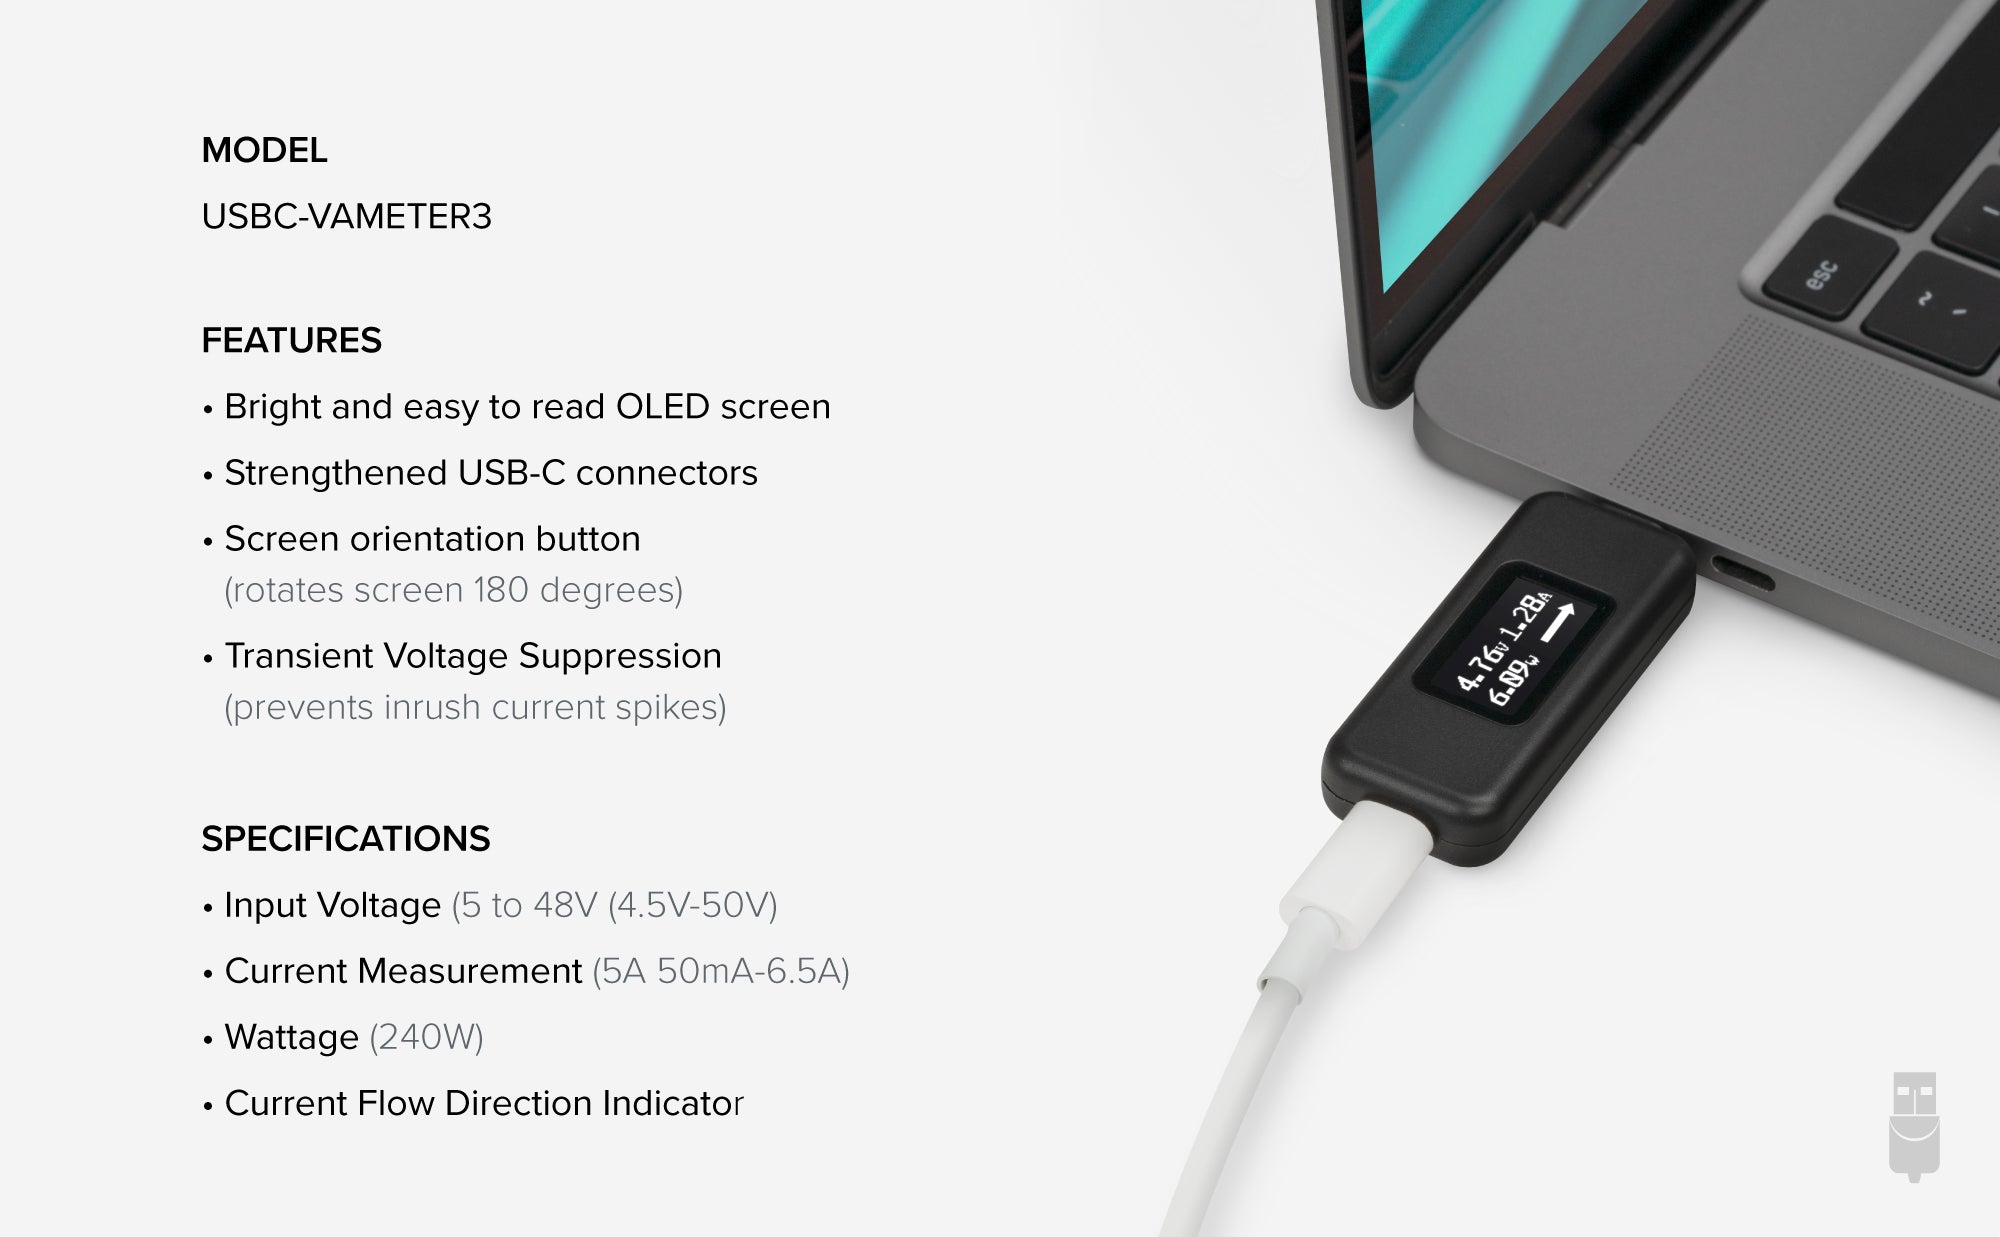
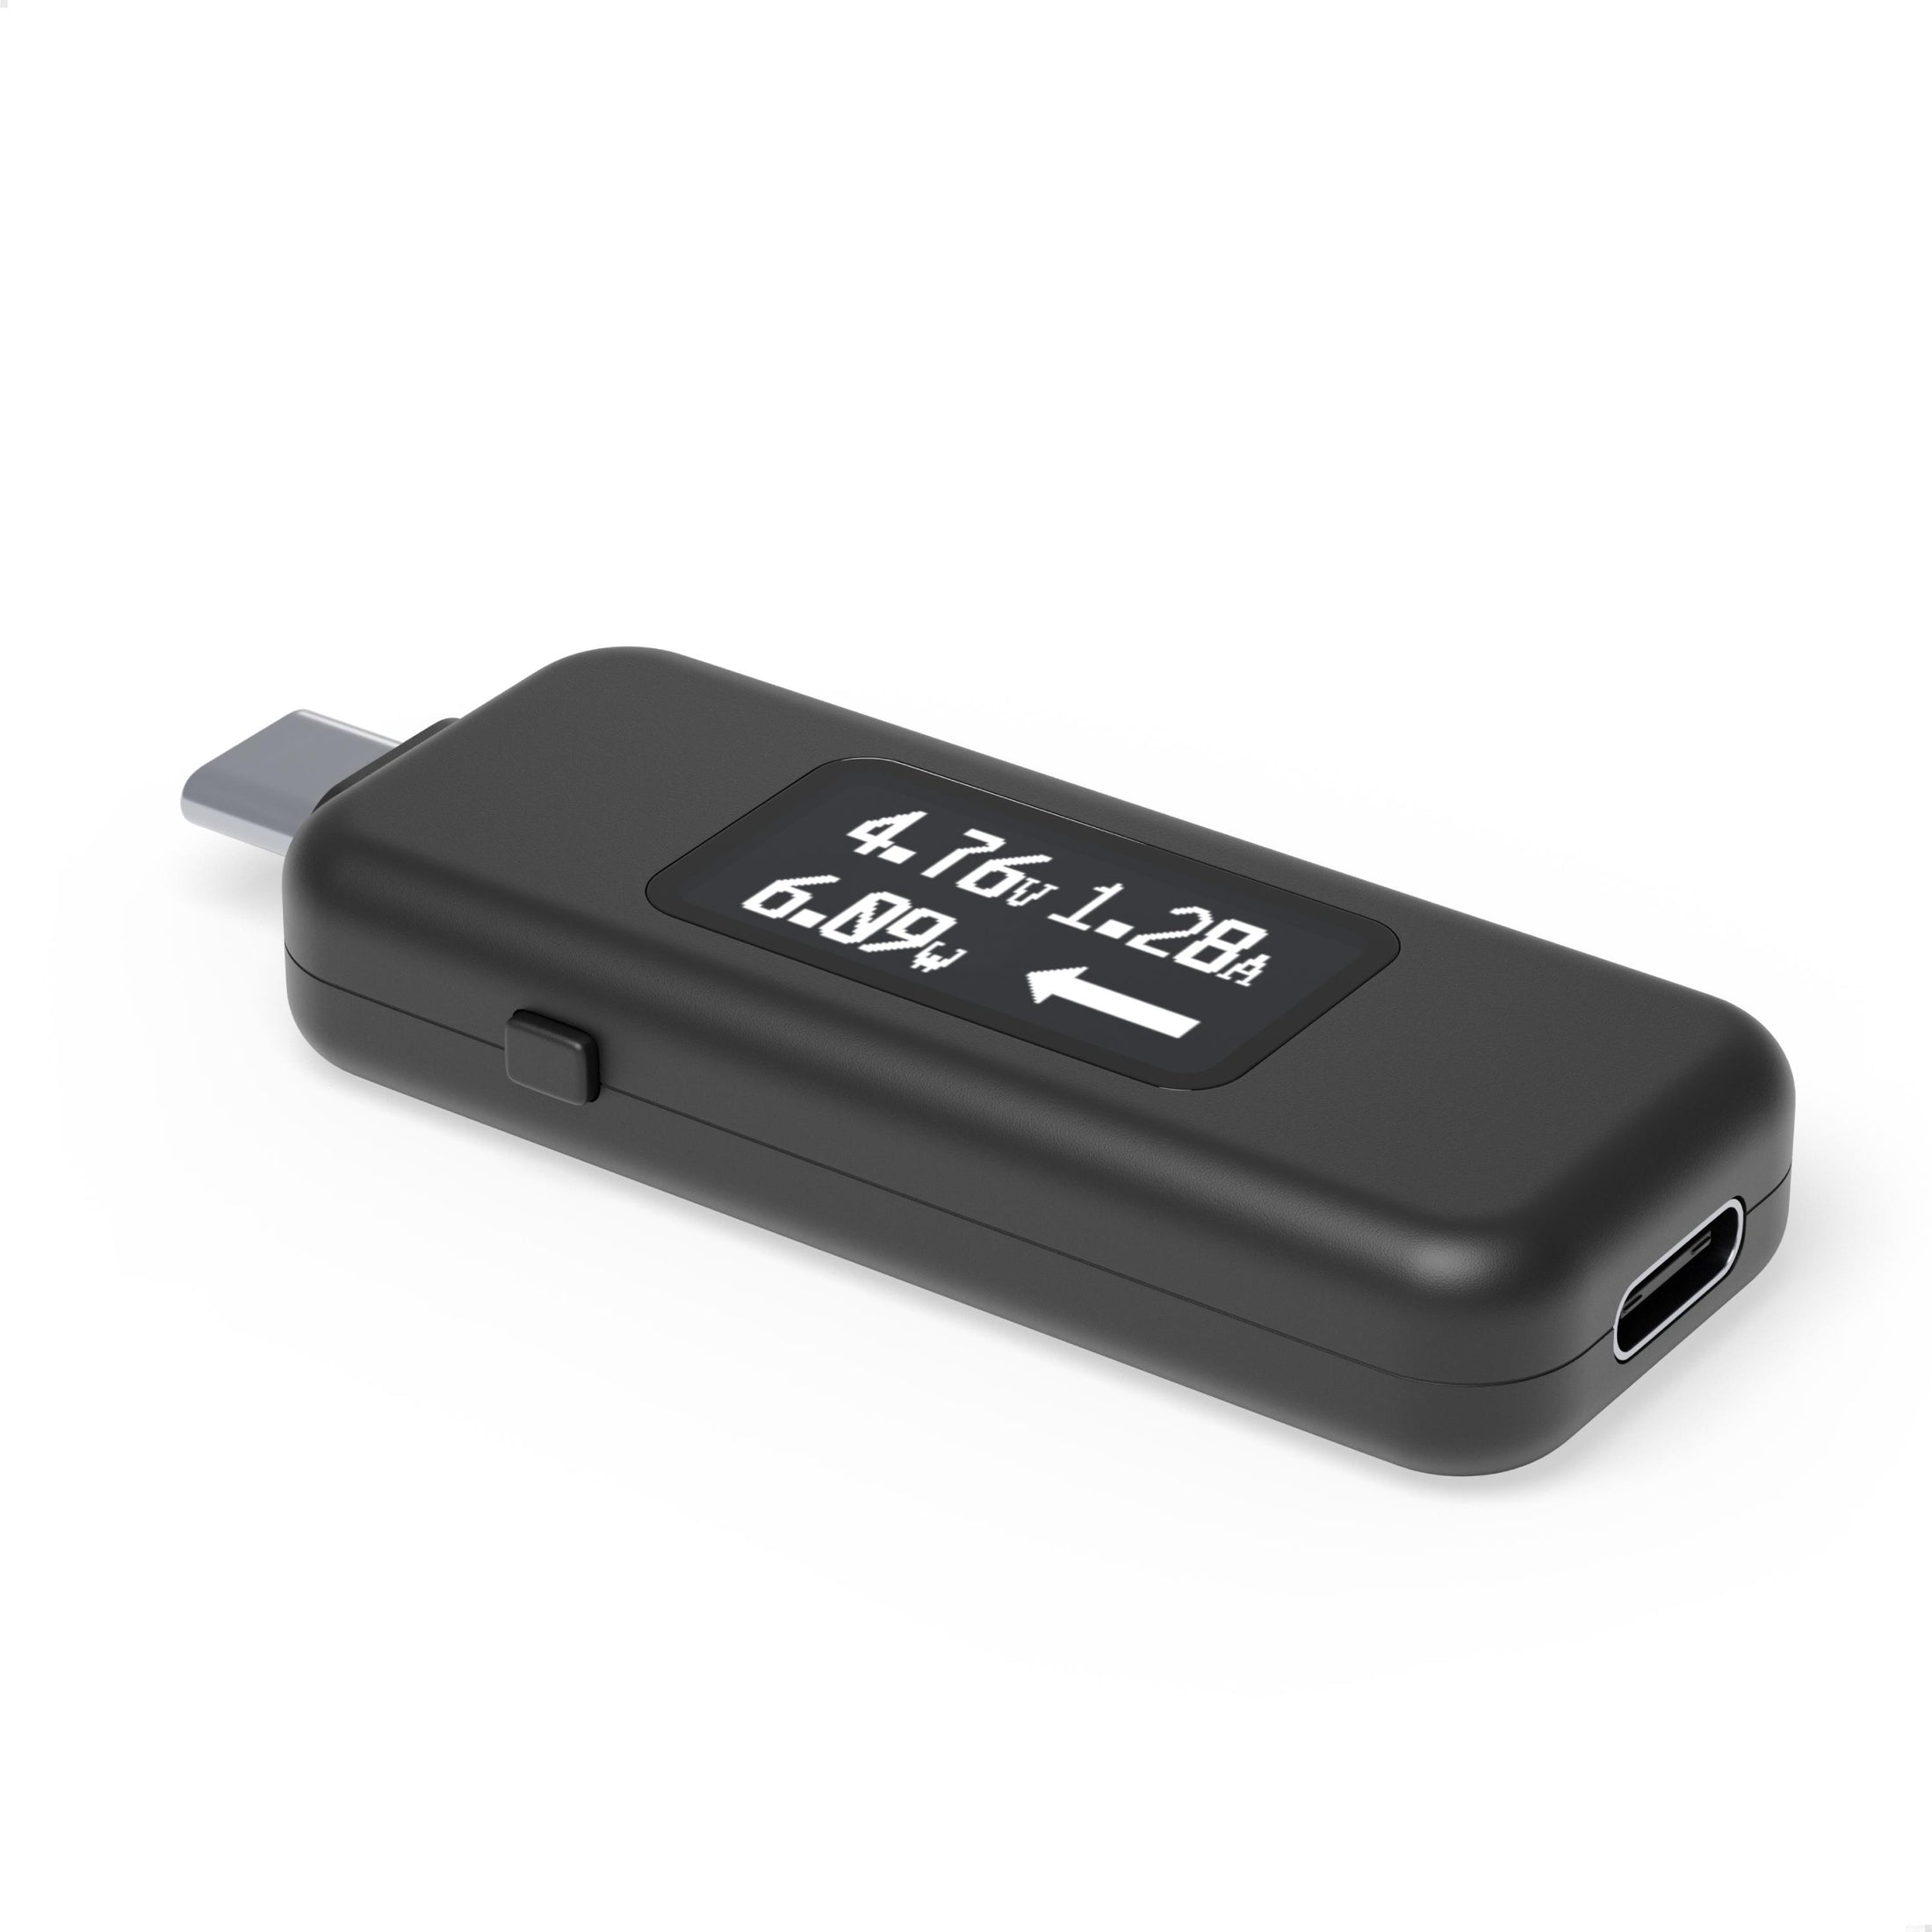
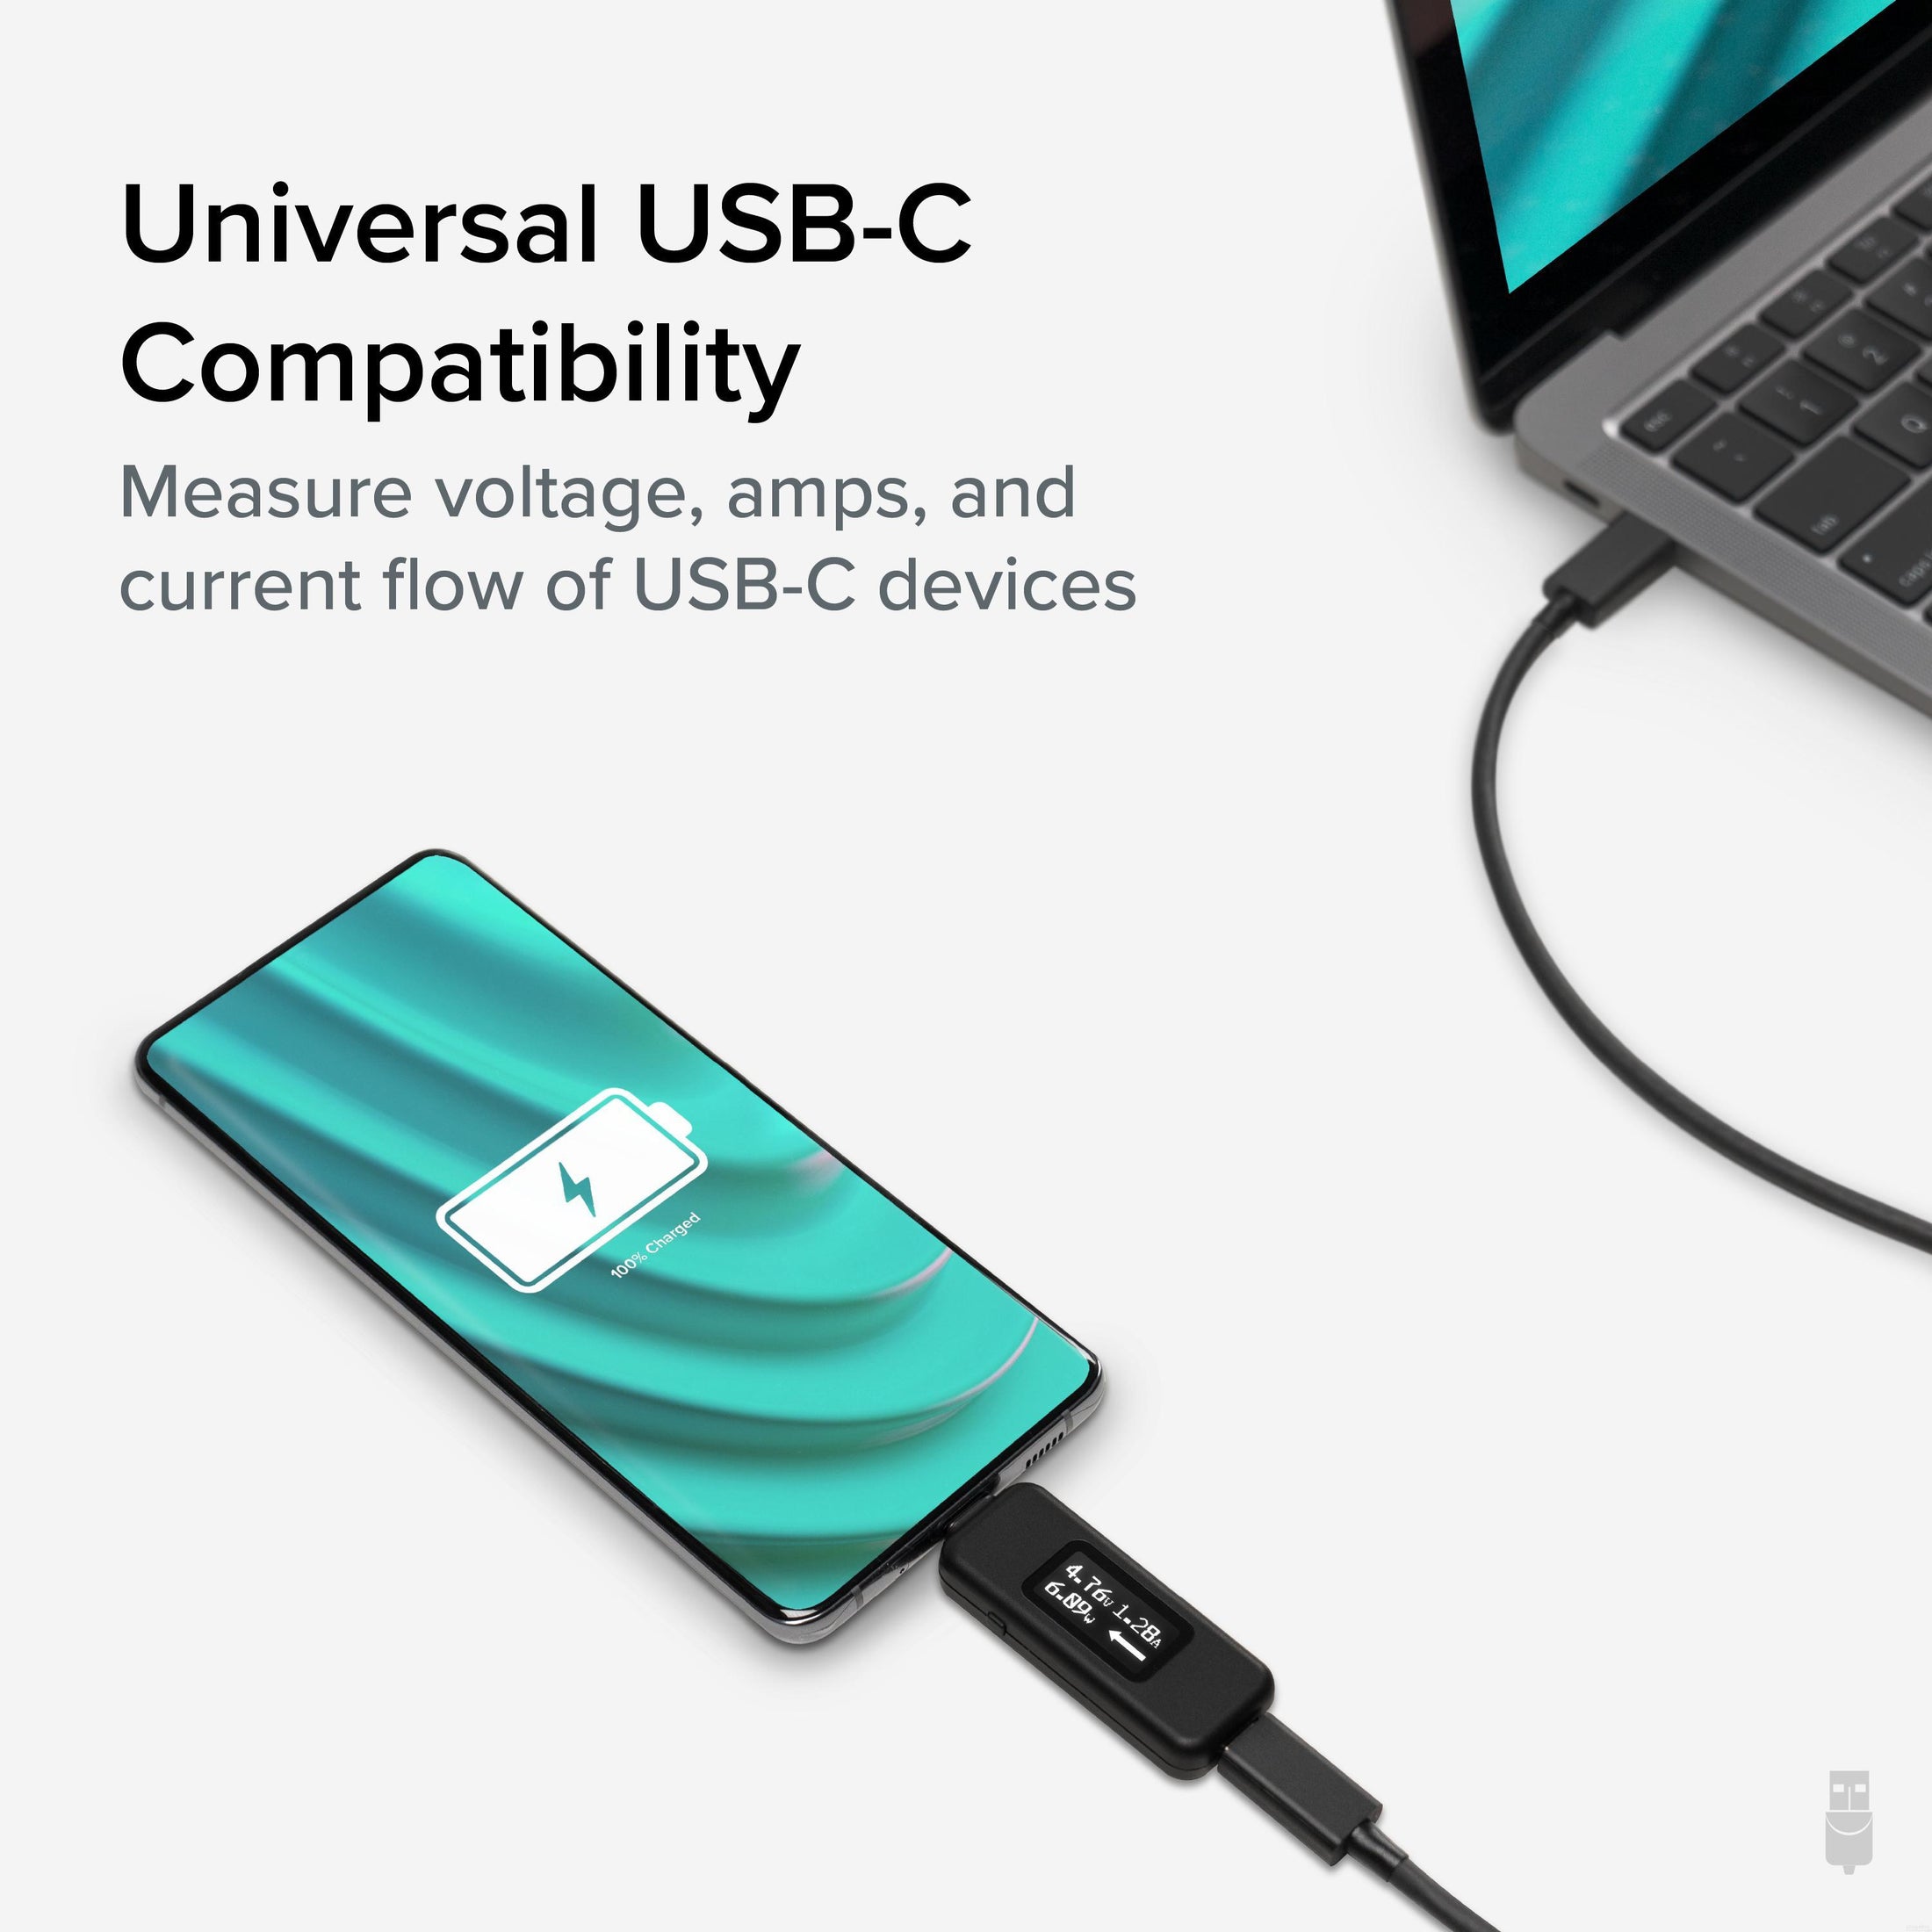
- At a Glance—USB C Tester monitors USB-C power and charging up to 240W. Measure voltage and amperage. Visualize the directional flow of electrical current. Updated OLED display is brighter and easier to read. New orientation button lets you flip the screen 180 degrees
- Bidirectional—USB power meter can be connected in either orientation, allowing for the full range of USB Extended Power Range (EPR) voltage from 5 to 48V (4.5V-50V, 50mA-6.5A operating range)
- Broad USB Support—Used as a data and power quality meter, device allows USB data pass through, USB-C Alt Mode video, USB-C charging. Use USB-C tester with USB-C docking stations, chargers, accessories, etc. Not compatible with Thunderbolt 3 devices
- Small and Tough—Small enough to go anywhere you need a USB C voltage meter. Even fits most phones and tablets without removing protective case. Strengthened USB-C connections ensure it's sturdy enough to be your go-to USB C power tester
- 2-Year Coverage, Lifetime Support—Every Plugable product, including this USB C power meter tester , is covered against defects for 2 years and comes with lifetime support. If you ever have questions, contact our North American-based team - even before purchase
Free 3-Day Shipping on Orders Over $35!
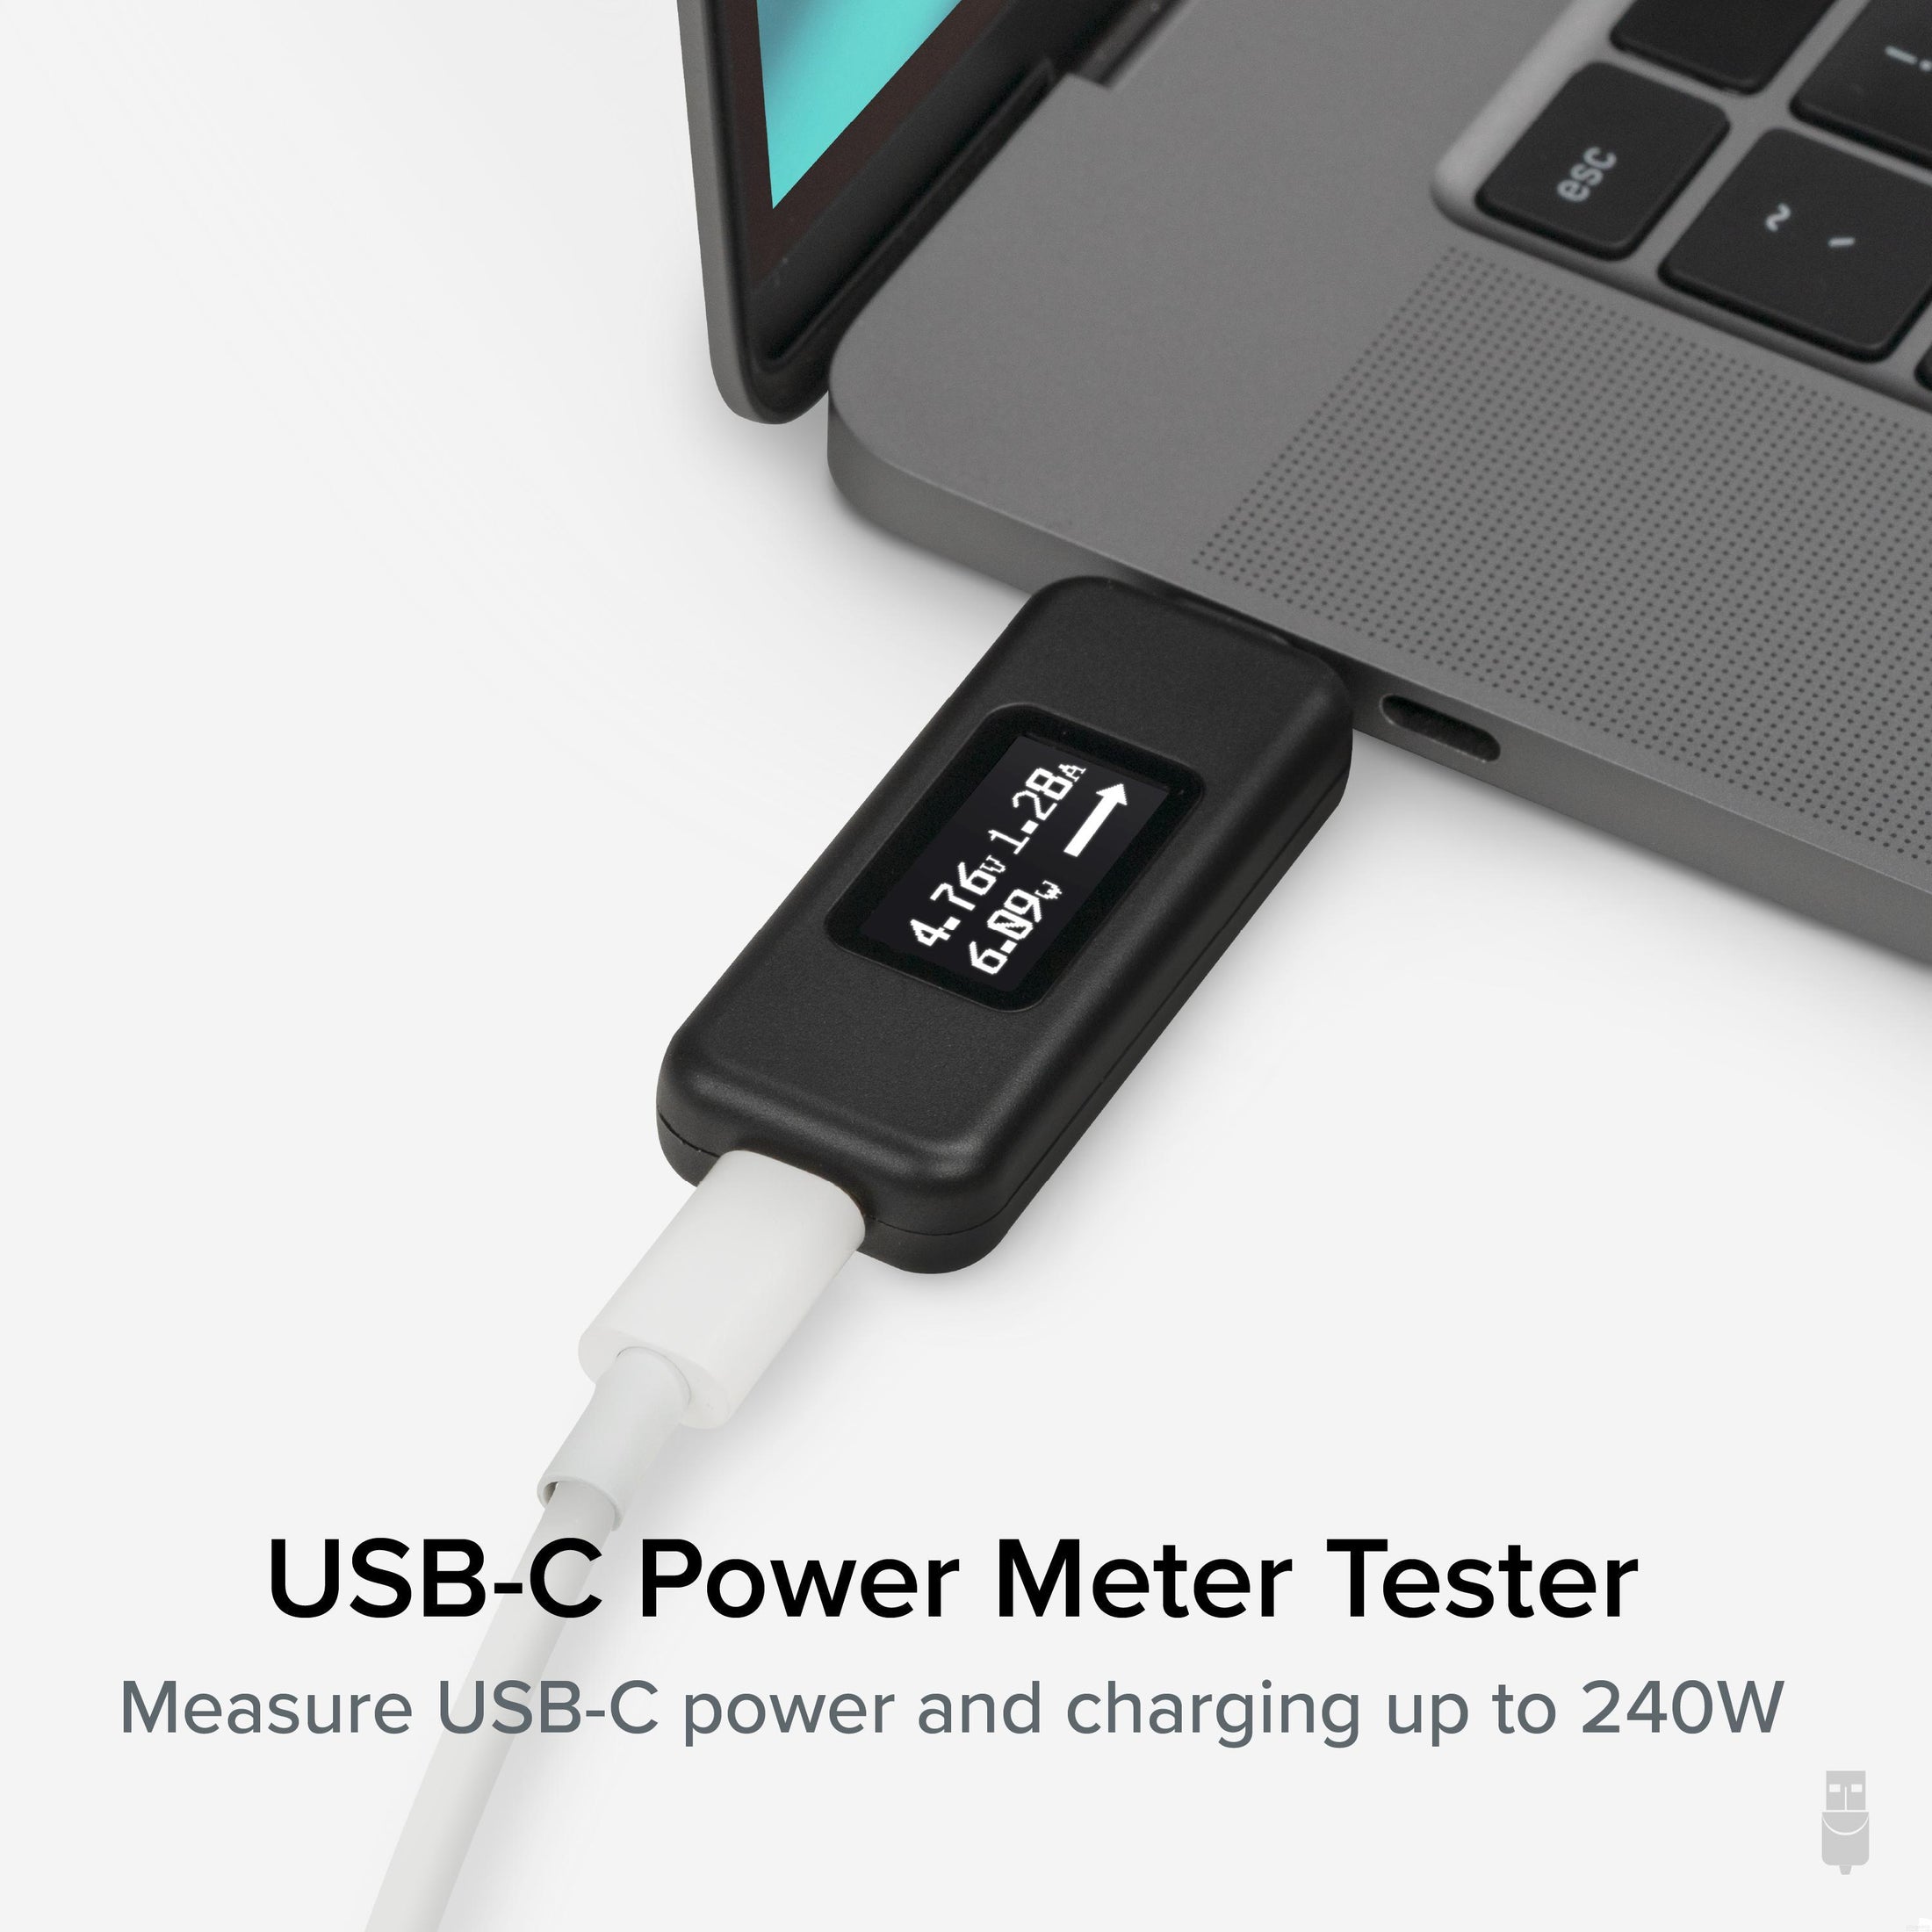
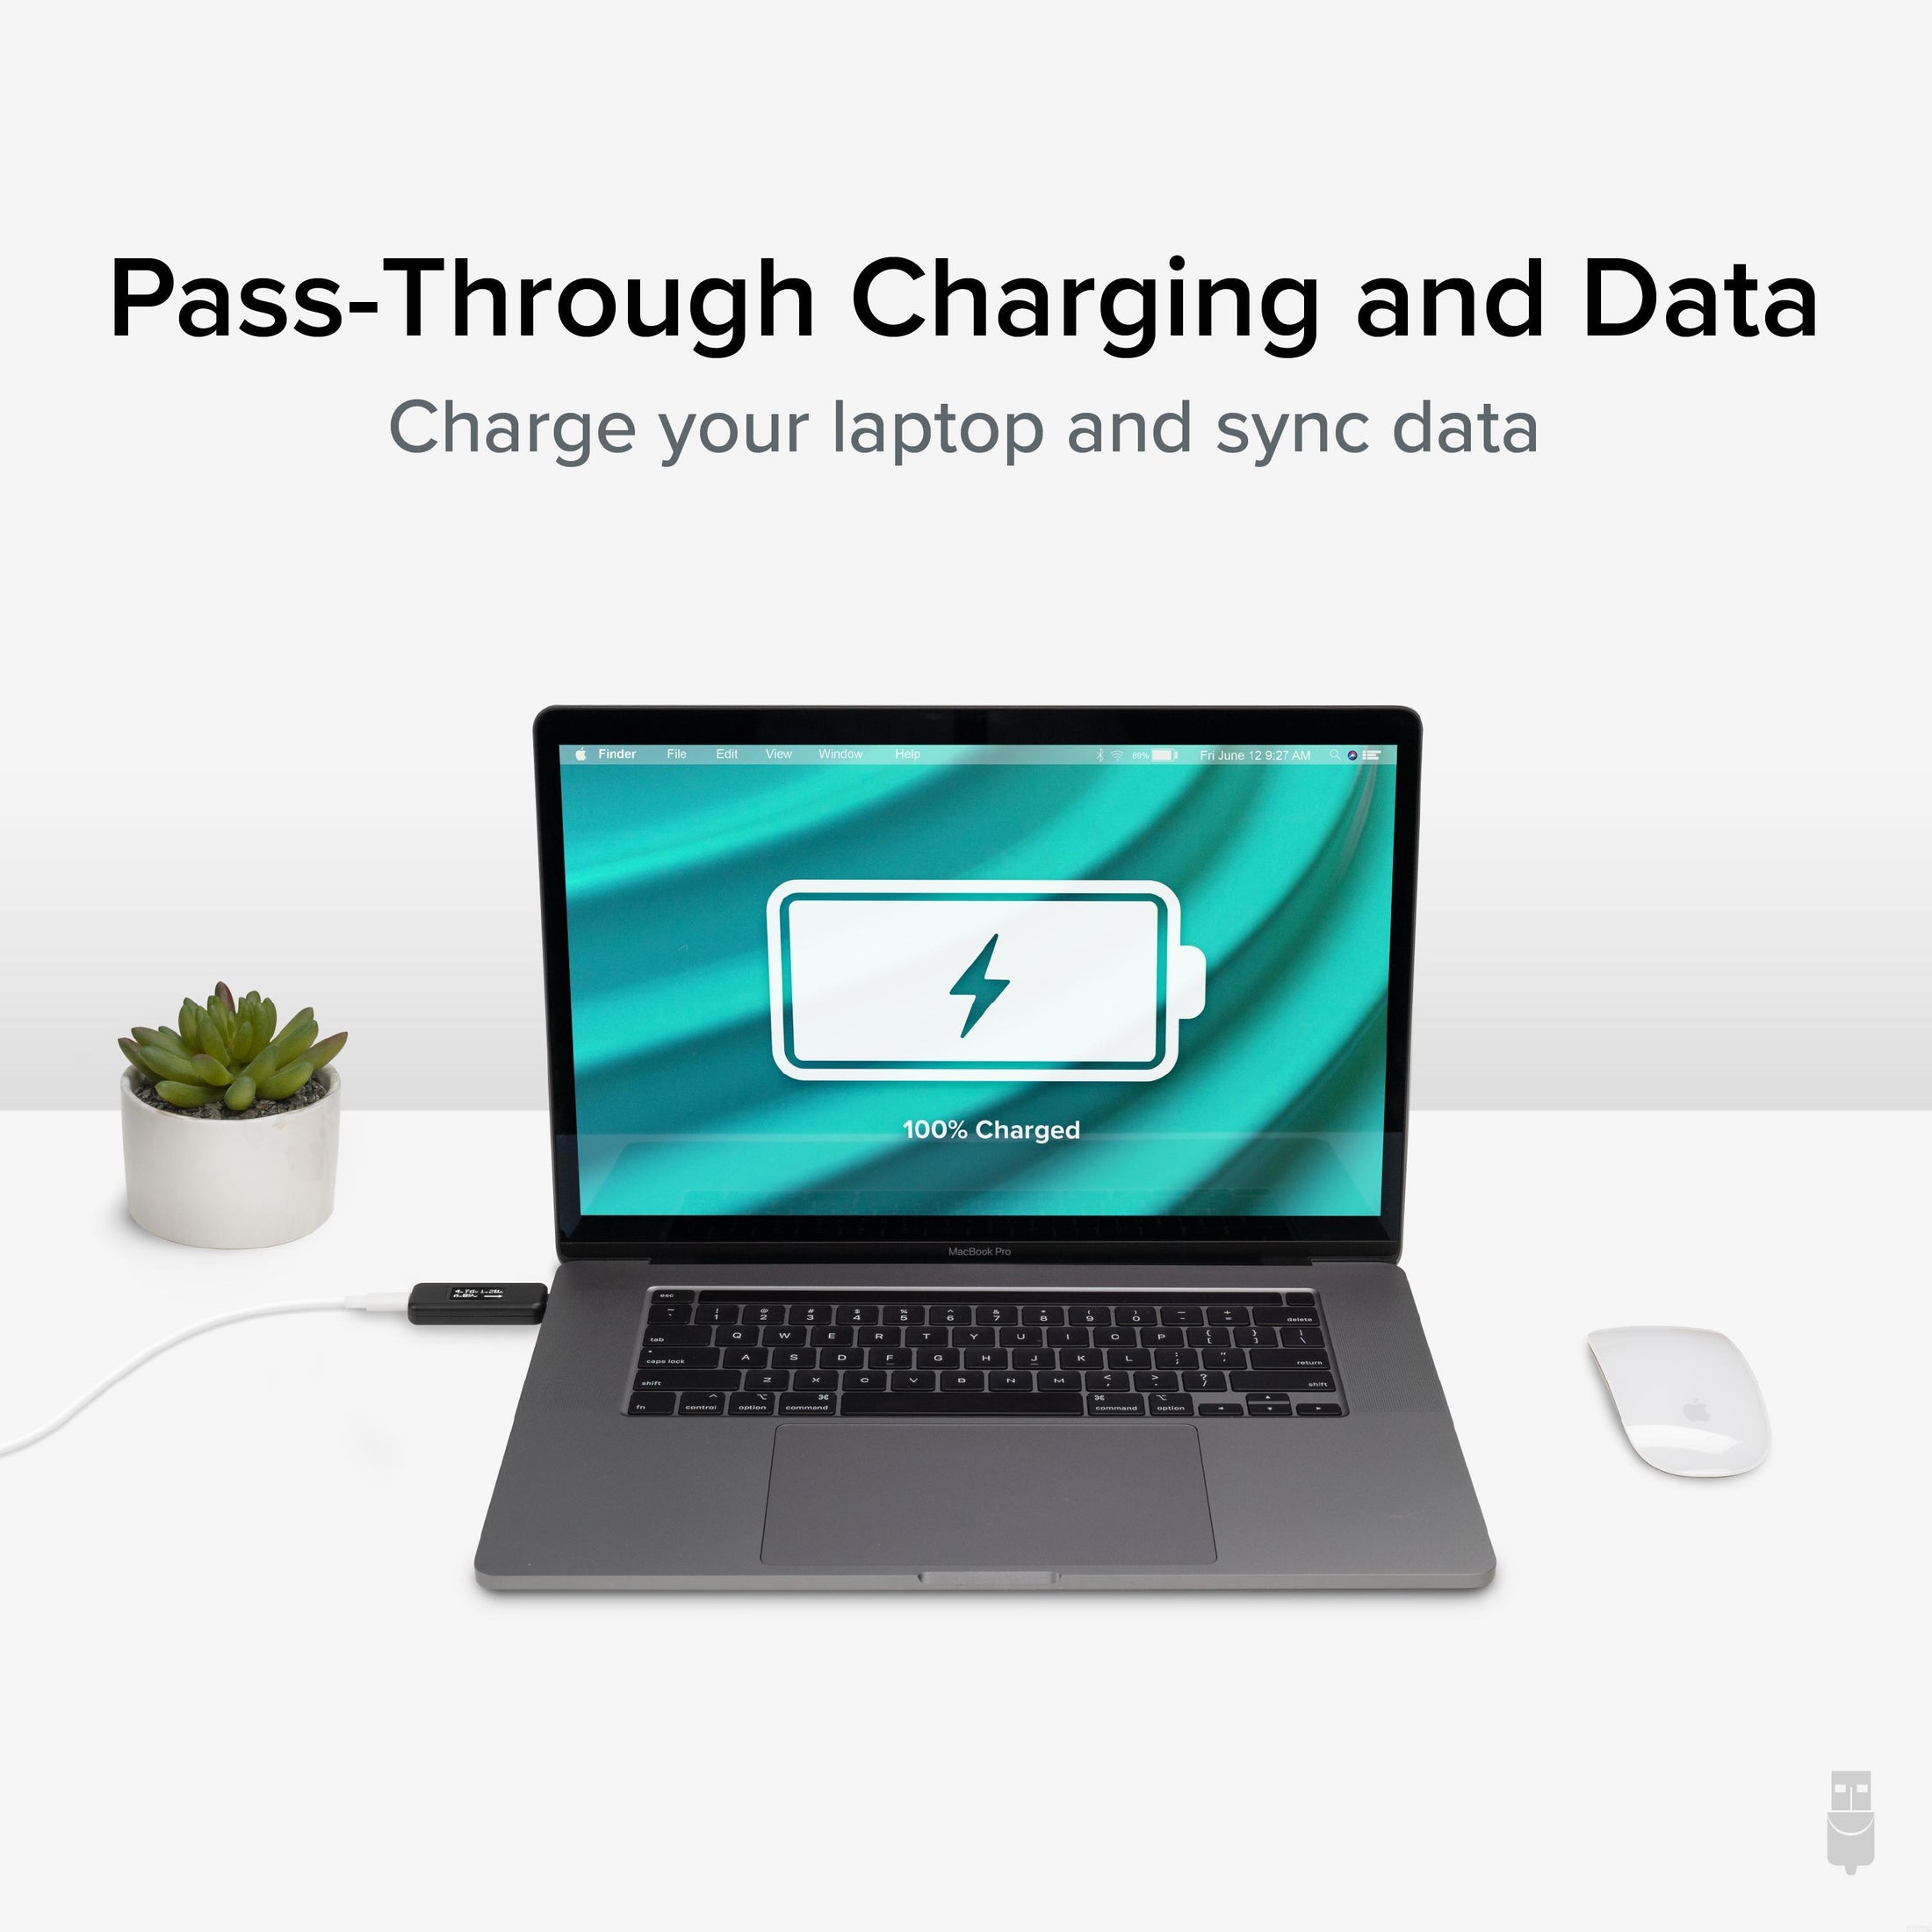
For a multimeter, the Plugable USB-C Amperage and Voltage Tester (USBC-VAMETER3) manages to fit a lot of useful features into a sturdy little package. About the size of a USB flash drive, this bidirectional USB tester allows for full USB data passthrough while it monitors USB-C power and charging, measures voltage and amperage, even visualizes the directional flow of electrical current–all in real time.
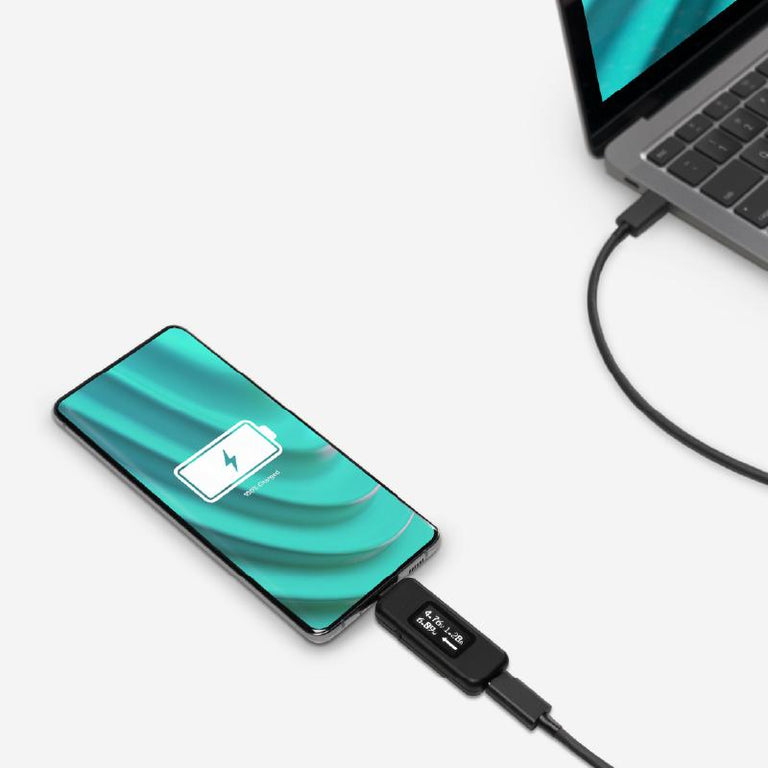
Connect the USBC-VAMETER3 inline between a USB-C host system like a laptop, tablet, or cell phone and a charger to use it as a USB voltage meter or power consumption meter. An updated OLED screen means a brighter and easier-to-read display in any lighting conditions, and a new orientation button lets you flip the screen with a click.
How it works:
This meter is a transparent interposer–it should not interfere with the USB data (1.1 through 3.1 Gen 2), USB-C Alternate Mode video, or USB-C charging. The meter can be used in-line with USB-C docking stations, chargers, and other USB-C accessories. The meter is able to achieve this without interfering with normal USB-C operation as it only taps into the power (VBUS) and ground connections to measure values and leaves the data lines untouched.
Common uses:
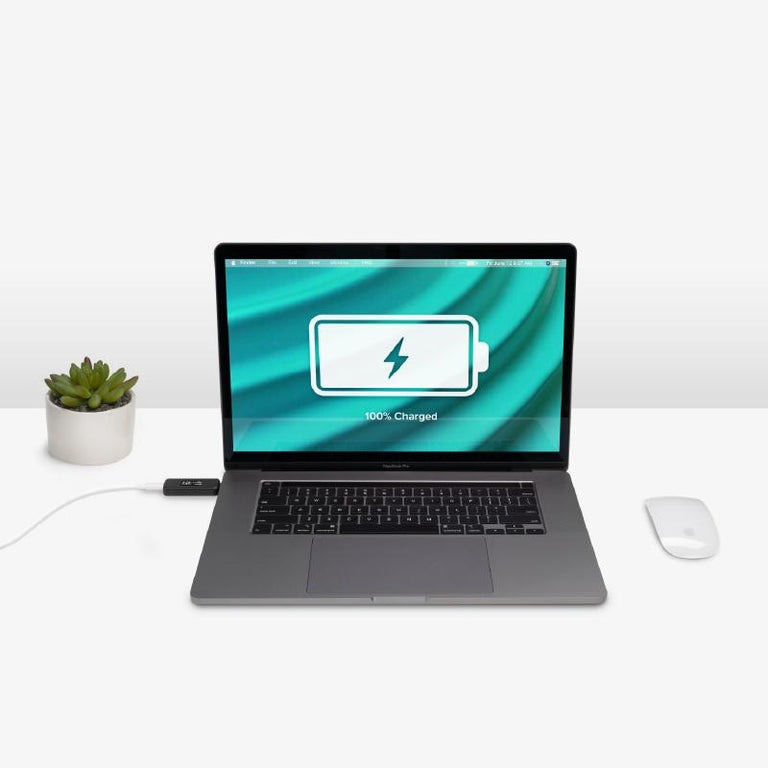
- Connecting between a USB-C host system like a laptop, tablet, or cell phone and a charger to monitor charge information.
- Connecting between a USB-C host and docking station to monitor charge information.
- Connecting between a USB-C host system and a USB-C bus powered accessory like an external hard drive, flash drive, etc to measure power draw of a device.
- Testing for USB-C port spec compliance such as a VBUS hot condition, voltage drop under load, etc.
Important notes:
- This meter is not meant to replace professional USB-C test equipment, it is designed for quick/easy measurements for users of any skill level.
- Not compatible with Intel Thunderbolt 3 devices.
Specifications:
- Meter is bidirectional and can be connected in any direction
- Supports 4.5-50V, 50mA-6.5A operating range
- Support USB-PD R3.1 Extended Power Range (101W-240W)
- Supports all USB data (1.1 through 3.1 Gen 2)
Additional Notes:
Please note that under normal circumstances the meter will not power on without a device connected (host, charger, accessory, etc) at both ends. If the meter turns on when only connected at one end, the attached device is "VBUS hot" which is against USB-C specifications.
In The Box
Item and Quantity | Item Notes |
---|---|
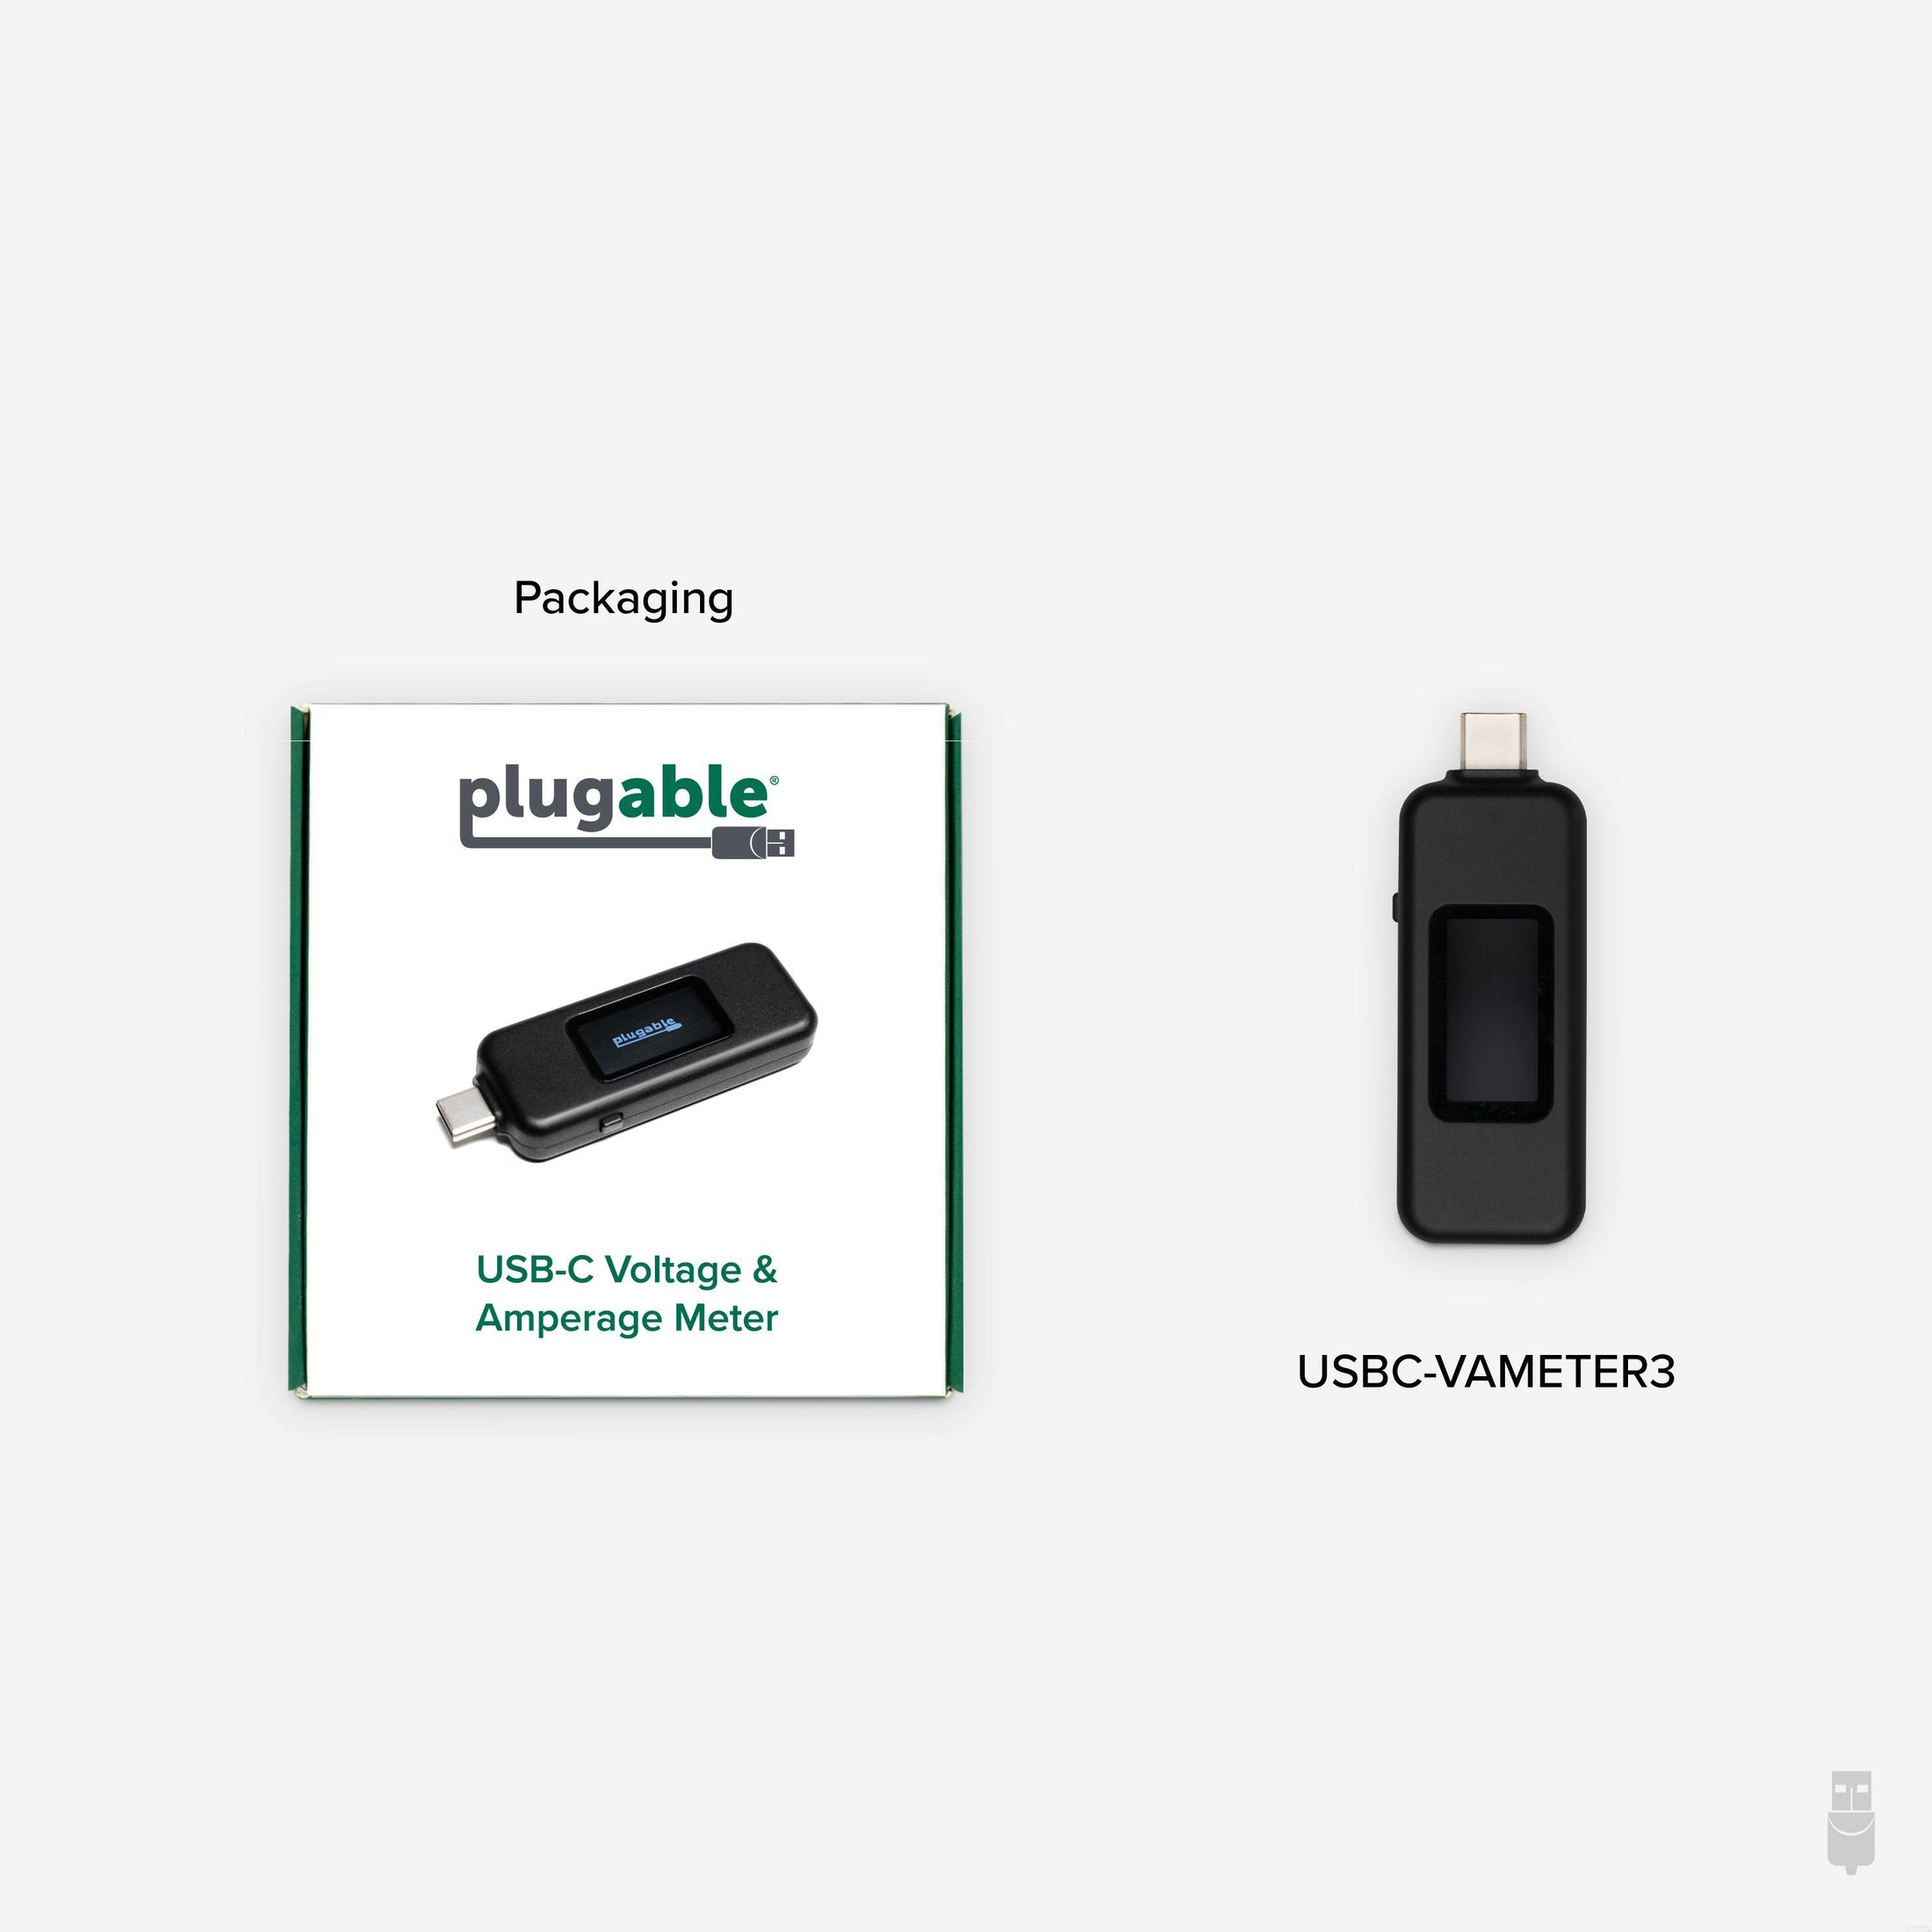
1x USBC-VAMETER3 |
USB To Devices
Port | Placement | Version and Link Rate | Features | Voltage | Amperage | Wattage |
---|---|---|---|---|---|---|
1x USB-C | Side | USB 3.2 Gen 2 (10Gbps) | 48V | 5000mA | 240W |
Connection To Host
Port | Placement | Version and Link Rate | Features |
---|---|---|---|
1x USB-C | Side | USB 3.2 Gen 2 (10Gbps) |
Physical Stats
Item | Size (H x W x D) or Length | Weight | SKU or Part Number |
---|---|---|---|
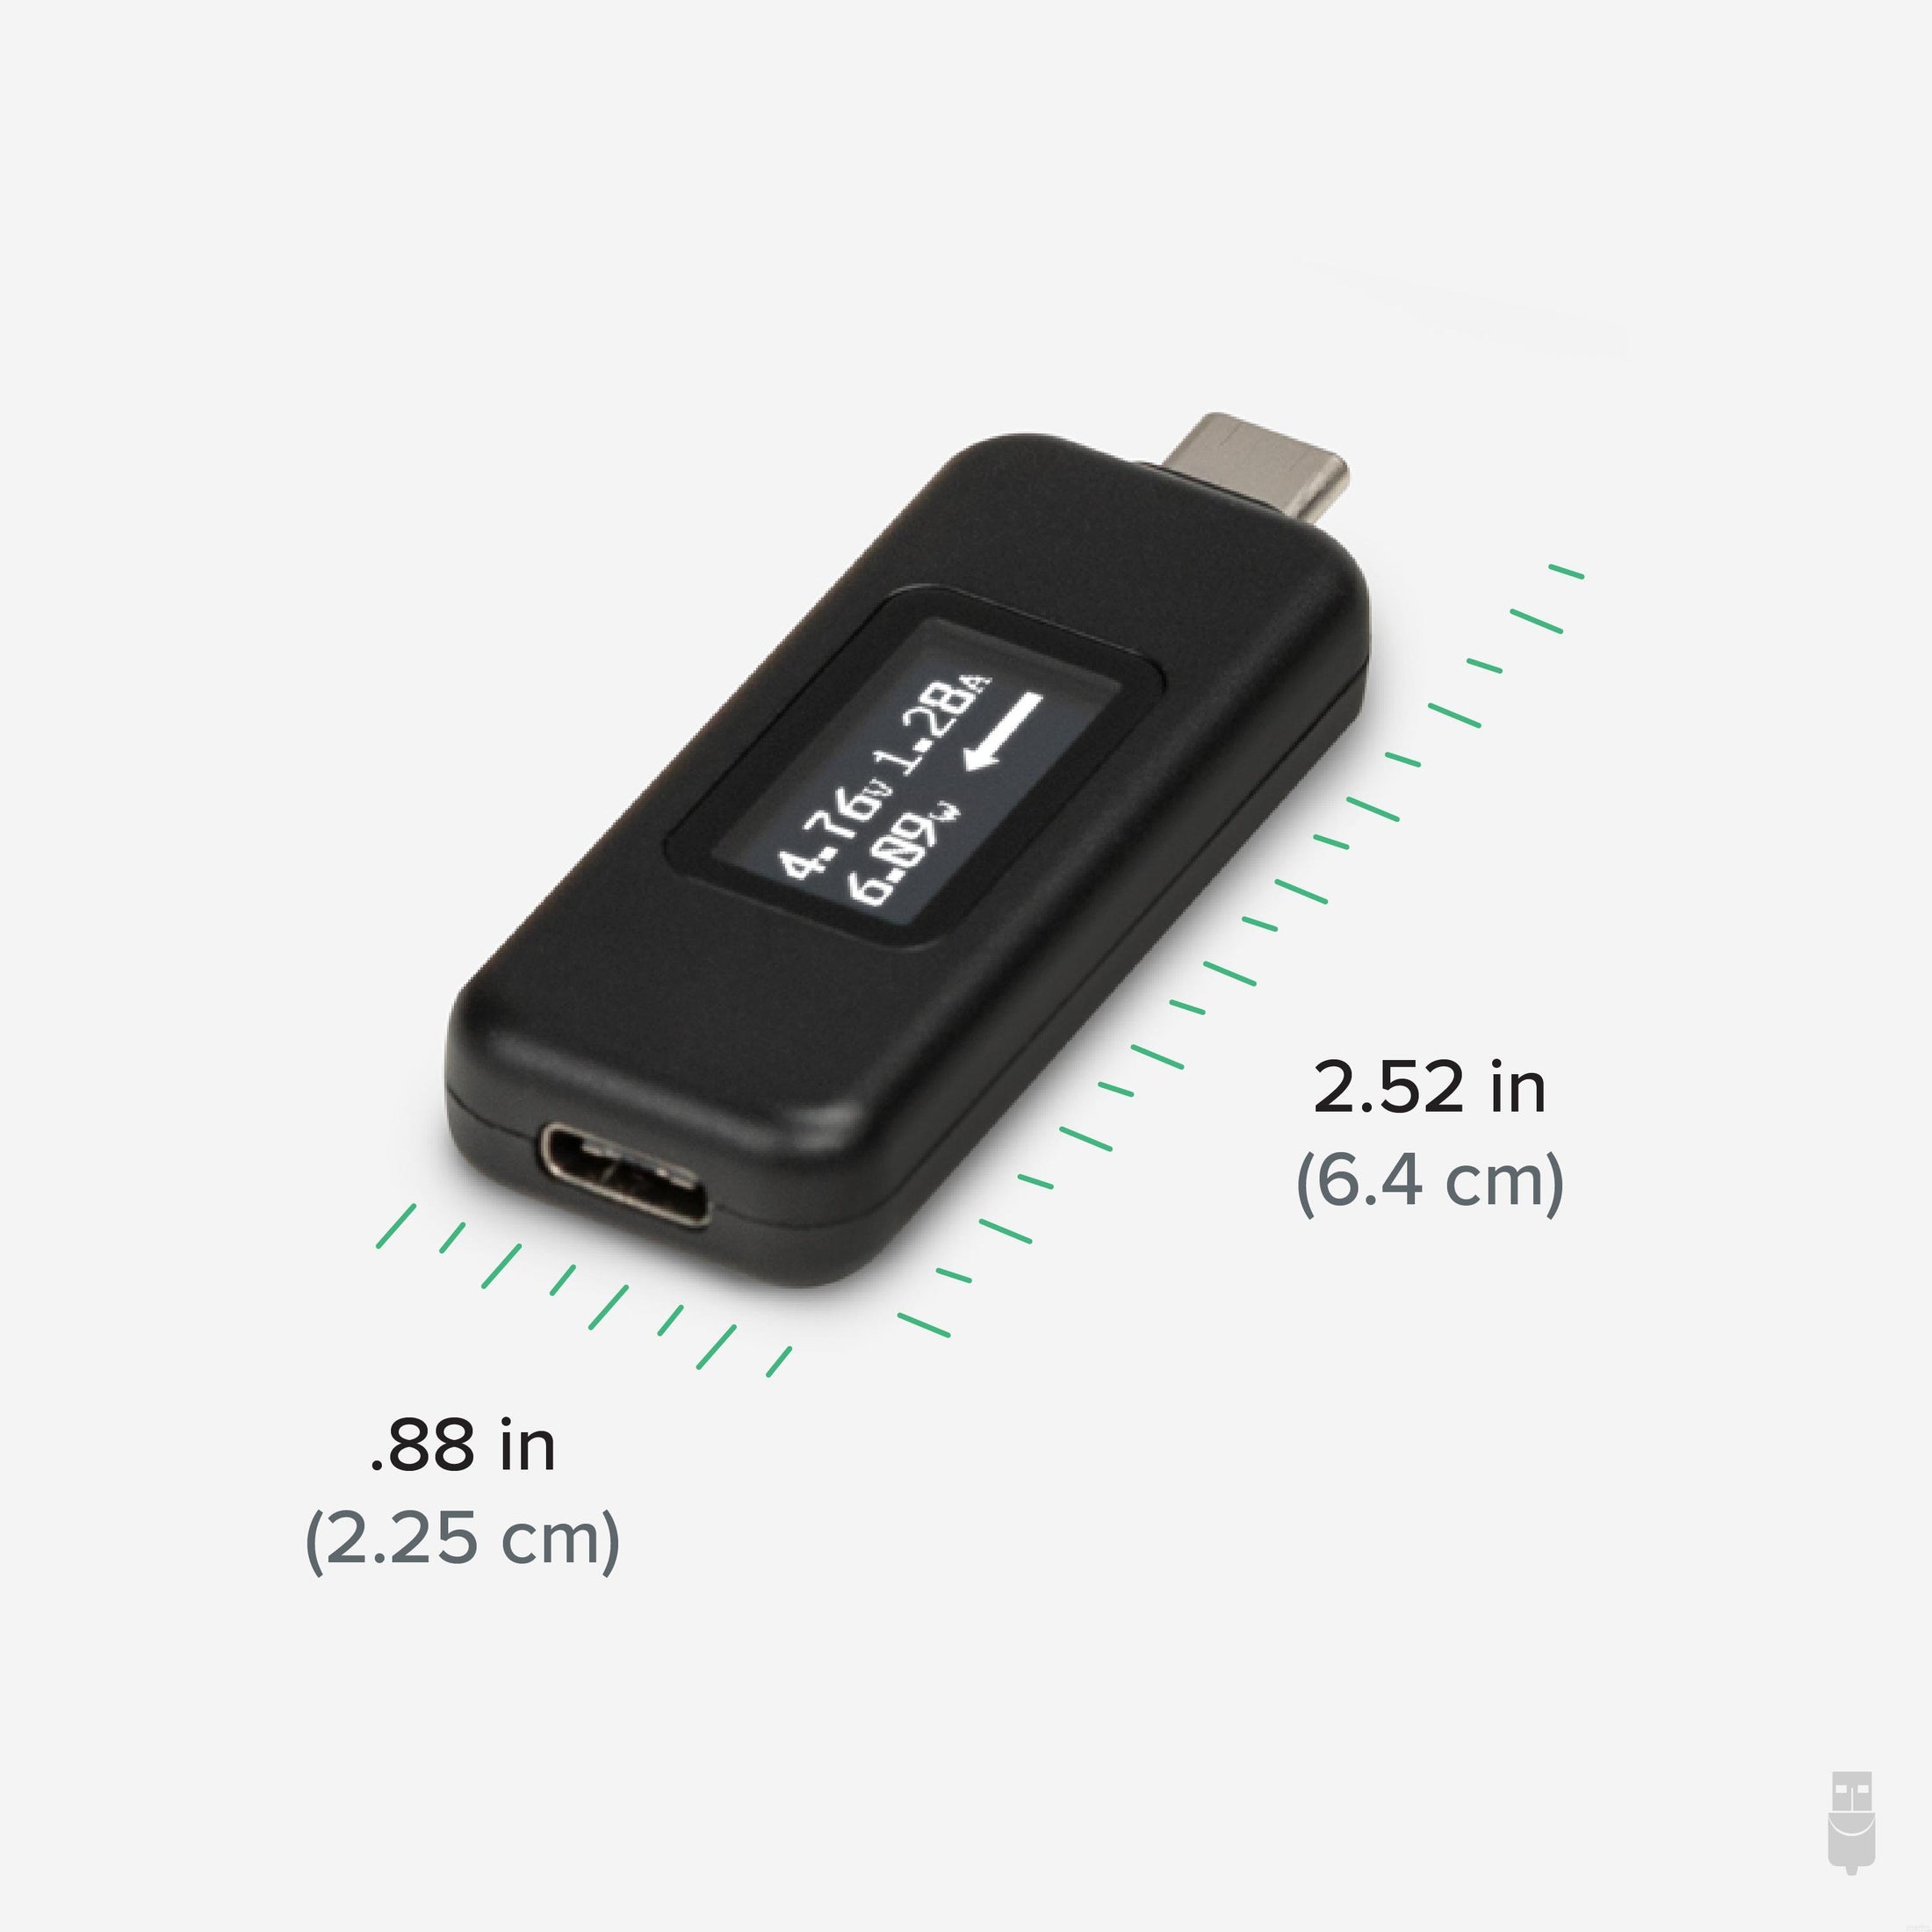
USB-C Voltage/Amperage Meter | 1.22 x 2.3 x 6.43 centimeters 0.5 x 0.9 x 2.5 inches |
10.9 grams 0.4 ounces |
USBC-VAMETER3 |
Get Started
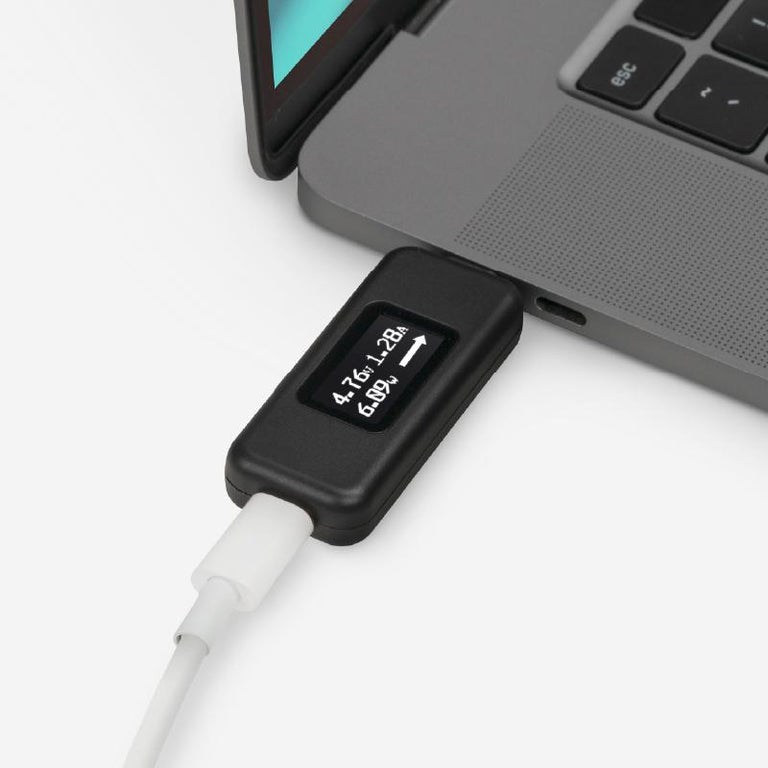
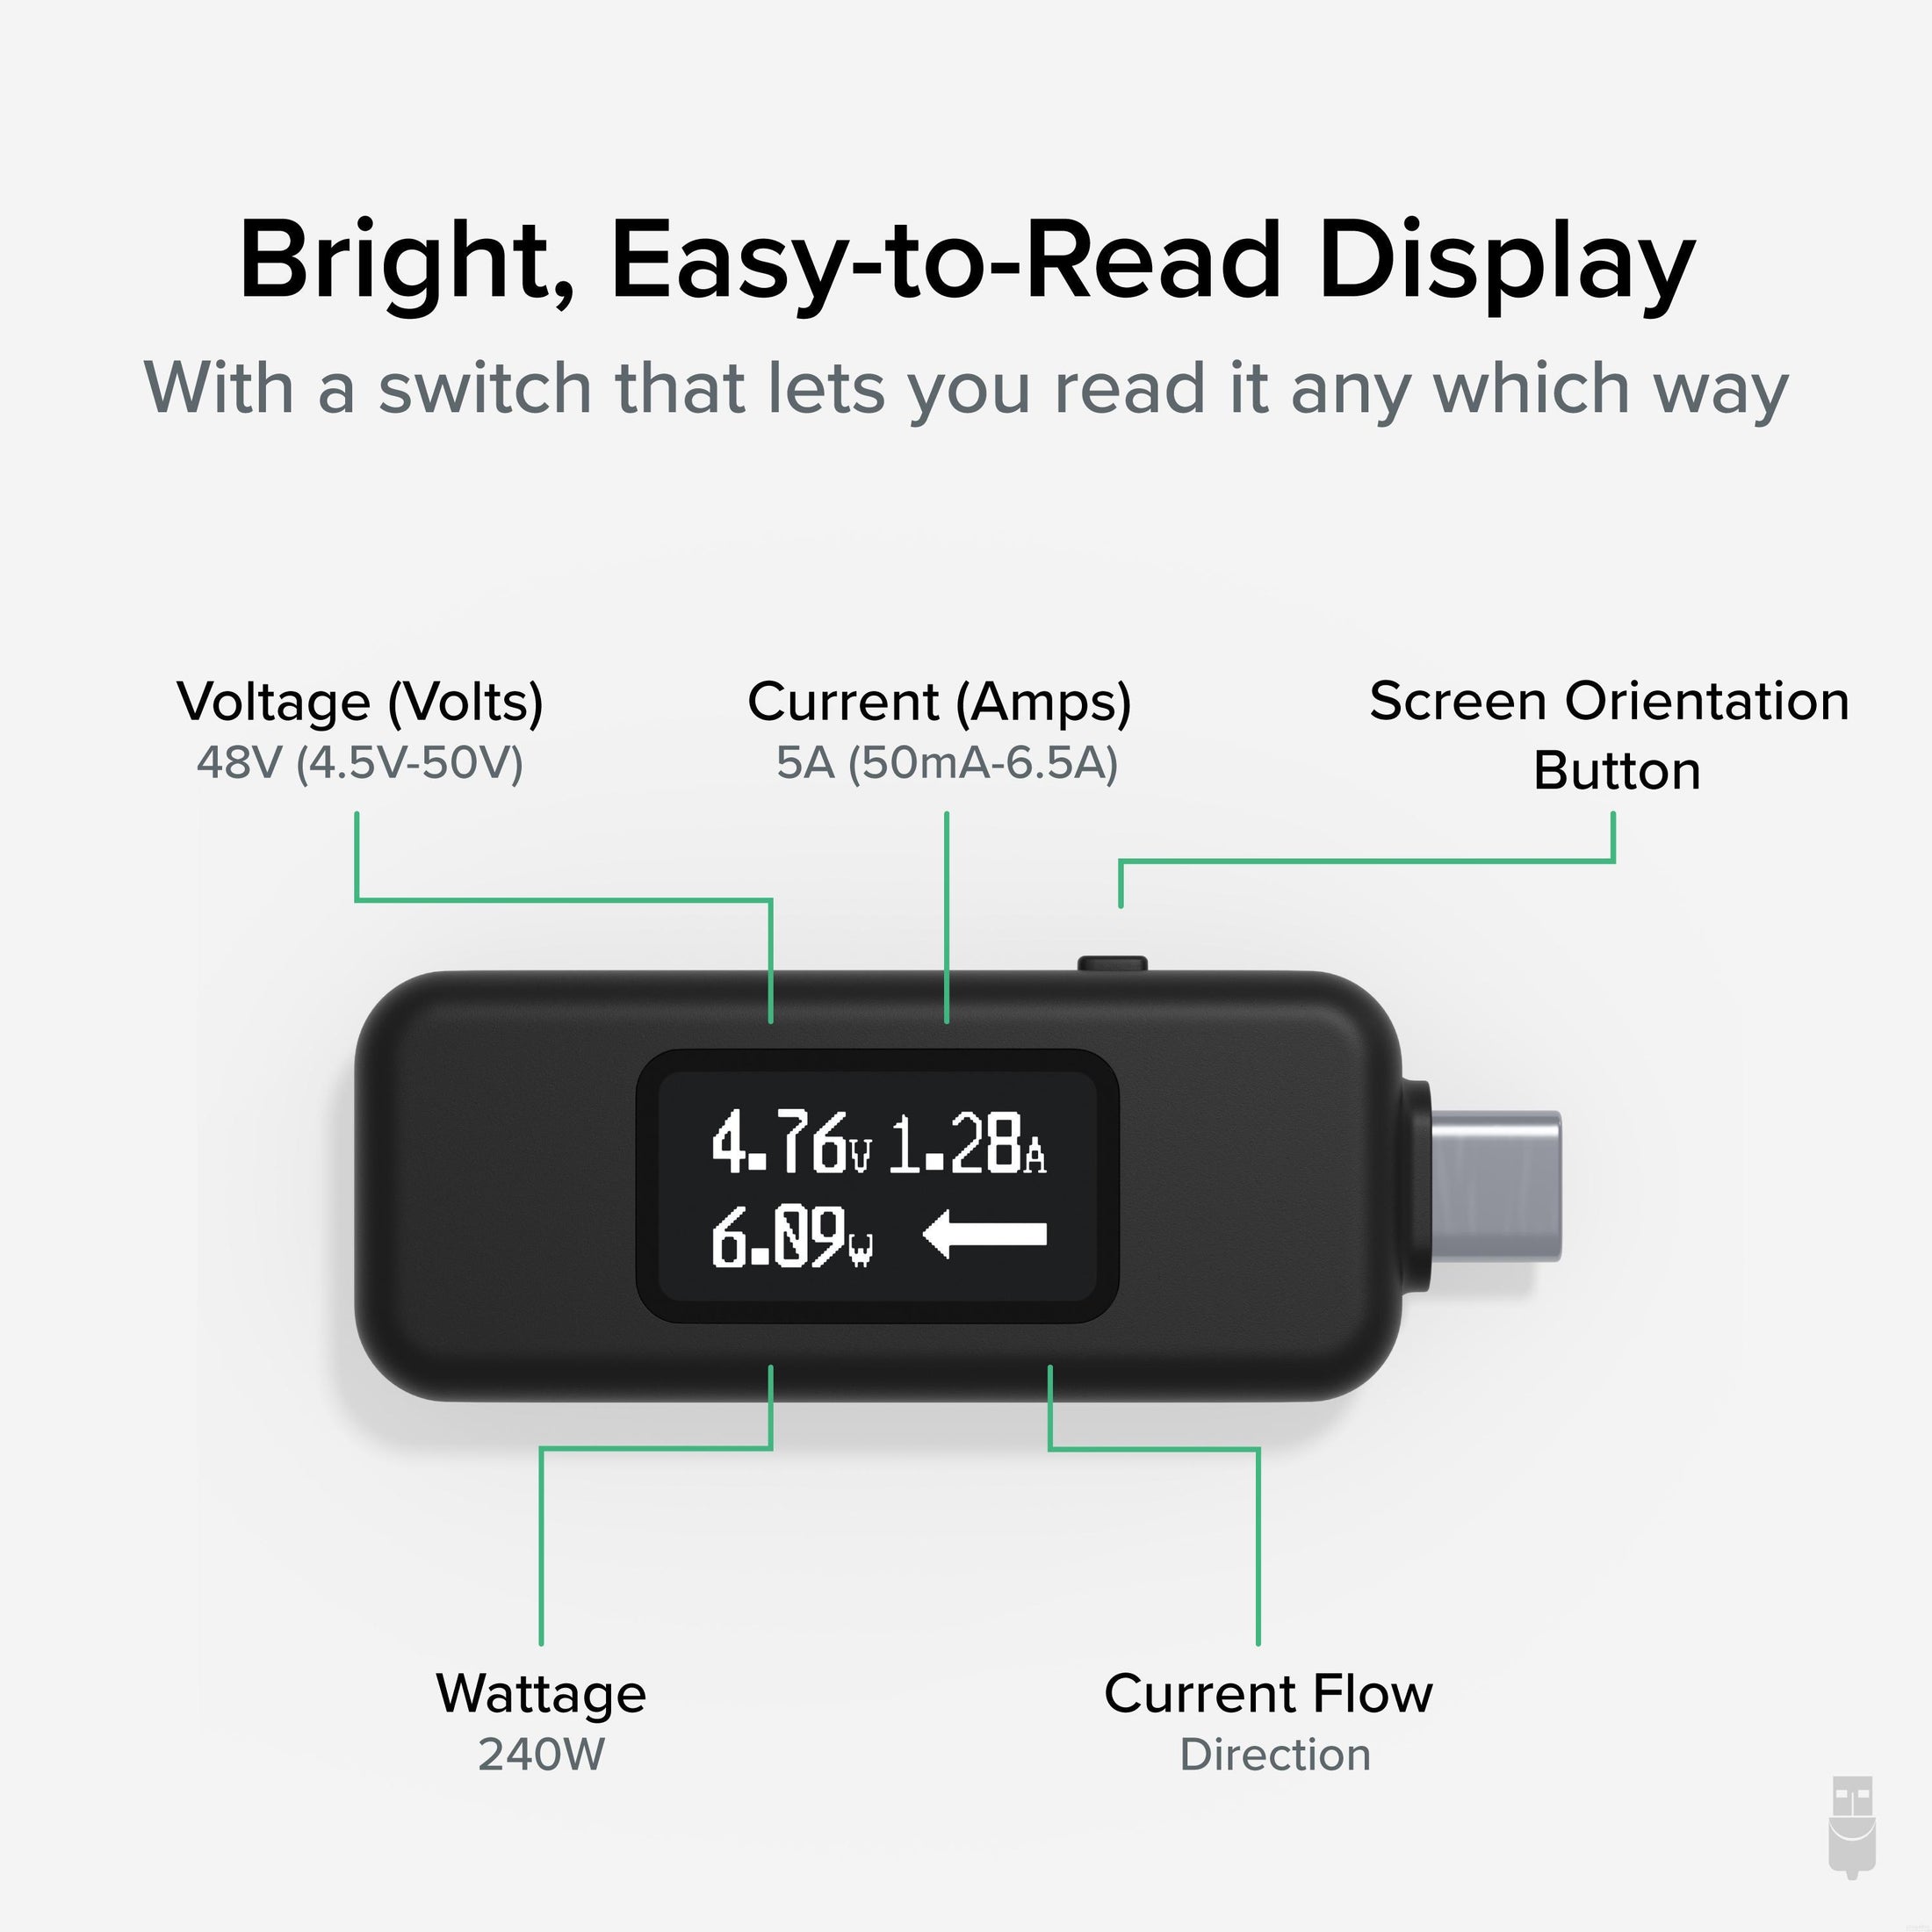
Simply plug your USB-C device and USB-C charging/data cable into either side of the Plugable USB-C Voltage and Amperage Meter. The meter is bi-directional so which side is used for input or output does not matter. If current is flowing, the meter's display should turn on and show the flow direction, amperage, voltage, and approximate charge rate in watts.
Please note that under normal circumstances the meter will not power on without a device connected (host, charger, accessory, etc) at both ends. If the meter turns on when only connected at one end, the attached device is "VBUS hot" which is against USB-C specifications.
On the side of the USBC-VAMETER3 there is a small button that can be pressed to rotate the screen 180 degrees which can be helpful for reading the screen depending on the orientation that the device is in.
Questions? We're here to help! Please reach out to us at support@plugable.com
Filter Help Articles and Frequent Questions by Category
Choose one or more filters within each category to narrow down the articles. Each selection will result in only displaying articles that include all of your choices.
Articles
Well how about that, it looks like we don't have any articles matching your filters! Try removing one of your choices or clear the filters to show all articles.
You can always contact support if you need help too!
USB Port Types
USB-A
pietz, CC BY-SA 3.0 , via Wikimedia Commons
This is the standard USB connection that most computers offered prior to the introduction of USB Type-C (USB-C). Even after the introduction of USB Type-C, this is still quite common.
It can provide data transfer rates up to the USB 3.1 Gen 2 (10 gbps) specification depending on the host and device, but does not directly support video in the way that USB-C Alternate Mode does. This limitation makes DisplayLink USB graphics adapters and docking stations ideal on systems that do not have USB-C, or in instances where more displays are needed beyond available video outputs of a PC.
USB-B
Fred the Oyster, CC BY-SA 4.0 , via Wikimedia Commons
IngenieroLoco, CC BY-SA 4.0, via Wikimedia Commons
This type of connection comes in a couple different styles depending on whether USB 3.0 and higher transfer rates are supported (bottom graphic). Usually this type of connection is used to plug into USB devices that do not have a fixed cable connected, such as USB docking stations, USB hubs, printers, and others.
USB Mini-B
Fred the Oyster, CC BY-SA 4.0 , via Wikimedia Commons
One of the first connectors for charging a smartphone, wireless game controller (such as the Sixaxis and DualShock 3), and other small devices such as external hard drives. Not commonly used today, but is still used in some cases. Most devices using USB Mini B are using USB 2.0, though a USB 3.0 variant does exist. This specification also added USB On-The-Go (OTG) functionality, though it is more commonly implemented with Micro USB.
USB Micro-B
Fred the Oyster, CC BY-SA 4.0, via Wikimedia Commons
IngenieroLoco, CC BY-SA 4.0 , via Wikimedia Commons
A smaller connector that serves many of the same uses as the Mini B connector, with added optional features such as Mobile High-Definition Link (MHL) to allow devices like smartphones to output video to larger displays without requiring a dedicated port for video output.
The larger variant of USB-B is most commonly used for external hard drives for higher 5Gbps transfer rates.
USB-C, Thunderbolt™ 3, and Thunderbolt™ 4
Niridya , CC0, via Wikimedia Commons
The most recent USB connection, USB Type-C (USB-C), represents a major change in what USB can do. The connector is smaller, can be connected in two orientations, is able to carry substantially more power and data, and can directly carry video signals of multiple types (HDMI, DisplayPort, etc.) Intel has also adapted the USB-C connector for use with Thunderbolt 3 and Thunderbolt 4.
It is important to note that while all Thunderbolt 3 and Thunderbolt 4 connections are USB-C, not all USB-C connections can be used with Thunderbolt 3 or Thunderbolt 4 devices.
More details regarding physical USB connections can be found on Wikipedia . The graphics depicted here are adapted from Wikimedia Commons by various artists under the Creative Commons Attribution-Share Alike 3.0 Unported license.
How Accurate Are the Voltage and Amperage Measurements From the USBC-VAMETER3?
In our testing we’ve found that compared to a professional multimeter, our USBC-VAMETER3 is within +/- 3% of the true value (measured at 20V).
Please note that this meter is not meant to replace professional USB-C testing equipment, it is designed for quick and easy measurements for users at any skill level.
How Do I Calculate the Wattage From the Provided Voltage and Amperage Information on the USBC-VAMETER3?
The USBC-VAMETER3 will display voltage, amperage, and the calculated wattage on screen. If you would like to manually calculate the wattage (how much power a device using) you can follow this simple formula:
The power (P) in watts (W) is equal to the voltage V in volts (V) times the current (I) in amps (A), P = V × I.
Example: A device is charging at 48V, 5A: 48V × 5A = 240W.
What is the Difference Between the USBC-VAMETER and USBC-VAMETER3?
The USBC-VAMETER is designed for USB-C Power Delivery Revision 3.0 (5-20 volts, up to 5 amps, 100 watts maximum). Most devices currently on the market use PD R3.0.
The USBC-VAMETER3 is designed for the latest USB-C Power Delivery Revision 3.1 Extended Power Range (EPR) (5-48 volts, up to 5 amps, 240 watts maximum). As of July 2022 there are not many EPR devices available yet, but a good example is the 16" Apple MacBook Pro with 140W charger.
If unfamiliar with Extended Power Range feel free to take a look at our blog post on this topic here: https://plugable.com/blogs/news/what-is-240w-usb-extended-power-range-epr
What is USB-C Power Delivery R3.1 Extended Power Range (EPR)?
The new USB Power Delivery specifications allow for the delivery of up to 240W via a USB Type-C cable (an increase from the previous 100W max). The previous Power Delivery range has been relabeled as Standard Power Range (SPR), and the new specifications (between 100W and 240W), have been labeled as Extended Power Range (EPR).
For a more in-depth look feel free to check out our blog post on this topic here: https://plugable.com/blogs/news/what-is-240w-usb-extended-power-range-epr
Do Plugable products support the Apple SuperDrive?
Unfortunately Plugable products do not support the Apple SuperDrive.
The Apple SuperDrive has stringent power requirements that can only be met by directly connecting the SuperDrive to your host laptop. As a result at this time Apple recommends only using their USB-C adapter cables. You can find more information on that here → How to connect the Apple USB SuperDrive
If you have purchased a Plugable product to use with your Apple SuperDrive, and would like some additional assistance please do not hesitate to reach out. You can do so by emailing support@plugable.com, or going to Plugable.com/Support.
How to Use Two External Displays with the Lid Closed on MacBook Air and MacBook Pro M3
Overview
With the release of Apple’s M3 CPU chips and the Sonoma 14.6 update your base MacBook Air and MacBook Pro systems with M3 chips can now host two external displays natively in clamshell mode. This guide will walk you through the process of setting up and using two external displays with the lid closed on your MacBook Air or MacBook Pro equipped with an Apple M3 chip.
Requirements
Before getting started, ensure you have the following:
- MacBook Air or MacBook Pro with an Apple M3 chip.
- macOS Sonoma 14.3 or later for an M3 MacBook Air or macOS Sonoma 14.6 or later for an M3 MacBook Pro.
- Two external displays with compatible video inputs (e.g., HDMI, DisplayPort, USB-C).
- A dock or graphics adapter can be used as well.
- External keyboard and mouse (wired or wireless).
- Power adapter or power source for your MacBook
- A docking station that provides adequate charge can be used in place of the native power adapter, be sure to check the wattage your dock provides.
Steps to Set Up Dual External Displays with the Lid Closed
1. Set Up Your External Keyboard and Mouse
- If you’re using a wired keyboard and mouse, connect them directly to your MacBook or Plugable dock.
- For wireless peripherals, ensure they are paired with your MacBook and functioning properly.
- An AC adapter/power cable of some kind will also need to be connected for clamshell mode to function properly. This adapter can be one from a docking station or the included Apple adapter.
2. Connect Your Displays
- Connect the first external display to your MacBook using the appropriate cable (e.g., HDMI, DisplayPort, USB-C)
- Close your laptop’s lid.
- Connect the second external display using a similar method.
- Ensure both displays are powered on and set to the correct input source.
3. Configure Display Settings
- Open System Settings on your MacBook.
- Go to Displays.
- You should see both external displays listed. Arrange them according to your preference by dragging the display icons.
- Adjust the resolution, refresh rate, and other settings as needed.
4. Enable "Clamshell Mode" (Lid Closed Mode)
- With your external displays connected and set up, close the lid of your MacBook.
- Your MacBook will automatically switch to "Clamshell Mode," where the internal display turns off, and the external displays become your primary screens.
- Ensure your MacBook is connected to a power source to prevent it from entering sleep mode.
5. Check the Display Arrangement
- With the lid closed, check that the external displays are functioning as expected.
- If necessary, re-open the Displays settings to adjust the arrangement, resolution, or other preferences.
Troubleshooting Tips
- No Display on External Monitors: If the external displays are not showing anything, open the lid of your MacBook and check the connections.
- MacBook Sleeps When Lid Is Closed: Make sure your MacBook is connected to a power adapter. Clamshell Mode requires the MacBook to be plugged into an external power source.
- Performance Issues: If you experience lag or performance drops, try lowering the resolution or refresh rate of the external displays.
Thunderbolt Dock Users
With these steps, one can use Plugable Thunderbolt docks to enjoy a dual-display setup without the need for additional software installation. The dock leverages the native capabilities of the MacBook Air M3 and MacBook Pro M3, providing a straightforward and efficient solution for expanding your workspace with additional USB ports, audio, and ethernet (as well as the dual displays).
Additional Resources
If you should need any assistance with your setup, please feel free to reach out to our support team at support@plugable.com.