


Hassle free, 2-Year Warranty
Fast, Free Shipping on Orders $35+
Lifetime Technical Support
30-Day Money Back Guarantee
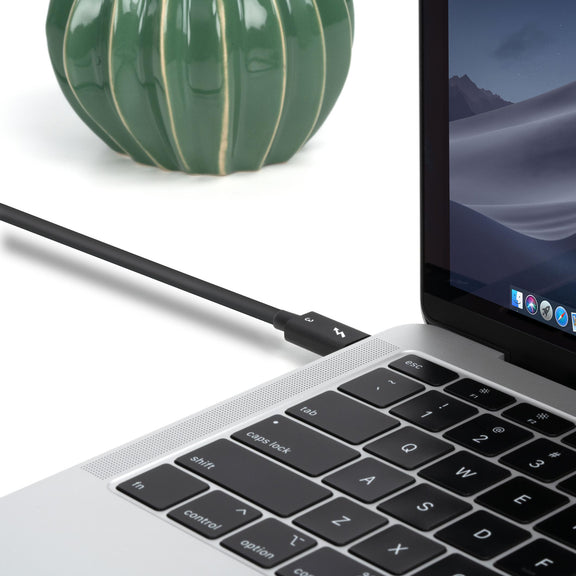
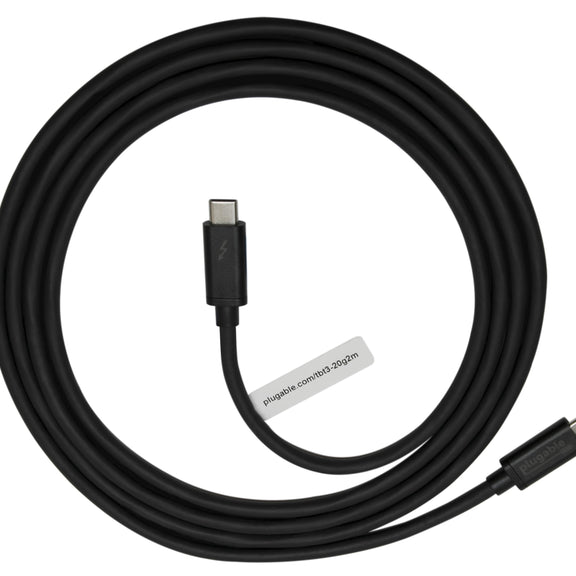
Plugable Thunderbolt 3 Cable (20Gbps, 6.6ft/2m)
$34.95 USD
SKU: TBT3-20G2MAmazon Rating : (562 Reviews)
Features
- More Possibilities— Thunderbolt 3 cable with 20Gbps speed and USB 3.0 5Gbps compatibility. Supports data transfer 2x faster than standard USB-C cables. Depending on host, up to single 4K 60Hz display supported, and up to 20V, 5A charging
- Streamlined Productivity - Daisy chain up to 6 Thunderbolt devices including docking stations, external graphics cards, and displays. NOTE— 20Gbps speed cables are NOT suitable for eGPU and dual 4K display scenarios.
- Apple Notes— Thunderbolt 3 uses the USB-C connector built into late 2016 MacBook Pros and newer models. This connector will not physically fit into Thunderbolt 1 or Thunderbolt 2 ports found on previous generation Mac systems
- Compatibility— Thunderbolt, USB and DisplayPort Alt Mode compatible. Compatible with your Thunderbolt 3 enabled Mac and Thunderbolt 3 Windows PCs, and non-Thunderbolt USB-C systems. Incompatible with QC 3.0 and other non USB-compliant technologies
- 2-Year Coverage, Lifetime Support— Every Plugable product, including this cable, is covered against defects for 2 years and comes with lifetime support. If you ever have questions, contact our North American-based team - even before purchase
For volume orders or business inquiries contact sales@plugable.com
Not Just a Thunderbolt 3 Cable
Thunderbolt 3 brings data transfers at speeds up to 20Gbps over USB-C, enabling a superset of standard USB-C to truly become one compact port that does it all—delivering the fastest, most versatile connection to any dock, display, or data device.
For the first time, one port can connect numerous Thunderbolt devices, any display, and billions of USB devices (additional adapters may be required). Thunderbolt 3 cables are primarily used for connecting docking stations, high performance data storage solutions, peer-to-peer networking, and more.
Note: This cable is incompatible with Qualcomm Quick Charge and other (non USB-IF Power Delivery) “Fast Charge” technologies.
The Plugable TBT3-20G2M cable is foremost designed as a Thunderbolt 3 cable, but it is also a universal USB-C cable for use with USB-C computers, phones, tablets, docking stations, accessories, and more. It supports all USB-C cable features, including USB 3.0 and USB 2.0 data lines, wire gauge supporting up to 5A charging via the USB-IF PD (Power Delivery) standard 100W max (5V-20V), and support for reporting its capabilities as an electronically marked cable.
Massive 20Gbps Bandwidth
e-Marker:
The cable is electronically marked with an IC (sometimes referred to as an “e-marker”) to assist in negotiation of charging rates and USB-C alternate modes like DisplayPort video.
Length: 6.6ft/2m long
Model: TBT3-20G2M
 |
 |
 |
 |
|
|---|---|---|---|---|
Maximum Throughput |
40Gbps |
20Gbps |
40Gbps |
40Gbps |
Cable Length |
80cm/2.6ft |
2m/6.6ft |
1m/3.3ft |
2m/6.6ft |
Single Display Capable |
Yes |
Yes |
Yes |
Yes |
Dual Display Capable |
Yes |
No |
Yes |
Yes |
Maximum Charging Rate |
100W/5A |
100W/5A |
100W/5A |
100W/5A |

